소개
Use this guide to replace a faulty Button Module. This guide will be providing the necessary information pertaining to taking apart and rebuilding the module. Button modules are designed to detect when a button is pressed or released. They often provide a way to trigger events or actions in response to button presses. For example, in software development, pressing a button could trigger a specific function or command execution. Button modules are widely used in user interfaces to facilitate user interaction. They can be used for various purposes such as menu navigation, form submission, or controlling electronic devices. Button modules are designed to detect when a button is pressed or released. They often provide a way to trigger events or actions in response to button presses. For example, in software development, pressing a button could trigger a specific function or command execution. Button modules are widely used in user interfaces to facilitate user interaction. They can be used for various purposes such as menu navigation, form submission, or controlling electronic devices.
This repair might be needed because a majority of the time, the functionality of a device is based on this factor.
필요한 것
-
-
-
Use a Phillips #00 screwdriver to unscrew the four 1.1mm long screws on each corner located at the top of the cover.
 FixBot에 문의하기
-
-
-
Similar to the last step, flip the cover over and use a Phillips #00 screwdriver to unscrew the four 1.1mm long screws on each corner located at the bottom of the cover.
-
-
-
-
-
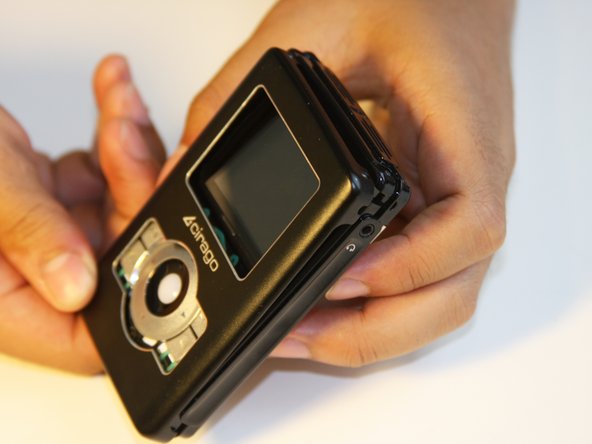
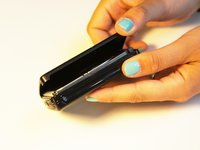
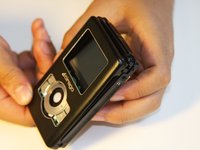
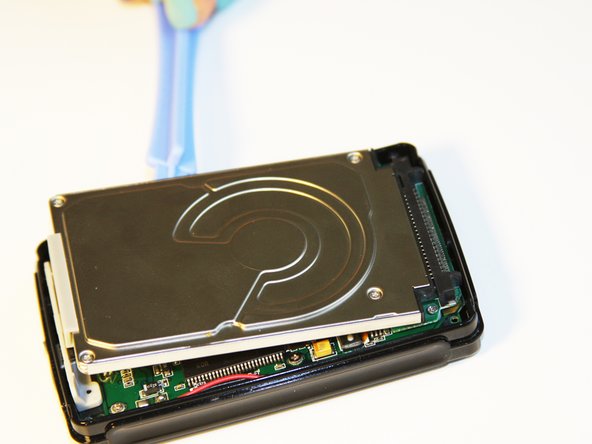
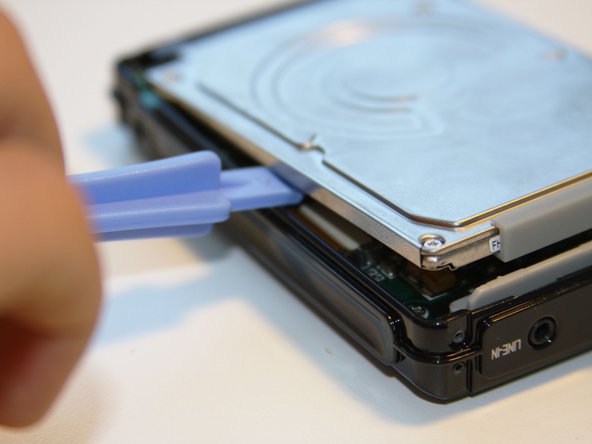
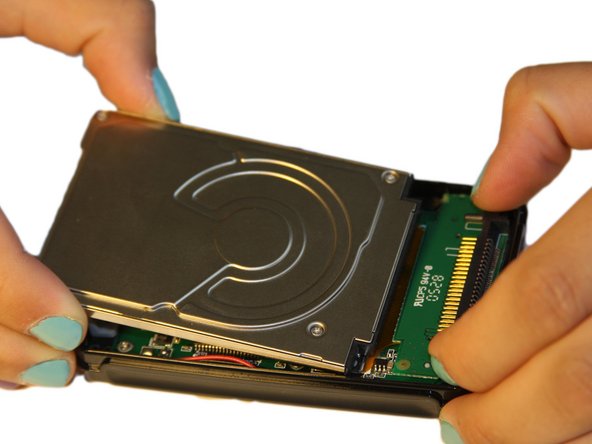
Using the plastic opening tool, wedge the tool underneath the bottom left edge of the hard drive.
-
Raise the bottom edge of the hard drive 15 degrees up from the device.
-
-
-
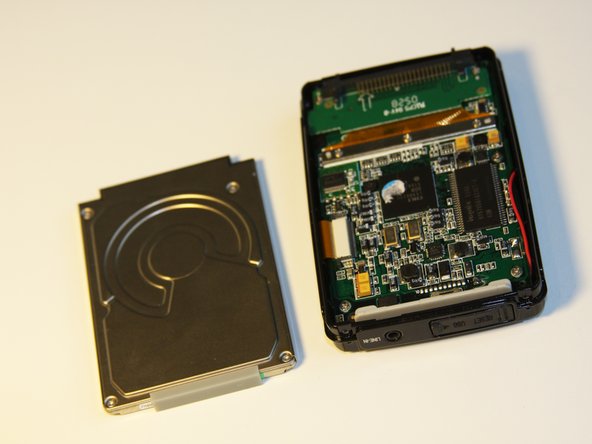
Place fingers on the IDE connectors gently picking up and sliding the hard drive out from the IDE module.
-
-
-
-
-
Using the Phillips #00 screwdriver, unscrew the two 1.5mm long screws holding the IDE connector to the motherboard located at the top.
-
-
-
Using the Phillips #00 screwdriver, unscrew the three 1.5mm long screws on the metal bracket.
-
-
-
Using the plastic opening tool, completely lift the metal bracket off of the motherboard.
-
Using the plastic opening tool, completely lift the rubber insulator off of the motherboard.
-
-
-
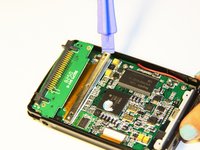
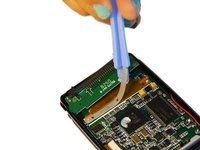
Using the plastic opening tool, completely lift the ribbon off of the motherboard.
-
-
-
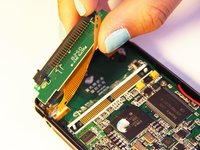
The audio jack is attached to the IDE connector. Pull at a 45 degree angle from the audio jack.
-
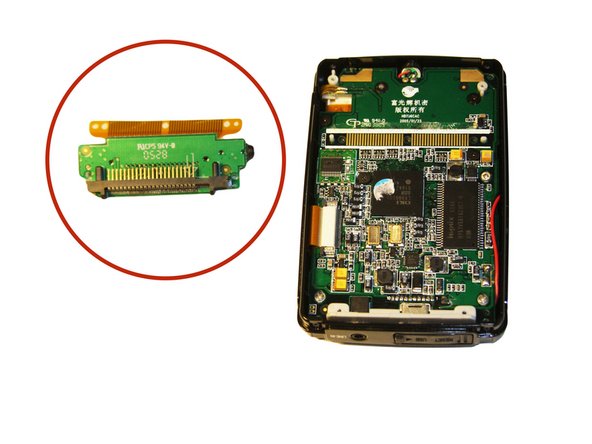
Completely remove the IDE connector from the device.
-
-
-
-
-
Using the plastic opening tool, wedge the tool underneath the top edge of the motherboard.
-
Completely remove the motherboard.
-
-
-
-
-
Set aside the front cover.
-
Flip over the motherboard.
-
Using the Philips #00 screwdriver, remove the three 4mm long screws holding down the button module.
-
-
이 단계에 사용된 도구:Tweezers$4.99
-
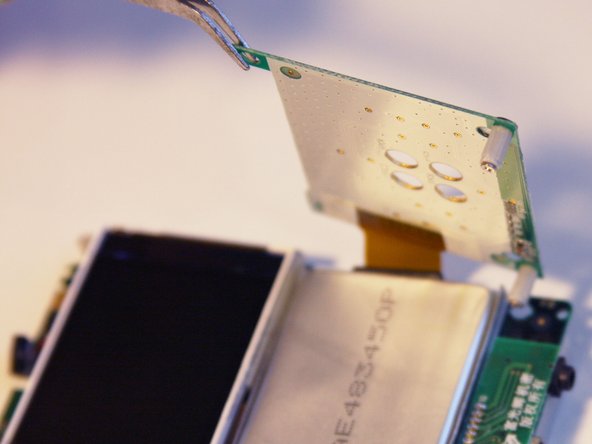
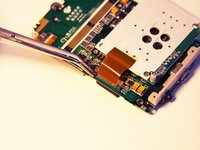
Using the tweezers, lift up the button module to a 180 degree angle.
-
Flip over the motherboard with the button module still attached.
-
-
-
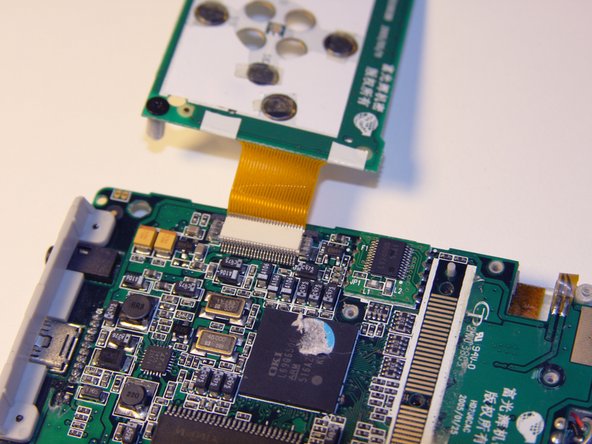
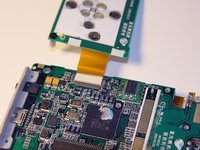
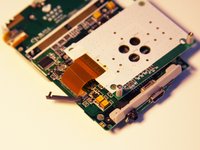
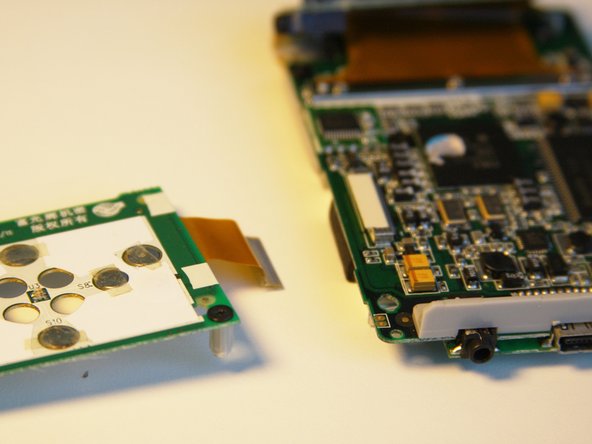
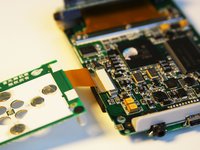
Fold the button module over the motherboard.
-
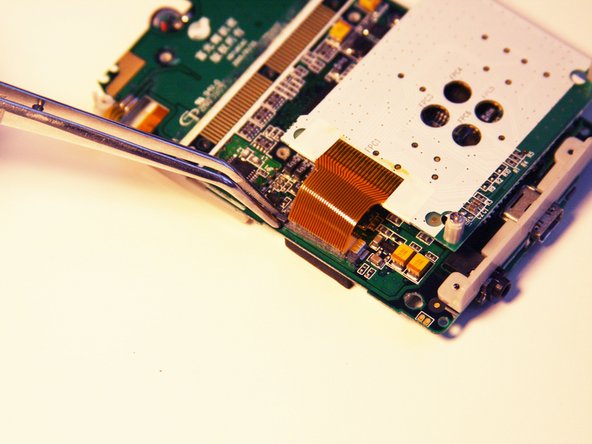
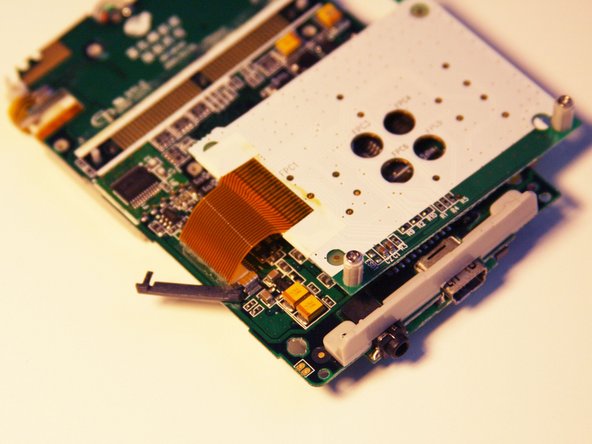
Using the tweezers, remove the ribbon pin.
-
-





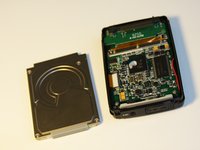


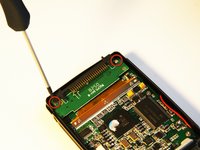
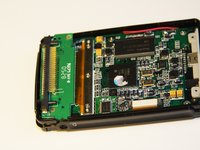


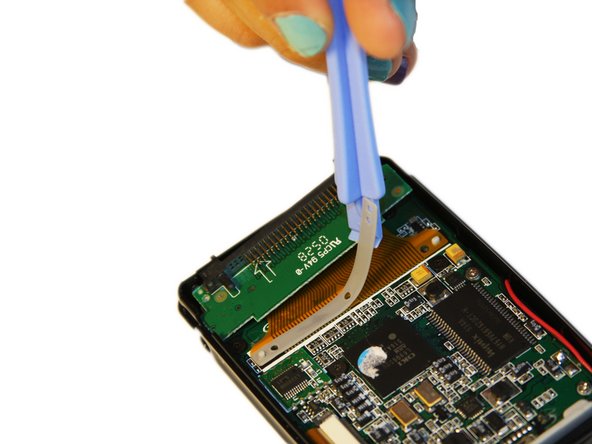


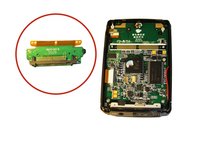

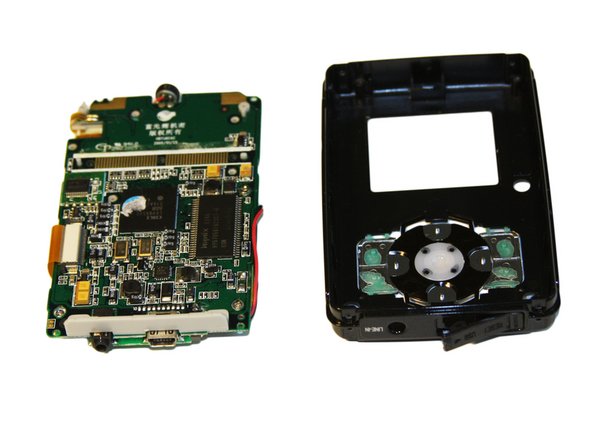
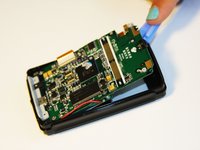





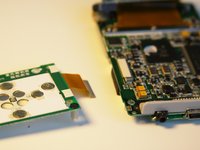
To reassemble your device, follow these instructions in reverse order.

팀

Cal Poly, Team 1-4, Regan SU 2012 Cal Poly, Team 1-4, Regan SU 2012 회원
CPSU-REGAN-SU12S1G4
4 회원들
안내서 56개를 작성함
