주요 콘텐츠로 건너뛰기
수리 커뮤니티 가입 - 계정 만들기

Cleaning Function Buttons

필요한 것

    1. Cleaning Function Buttons, Front and Rear Cover: 1 단계, 이미지 2개 중 1개 Cleaning Function Buttons, Front and Rear Cover: 1 단계, 이미지 2개 중 2개
      • Remove wrist strap and battery.

      댓글 쓰기

    2. Cleaning Function Buttons: 2 단계, 이미지 3개 중 1개 Cleaning Function Buttons: 2 단계, 이미지 3개 중 2개 Cleaning Function Buttons: 2 단계, 이미지 3개 중 3개
      • Remove 2 screws from each side of the camera (4 total, 0.102 in).

      • Remove 2 screws from the bottom on the camera (0.138 in).

      • Do not mix the 4 side screws with the 2 bottoms ones; they are different sizes.

      댓글 쓰기

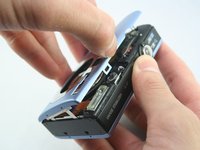
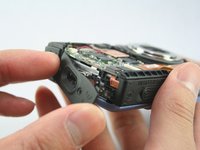
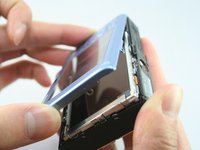
    3. Cleaning Function Buttons: 3 단계, 이미지 3개 중 1개 Cleaning Function Buttons: 3 단계, 이미지 3개 중 2개 Cleaning Function Buttons: 3 단계, 이미지 3개 중 3개
      • Gently pull off the front cover.

      • The plate on the side should come off.

      • Gently pull off the back cover.

      댓글 쓰기

    4. Cleaning Function Buttons: 4 단계, 이미지 1개 중 1개
      • The cases should now be removed.

      댓글 쓰기

    1. Cleaning Function Buttons, Cleaning Function Buttons: 5 단계, 이미지 1개 중 1개
      • Clean around the function buttons with a cotton swab dipped in isopropyl alcohol.

      댓글 쓰기

결론

To reassemble your device, follow these instructions in reverse order.

취소: 해당 안내서를 완성하지 않았습니다.

다른 한 분이 해당 안내서를 완성하였습니다.

작성자

4다른 기여자 명과 함께

Tyler Grossheim

회원 가입일: 01/25/11

1,623 평판

안내서 6개를 작성함

Cal Poly, Team 3-32, Regan Winter 2011 Cal Poly, Team 3-32, Regan Winter 2011 회원

CPSU-REGAN-W11S3G32

3 회원들

안내서 8개를 작성함

0가이드 댓글

댓글 쓰기

조회 통계:

지난 24시간: 1

지난 7일: 4

지난 30일: 27

전체 시간: 2,305