소개
This guide shows how to close the earbuds again.
As the adhesives used set rather quickly it is recommended to read the whole guide first!
필요한 것
-
-
-
Clip the two halfs together to check that there isn't any old glue or wires in the way.
-
There should be absolutely no seam if you press them together slightly
-
Separate them again before continuing with the assembly.
 FixBot에 문의하기
-
-
-
The cover over one of the mics likes to come of. Make sure it's in the right place before going on with closing the earbuds.
-
-
-
-
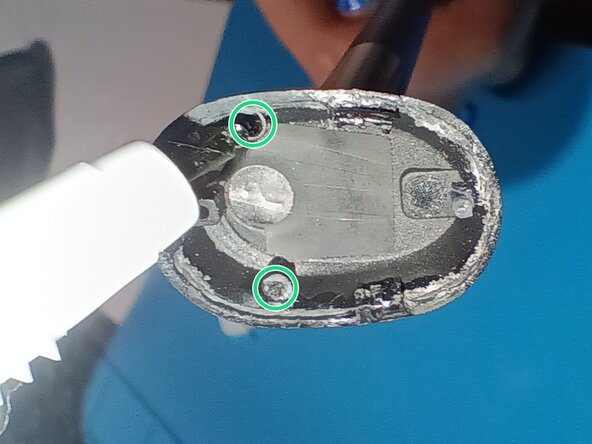
While it is possible to apply glue while holding the top half it's recommended to put the top half on a stick (or scalpel) with some sticky puddy.
-
-
-
As the original adhesive for the pins is a flexible one it is recommended to use something similar like B7000 for them.
-
This makes future disassembly easier if needed.
-
Super glue can be used as well if this is not of concern or a fitting adhesive isn't available.
-
-
-
Put down a thin bead of super glue in the groove of the seam.
-
-
-
Align the two half before quickly pressing them together.
-
Use a bit of pressure to make sure the seam is fully closed and hold it for 15s to get the glue time to set.
-
-