주요 콘텐츠로 건너뛰기

Corsair Katar Optical Sensor Replacement

필요한 것

  1. Corsair Katar Optical Sensor Replacement, Corsair Katar Disassembly: 1 단계, 이미지 1/2 Corsair Katar Optical Sensor Replacement, Corsair Katar Disassembly: 1 단계, 이미지 2/2
    • Unplug your mouse before starting.

    • Flip the mouse over so the bottom is facing up.

  2. Corsair Katar Optical Sensor Replacement: 2 단계, 이미지 1/1
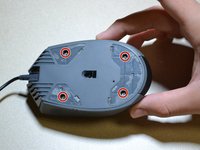
    • Remove the three skates on the bottom of the mouse using the plastic opening tools.

    • Skates will be very sticky.

  3. Corsair Katar Optical Sensor Replacement: 3 단계, 이미지 1/2 Corsair Katar Optical Sensor Replacement: 3 단계, 이미지 2/2
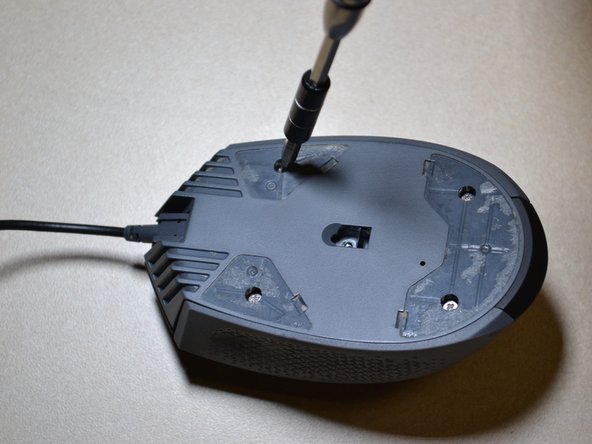
    • Use the JIS 0 screwdriver to remove the four 5 mm screws on the bottom of the mouse.

  4. Corsair Katar Optical Sensor Replacement: 4 단계, 이미지 1/1
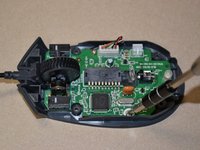
    • Detach the bottom of the mouse from the upper shell.

    • Remove the shell slowly so as not to damage the white DPI cable inside the mouse.

    • Use the plastic opening tool to detach the white DPI sensor cable from its port.

    • Alternatively, you can use your hand to remove the DPI sensor cable by wiggling it out of the port.

  5. Corsair Katar Optical Sensor Replacement, Scroll Wheel: 5 단계, 이미지 1/2 Corsair Katar Optical Sensor Replacement, Scroll Wheel: 5 단계, 이미지 2/2
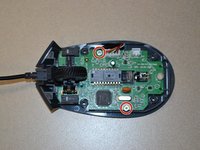
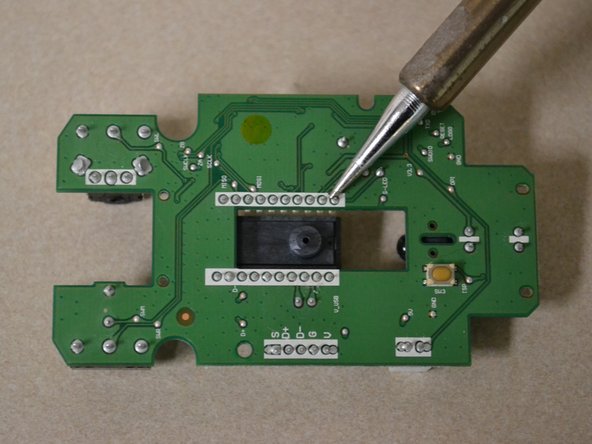
    • Use the JIS 0 screwdriver to remove the two 5mm screws on the motherboard.

  6. Corsair Katar Optical Sensor Replacement: 6 단계, 이미지 1/1
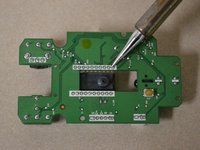
    • Use the plastic opening tool to pry the white cable jack away from the motherboard.

    • Lift the motherboard away from the bottom of the mouse.

  7. Corsair Katar Optical Sensor Replacement: 7 단계, 이미지 1/1
    • Push the scroll wheel to the right side of the motherboard as shown, then pull it away from the board to remove.

  8. Corsair Katar Optical Sensor Replacement, Optical Sensor: 8 단계, 이미지 1/2 Corsair Katar Optical Sensor Replacement, Optical Sensor: 8 단계, 이미지 2/2
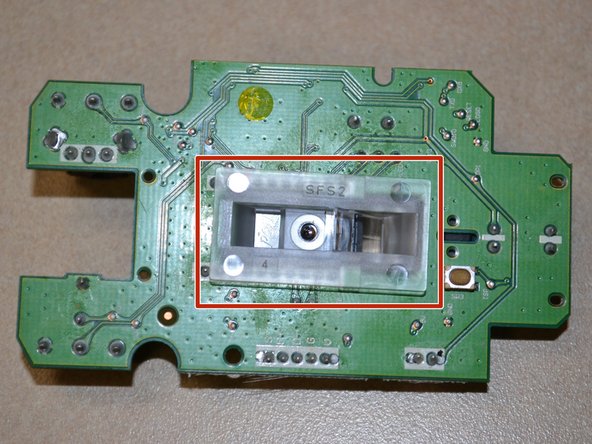
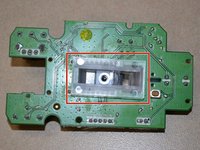
    • Flip the motherboard over and remove the clear plastic cover from the bottom of the board.

  9. Corsair Katar Optical Sensor Replacement: 9 단계, 이미지 1/2 Corsair Katar Optical Sensor Replacement: 9 단계, 이미지 2/2
    • Desolder the 20 connecting pins to remove the optical sensor.

결론

To reassemble your device, follow these instructions in reverse order.

Margaret Loughren

회원 가입일: 07/12/18

594 평판

안내서 5개 작성하였습니다

UW Tacoma, Team S1-G3, Cardinal Summer 2018 UW Tacoma, Team S1-G3, Cardinal Summer 2018 회원

UWT-CARDINAL-SU18S1G3

3 회원들

안내서 12개 작성하였습니다

댓글 0개

댓글 쓰기

조회 통계:

24 시간 전: 0

7일 전: 7

30일 전: 17

전체 시간: 987