소개
The motherboard of a Cricut Maker device is the machine's control panel.
Follow this guide to fix a Cruit Maker motherboard. You may need to replace the motherboard if your device's cutter or USB port malfunctions. The power button turning red immediately after plugging in the machine may also indicate a faulty motherboard.
The motherboard and the parts surrounding it are delicate and should be handled with care.
Note: Before beginning this repair, turn off the device and unplug it from the outlet.
필요한 것
-
-
-
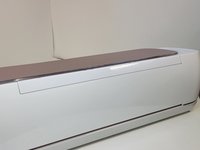
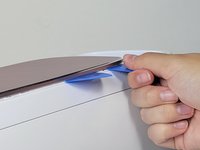
To remove the cover from the connecting joint, use an iFixit opening tool, and pry around the perimeter of the cover to release it.
-
Remove the cover from the connecting joint and set it aside.
 FixBot에 문의하기
-
-
-
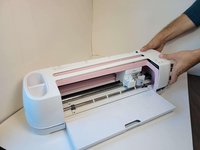
Turn the device around, so that the back is facing you.
-
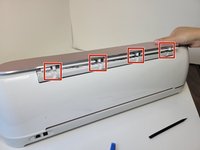
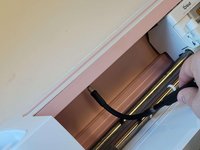
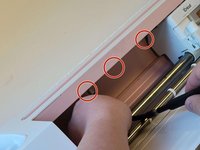
Wedge one or two iFixit opening picks in the seam connecting the Top Door to the device, and use the iFixit opening tool to pry upwards along the seam.
-
These actions should reveal the cylindrical connectors.
-
-
-
Press down on the lid.
-
Push the lid outwards to free it from the jointed clasps.
-
-
-
-
-
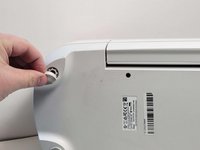
Using your hands or an opening tool, remove the four foot pads covering four screws.
-
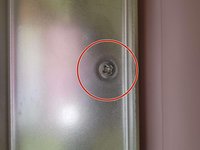
Use a Phillips #1 screwdriver to remove four 41 mm screws from the feet.
-
-
-
Remove the seven screws (Four 8.5 mm screws, and three 12.5 mm screws) on the bottom of the device, this will allow you to remove the cover later on.
-
Use a Phillips #1 screwdriver to remove the four 8.5 mm screws from the bottom of the device.
-
Use a Phillips #0 screwdriver to remove the three 12.5 mm screws.
-
-
-
-
Turn the device on its side.
-
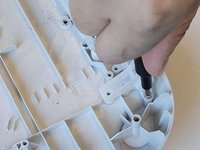
To remove the seven 10 mm screws from the underside of the top of the device, use a Phillips #1 screwdriver with the flex extension.
-
-
-
Use a Phillips #1 screwdriver to remove four 10 mm screws on the side of the device next to the motors.
-
Use a Phillips #1 screwdriver to remove the two 22 mm screws.
-
-
-
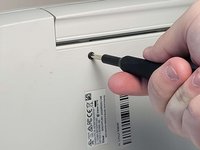
Use a Phillips #1 screwdriver to remove two 10 mm screws. These are parallel to one another, one on either side of the machine.
-
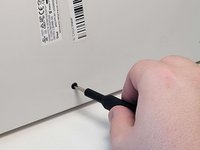
Use a Phillips #1 screwdriver to remove two 8mm screws, these are also directly parallel to one another on either side of the machine.
-
-
-
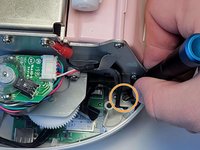
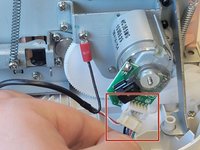
Unplug the bundled connector from the motor on both sides of the machine. To to avoid damage, coax the connector out of the socket gently using a spudger.
-
-
-
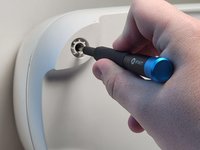
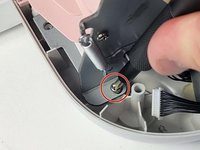
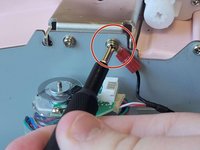
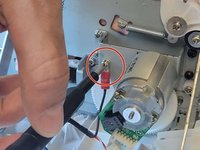
Using a Phillips #1 screwdriver, remove one 10 mm screw from both sides of the machine. This will release wires that are screwed into the sides of device.
-
-
-
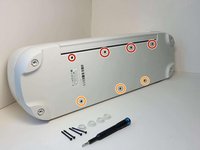
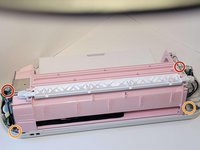
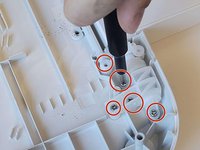
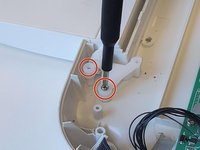
Remove a total of seven 10 mm screws from the underside of the door.
-
One side of the base has two 10mm screws.
-
The other side of the base has five 10 mm screws.
-
-
-
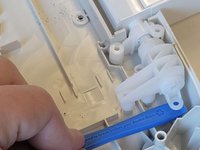
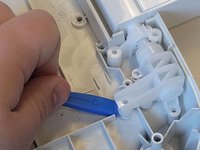
Pry the door from hinges using an iFixit opening tool.
-
Lift upwards and towards you, to remove the door from the hinges.
-
-
-
-
-
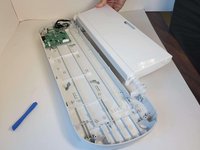
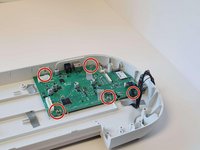
Use a Phillips #2 screwdriver to remove the five 7 mm screws from the motherboard.
-
-
-
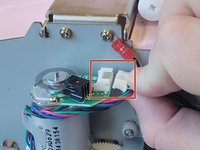
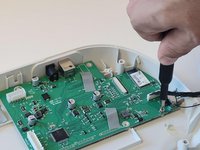
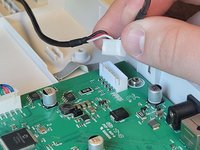
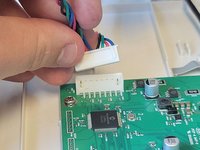
Unplug both cables from the corners of the motherboard by pulling them upwards from the base of the connectors.
-
-
-
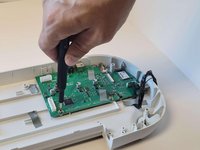
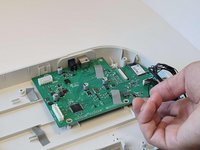
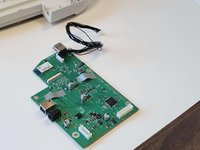
Gently slide the motherboard out from USB port slot to remove it from the device.
-
-










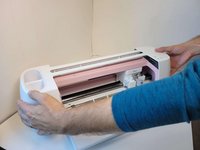
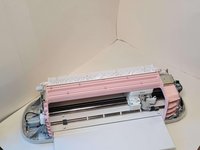


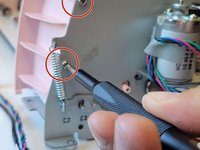
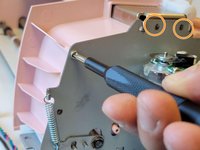
















To reassemble your device, follow these instructions in reverse order.
다른 5명이 해당 안내서를 완성하였습니다.

팀

Austin Community College, Team 9-1, Watkins Fall 2022 Austin Community College, Team 9-1, Watkins Fall 2022 회원
AUSTINCC-WATKINS-F22S9G1
3 회원들
안내서 27개를 작성함
11가이드 댓글
So do you sell the motherboard or know where it buy one for cricut cxpl301
I too am looking for a replacement board. It was suggested to me that I could contact one of the pcb repair companies. For a fee, they will either check and repair your board or they will copy and print a new board and mail it back to you. You have to send in your board for them to check and copy though. So I guess reputation and reviews would be priority. It would suck to send our boards off and never receive a new one or the old one. :-/.
sooooo, theres no place to get parts? thats stupid...might as well just through it away then...
Kirk Serbian - 답글 공유
Bonjour pourriez vous nous dire où trouver la carte mère svp
