소개
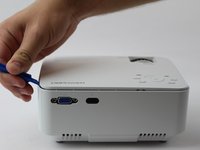
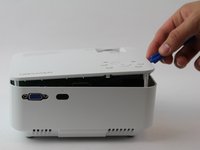
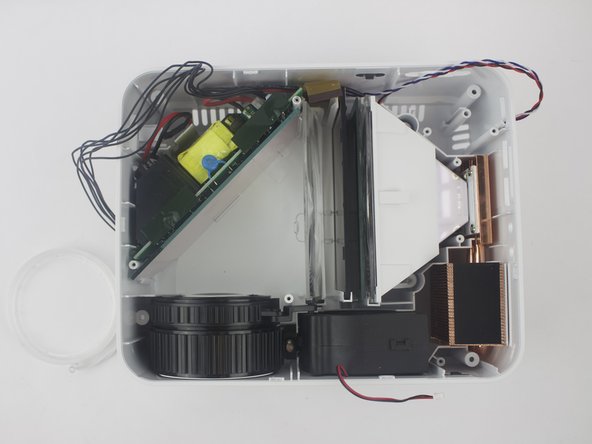
If you need to repair anything on the DBPOWER T20 Projector you need to disassemble it first. This guide will show you all the steps necessary to disassemble the device to a point where items can be replaced. It is quite a sturdy device so don't be afraid to use some force removing the top of the device and the wired. However, use caution around the mirrors inside the device.
필요한 것
-
-
-
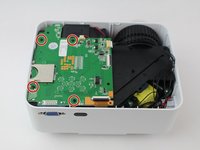
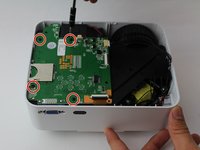
Remove the four (9 mm) screws with a PH2 screwdriver.
-
Remove the two (7 mm) located with a PH2 screwdriver.
-
-
-
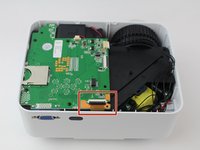
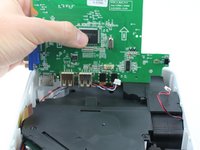
Remove the ribbon cable connecting the motherboard to the button control board by gently pulling it from its connector.
-
-
-
-
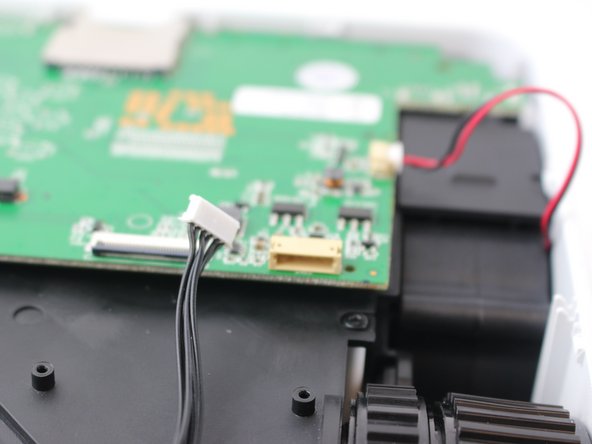
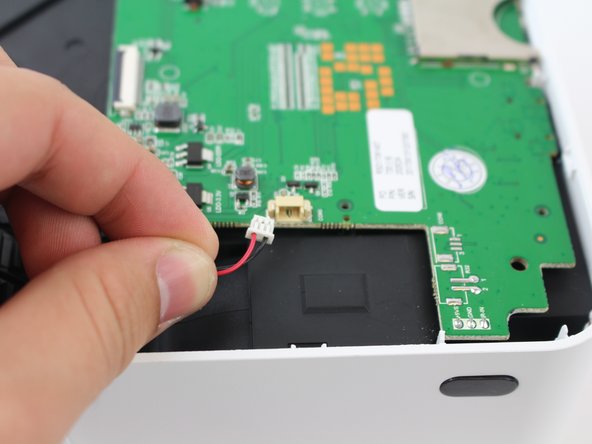
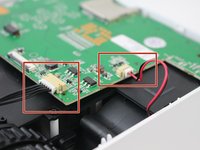
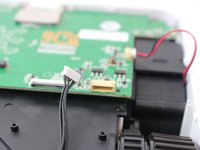
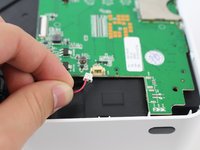
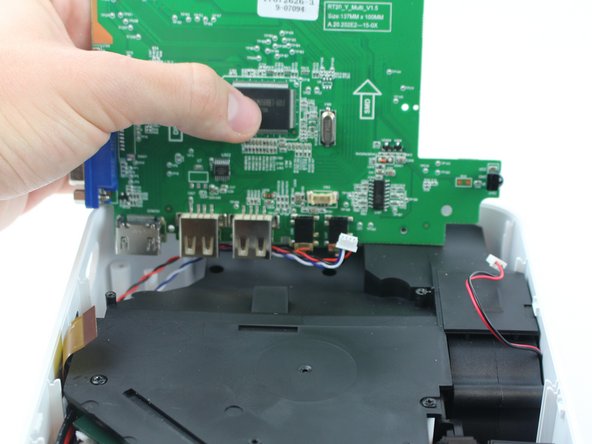
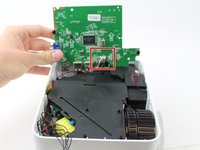
Remove the two cables connected to the motherboard: black power cable and the red/black fan cable.
-
-
-
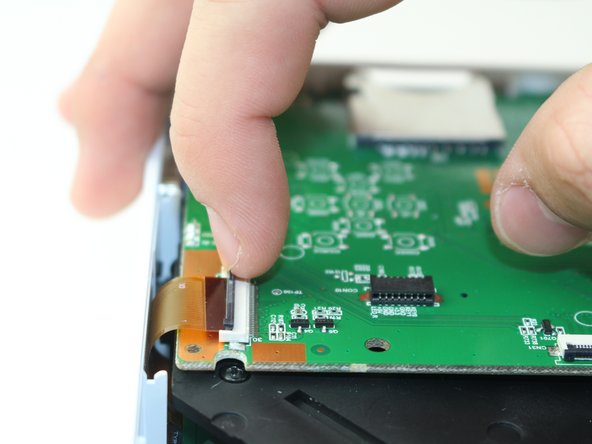
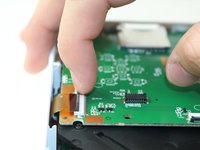
Lift the black latch on the ZIF connector and remove the ribbon cable that attaches the digitizer to the motherboard.
-
-
-
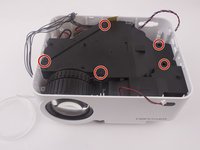
Remove the five screws securing the black plastic cover with a J0 screwdriver.
-
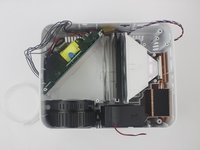
Lift up and out to remove.
-

 FixBot에 문의하기


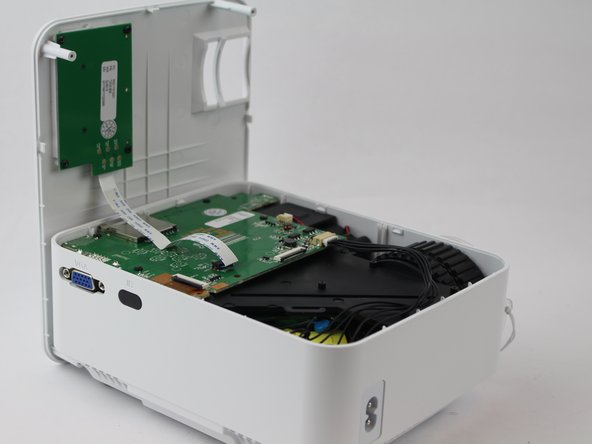







To reassemble your device, follow these instructions in reverse order.
다른 한 분이 해당 안내서를 완성하였습니다.

팀

USF Tampa, Team S16-G2, Boczar Spring 2018 USF Tampa, Team S16-G2, Boczar Spring 2018 회원
USFT-BOCZAR-S18S16G2
5 회원들
안내서 15개를 작성함
4가이드 댓글
Anyone find a bulb for this thing? And/or know what else (or a quick fix) would fix a dark or burn mark on the image?
haing the same issue tried to call a electronics repair place to see if the could order a new polarizing lens for me and they said they could not unless they were the ones that did the repair
Really? Well, crap
KweenBeeTX - 답글 공유
How are the lenses supposed to sit in the hompow t20 mini projector
