주요 콘텐츠로 건너뛰기
수리 커뮤니티 가입 - 계정 만들기

Dell Inspiron 1100 Keyboard Replacement

필요한 것

    1. Dell Inspiron 1100 Keyboard Replacement, Keyboard: 1 단계, 이미지 3개 중 1개 Dell Inspiron 1100 Keyboard Replacement, Keyboard: 1 단계, 이미지 3개 중 2개 Dell Inspiron 1100 Keyboard Replacement, Keyboard: 1 단계, 이미지 3개 중 3개
      • Remove the plastic face plate from the laptop using the iFixit Plastic Opening Tool.

      • Start by inserting the iFixit Plastic Opening Tool into the groove on the right side of the face plate.

      • This step does require some force. Be careful to not bend or break the plastic face plate.

      댓글 쓰기

    2. Dell Inspiron 1100 Keyboard Replacement: 2 단계, 이미지 2개 중 1개 Dell Inspiron 1100 Keyboard Replacement: 2 단계, 이미지 2개 중 2개
      • Remove the four 3mm Phillips #0 screws securing the keyboard.

      댓글 쓰기

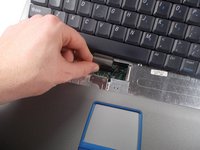
    3. Dell Inspiron 1100 Keyboard Replacement: 3 단계, 이미지 1개 중 1개
      • Lift up the keyboard to expose the ribbon header on the motherboard.

      • Be careful as the keyboard can only move a little ways from the surface of the laptop and is easily damaged.

      댓글 쓰기

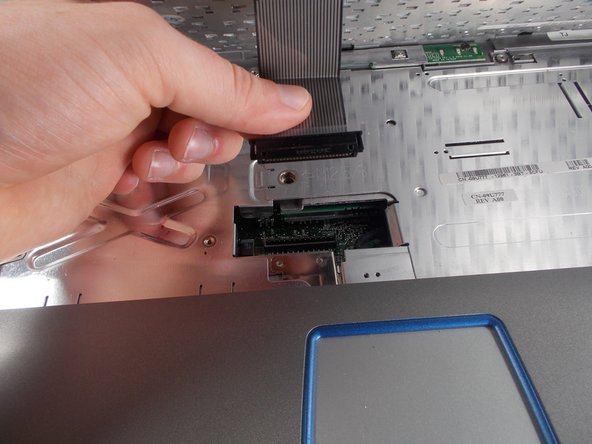
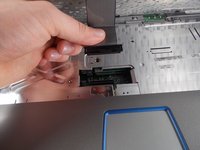
    4. Dell Inspiron 1100 Keyboard Replacement: 4 단계, 이미지 2개 중 1개 Dell Inspiron 1100 Keyboard Replacement: 4 단계, 이미지 2개 중 2개
      • Grip the ribbon on its hard plastic connector, and pull the ribbon and its connector out of the motherboard header.

      • Do not pull on the ribbon itself, as this may cause internal damage to the connector.

      댓글 쓰기

결론

To reassemble your device, follow these instructions in reverse order.

취소: 해당 안내서를 완성하지 않았습니다.

다른 2명이 해당 안내서를 완성하였습니다.

작성자

3다른 기여자 명과 함께

Alexander Pacheco

회원 가입일: 10/19/16

628 평판

안내서 5개를 작성함

UMass Dartmouth, Team 3-3, Isaacson Fall 2016 UMass Dartmouth, Team 3-3, Isaacson Fall 2016 회원

UMASSD-ISAACSON-F16S3G3

3 회원들

안내서 9개를 작성함

0가이드 댓글

댓글 쓰기

조회 통계:

지난 24시간: 0

지난 7일: 6

지난 30일: 19

전체 시간: 742