소개
This guide takes the user through the steps of replacing this devices CPU.
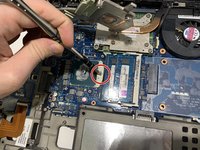
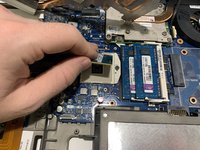
The CPU is the brain of the computer. It is the part of the computer that performs calculations, actions, and runs programs. You may have a bad CPU if your system starts and then shuts down immediately.
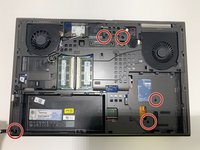
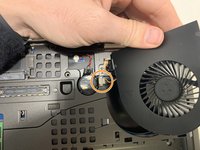
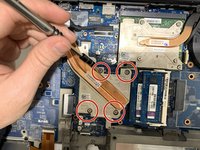
Before using this guide, be sure to review the Dell Precision M4700 Troubleshooting Often times, checking the cooling fans to make sure they are working will help solve the issue.
필요한 것
-
-
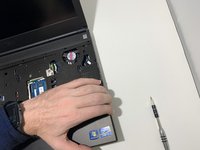
Slide the release latch to unlock the battery.
-
Flip and remove the battery from the computer.
-
-
-
-
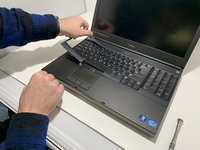
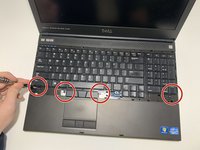
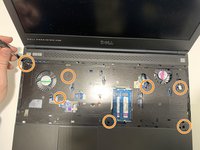
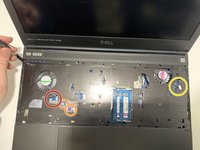
Remove the four 3mm screws that secure the keyboard to the computer with a Phillips #00 screwdriver.
-
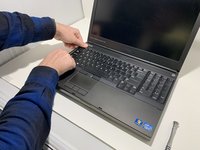
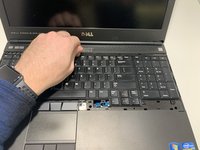
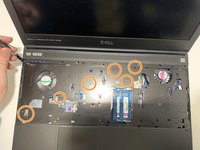
Starting from the bottom of the keyboard, separate the keyboard from the computer and flip the keyboard over.
-
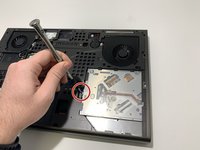
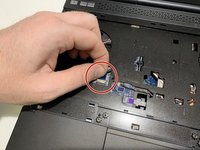
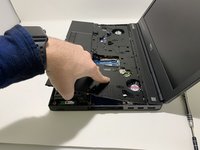
Disconnect the keyboard-data cable from the system board by flipping up the locking tab of the ZIF connector and gently pulling out the cable.
-
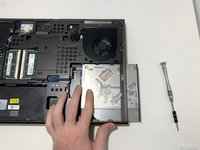
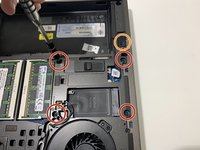
Remove the keyboard.
-


To reassemble your device, follow these instructions in reverse order.
다른 3명이 해당 안내서를 완성하였습니다.
팀

University of Memphis, Team S4-G5, Kim Fall 2019 University of Memphis, Team S4-G5, Kim Fall 2019 회원
UM-KIM-F19S4G5
4 회원들
안내서 3개를 작성함