주요 콘텐츠로 건너뛰기
수리 커뮤니티 가입 - 계정 만들기

Dell VRP100 Lens Replacement

필요한 것

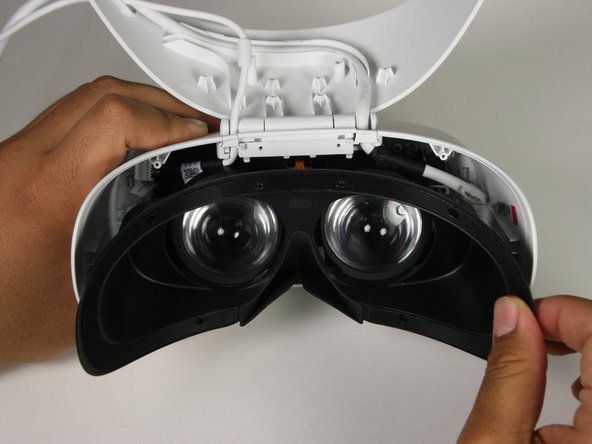
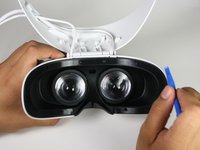
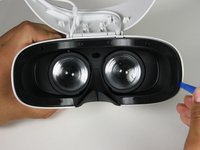
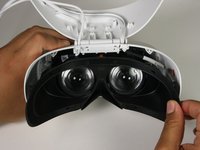
    1. Dell VRP100 Lens Replacement, Cover Panel: 1 단계, 이미지 3개 중 1개 Dell VRP100 Lens Replacement, Cover Panel: 1 단계, 이미지 3개 중 2개 Dell VRP100 Lens Replacement, Cover Panel: 1 단계, 이미지 3개 중 3개
      • Remove the black foam padding by peeling away slowly.

      • Remove the front and back padding from the headset by peeling away slowly.

      댓글 쓰기

    2. Dell VRP100 Lens Replacement: 2 단계, 이미지 1개 중 1개
      • Remove the six 5.5mm PH000 screws from the cover by rotating counter-clockwise.

      • Cover panel may need to be pushed in before inserting screws.

      댓글 쓰기

    3. Dell VRP100 Lens Replacement: 3 단계, 이미지 3개 중 1개 Dell VRP100 Lens Replacement: 3 단계, 이미지 3개 중 2개 Dell VRP100 Lens Replacement: 3 단계, 이미지 3개 중 3개
      • Remove the cover using one of the plastic opening tools, and then carefully pull it from the casing.

      댓글 쓰기

    4. Dell VRP100 Lens Replacement: 4 단계, 이미지 3개 중 1개 Dell VRP100 Lens Replacement: 4 단계, 이미지 3개 중 2개 Dell VRP100 Lens Replacement: 4 단계, 이미지 3개 중 3개
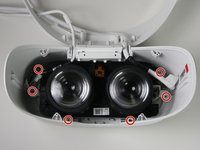
      • Remove the six 5.5mm PH000 screws from the cover by rotating counter-clockwise.

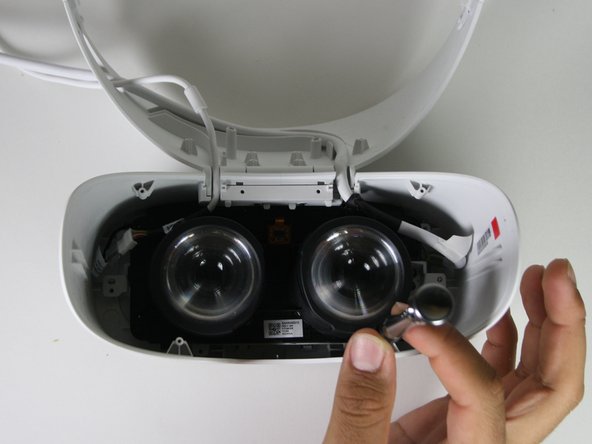
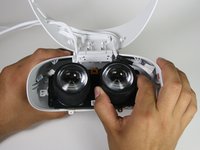
      • Carefully remove the lens and motherboard assembly from the white casing.

      댓글 쓰기

    1. Dell VRP100 Lens Replacement, Lens: 5 단계, 이미지 2개 중 1개 Dell VRP100 Lens Replacement, Lens: 5 단계, 이미지 2개 중 2개
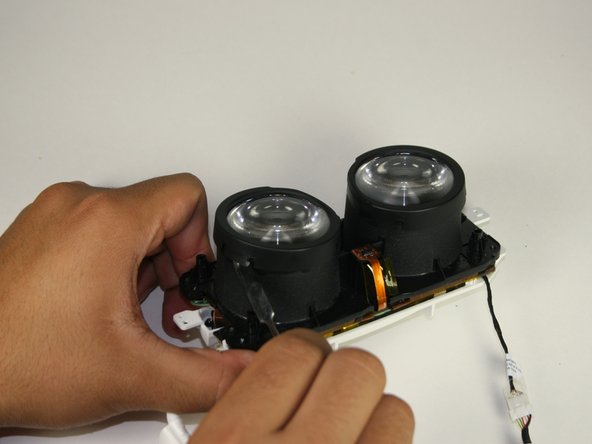
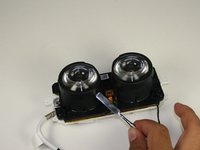
      • Deattach the black cover from the lens with a metal spudger.

      • This will “click” back into place during replacement.

      댓글 쓰기

    2. Dell VRP100 Lens Replacement: 6 단계, 이미지 3개 중 1개 Dell VRP100 Lens Replacement: 6 단계, 이미지 3개 중 2개 Dell VRP100 Lens Replacement: 6 단계, 이미지 3개 중 3개
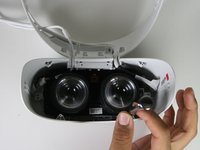
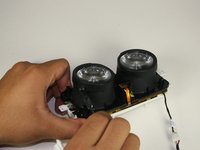
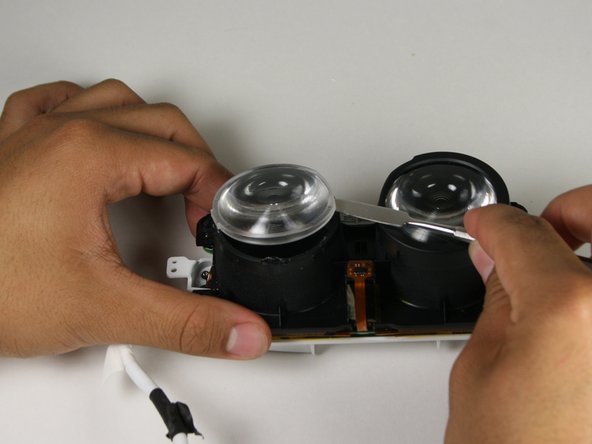
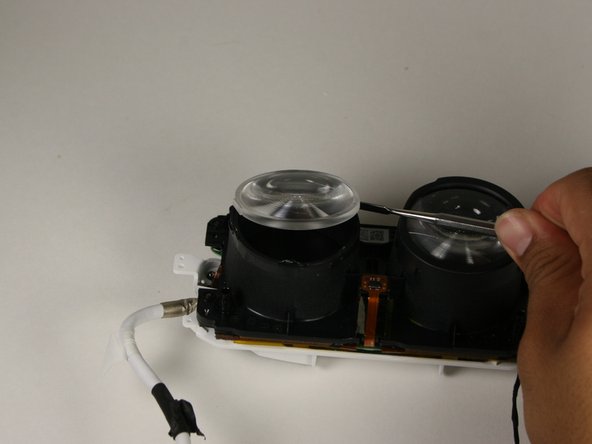
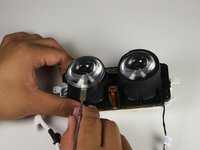
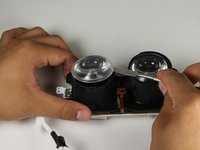
      • Gently insert the metal spudger between the lens and the lens casing.

      • Rotate the spudger around the exterior of the lens and lens housing, separating them.

      • The lens is held in place with an adhesive that will have to be applied during reassembly.

      댓글 쓰기

    3. Dell VRP100 Lens Replacement: 7 단계, 이미지 1개 중 1개
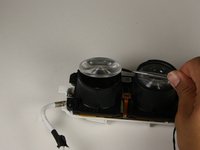
      • Holding the lens around the outside, gently lift it out of its housing.

      댓글 쓰기

결론

To reassemble your device, follow these instructions in reverse order.

취소: 해당 안내서를 완성하지 않았습니다.

다른 한 분이 해당 안내서를 완성하였습니다.

작성자

3다른 기여자 명과 함께

Chris Grabow

회원 가입일: 10/08/18

285 평판

안내서 2개를 작성함

Cal Poly, Team S17-G1, White Fall 2018 Cal Poly, Team S17-G1, White Fall 2018 회원

CPSU-WHITE-F18S17G1

4 회원들

안내서 24개를 작성함

0가이드 댓글

댓글 쓰기

조회 통계:

지난 24시간: 1

지난 7일: 5

지난 30일: 37

전체 시간: 1,256