소개
Upgrading or replacing the graphics card in your computer can significantly enhance your system's visual performance. This guide is tailored specifically for the Dell XPS 720 H2C, providing you with step-by-step instructions on how to safely remove an old graphics card, install a new one, or simply reseat the existing card to ensure optimal connectivity. Before you begin, it's crucial to verify that your new graphics card is compatible with your Dell XPS setup to guarantee a smooth and successful upgrade. Follow along to boost your computer's display capabilities effectively and efficiently.
-
-
-
Remove the cover panel on the side of the computer by pulling out the latch on the back panel and pulling the panel downwards towards the ground.
 FixBot에 문의하기
-
-
-
-
-
Locate the graphics card near the bottom-right area of the computer, just below the XPS processor cooler.
-
Before entering into the "guts" of the computer, make sure you have the computer powered off and unplugged. Following that, you will want to unplug any video cables, including DVI and VGA cables, that are connected to the graphics port on the back panel of the computer.
-
-
-
-
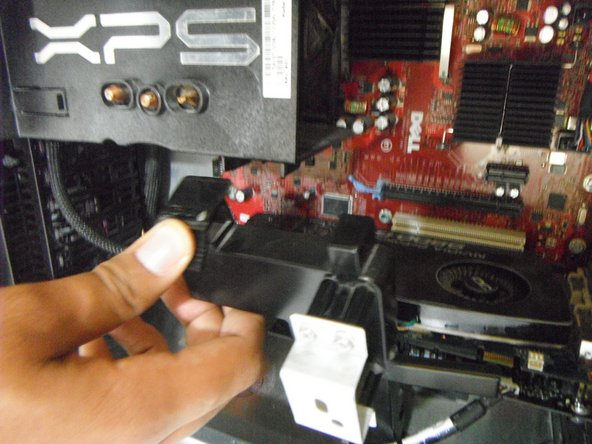
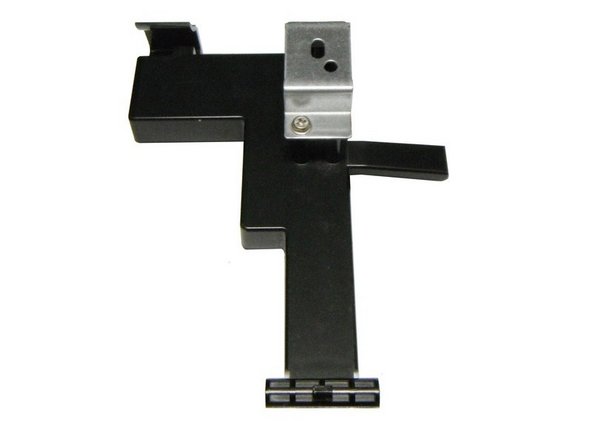
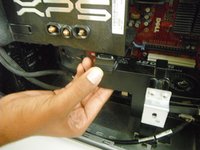
Remove the support underneath the processor cooler by pressing down on the latch at the top of the support and pulling the support towards you.
-
-
-
Continue by pressing down on blue tab restraining on the graphics card. In the picture the graphics card is shown to have the fourth blue clip from the top holding it in.
-
Pressing down on this clip will enable you to remove the graphics card from the motherboard.
-
-
-
Unplug the cable labeled "P3" on the left side of the graphics card. Be sure to push the plastic pin all the way down and pull firmly.
-
-
-
Grab the graphics card with two hands and pull directly outward. The card may not come out smoothly. If this is the case, apply firm and even pressure with both hands.
-
-


To reassemble your device, follow these instructions in reverse order.
다른 3명이 해당 안내서를 완성하였습니다.
팀

Cal Poly, Team 4-16, Maness Spring 2013 Cal Poly, Team 4-16, Maness Spring 2013 회원
CPSU-MANESS-S13S4G16
3 회원들
안내서 3개를 작성함