소개
This guide outlines how to disassemble a JBL Charge speaker’s case. Disassembling the speaker’s case will be useful in repairing water damage, and/or replacing batteries. This guide does not require special skills, besides basic knowledge of common hand held tools.
필요한 것
-
-
-
Use the PH1 screwdriver to remove all five of the 6 mm screws from the battery cover.
-
Remove the battery cover and set the cover aside.
-
-
-
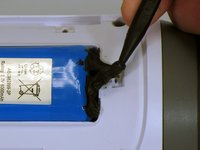
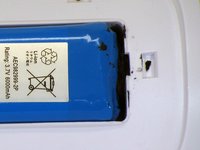
Use a spudger to carefully remove the liquid electrical tape that holds the battery inside the battery compartment.
-
-
-
-
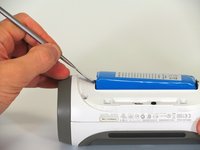
Use a spudger to lift the battery out of the device.
-
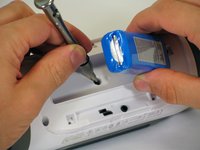
Lift the end of the battery that does not have the wire connection and remove the 16 mm PH2 screw underneath the battery.
-
-
-
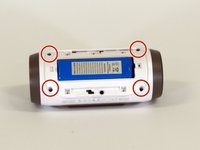
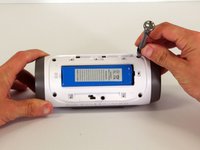
Remove the four 16 mm screws from the white plastic casing using the PH2 screwdriver.
-
-
-
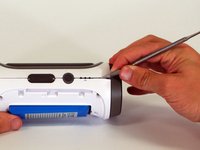
Starting in a corner of the device where the casing and the side meet, use a pointed metal spudger to pry the back casing off the speaker and the glue holding the seam together.
-
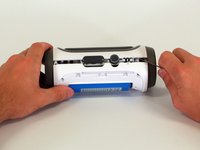
Slide the metal spudger along the seam to separate the back casing from the rest of the speaker.
-
-
-
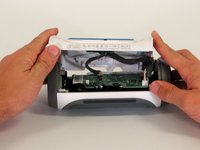
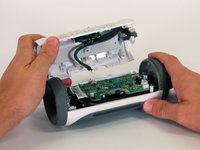
Once the back casing is open, disconnect the three white connectors from the motherboard.
-
Remove the upper casing.
-


 FixBot에 문의하기










To reassemble your device, follow these instructions in reverse order.
다른 36명이 해당 안내서를 완성하였습니다.

팀

Cal Poly, Team 12-4, Lancaster Spring 2015 Cal Poly, Team 12-4, Lancaster Spring 2015 회원
CPSU-LANCASTER-S15S12G4
2 회원들
안내서 32개를 작성함
11가이드 댓글
Breaking apart the halves takes patience. Took 30 minutes. Mine was glued together like a tank, and it was not easy at all to separate the halves. Maybe JBL saw this post and doubled the glue to dissuade DIY fixes. Once I separated the halves, it was easy, but be prepared to get moderately frustrated in doing so. Also, don't get angry and try to force them apart, because from my experience, I do believe there is a high risk potential of cracking either halve if attempting to brute force the issue. Remember, patience is a virtue here. Lastly, you can get a good set of spudger tools at Harbor Freight Tools for cheap. They are actually called Wax Carving tools made in India of stainless steel. Excellent set to complete this fix, and I can see that they will be very useful in the future if needed. 10/10 for the author for the breakdown instructions. Cheers!
Follow these directions, Do not deviate from the path and you shall find Success awaits at journey's end.
rufusleehung - 답글 공유
one essential moment. when you're trying to disasemble a cover there is also one bolt under the battery socket! it not shown on step 5!
