주요 콘텐츠로 건너뛰기
수리 커뮤니티 가입 - 계정 만들기

Disassembling Sony Ericsson w600i LCD Section

필요한 것

    1. Disassembling Sony Ericsson w600i LCD Section, Disassembling Sony Ericsson w600i Battery Cover: 1 단계, 이미지 1개 중 1개
      • Grip the lower portion of the back of the phone and slide downwards.

      댓글 쓰기

    1. Disassembling Sony Ericsson w600i LCD Section, Battery: 2 단계, 이미지 1개 중 1개
      • Lift battery at the rounded notch near the bottom of the phone.

      댓글 쓰기

    1. Disassembling Sony Ericsson w600i LCD Section, Back housing: 3 단계, 이미지 1개 중 1개
      • Unscrew the four Torx screws from the backplate.

      • The backplate may begin to separate from the keypad face. Do not try to remove it yet.

      • The screws are T5 Torx screws, 5.6mm.

      댓글 쓰기

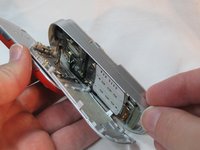
    2. Disassembling Sony Ericsson w600i LCD Section: 4 단계, 이미지 1개 중 1개
      • Swivel the phone open.

      댓글 쓰기

    3. Disassembling Sony Ericsson w600i LCD Section: 5 단계, 이미지 1개 중 1개
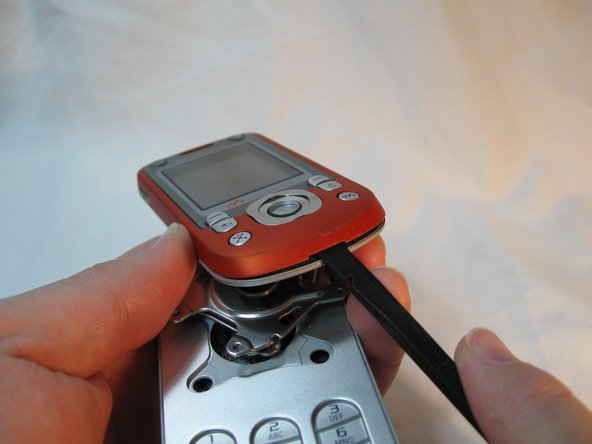
      • Using the Spudger, gently pry up the U-shaped grey cover below the keypad.

      • The cover is secured with adhesive tape. The gentler this is removed, the easier it will be to reassemble.

      댓글 쓰기

    4. Disassembling Sony Ericsson w600i LCD Section: 6 단계, 이미지 1개 중 1개
      • Remove the two Torx screws from below the cover.

      • These are T5 Torx screws, 8.6mm.

      댓글 쓰기

    5. Disassembling Sony Ericsson w600i LCD Section: 7 단계, 이미지 1개 중 1개
      • Gently work a spudger or a fingernail between the keypad face and the backplate.

      • The pieces are clipped together most tightly at the bottom loop section.

      댓글 쓰기

    6. Disassembling Sony Ericsson w600i LCD Section: 8 단계, 이미지 2개 중 1개 Disassembling Sony Ericsson w600i LCD Section: 8 단계, 이미지 2개 중 2개
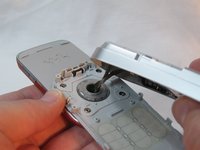
      • Separate the keypad face from the backplate.

      • The keypad keys and the button component are both loose inside the phone, so take note of their orientation in case they become dislodged.

      • Take note of the braided cord's state. Upon reassembly it should be returned to the same orientation.

      댓글 쓰기

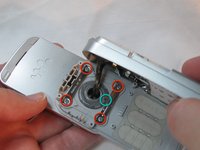
    7. Disassembling Sony Ericsson w600i LCD Section: 9 단계, 이미지 3개 중 1개 Disassembling Sony Ericsson w600i LCD Section: 9 단계, 이미지 3개 중 2개 Disassembling Sony Ericsson w600i LCD Section: 9 단계, 이미지 3개 중 3개
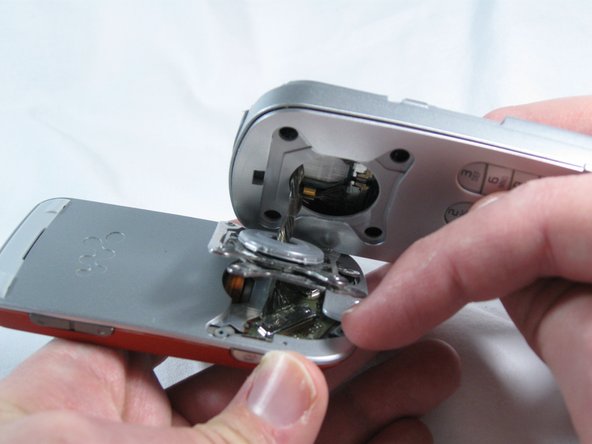
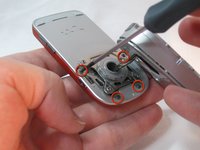
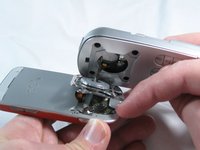
      • Holding the backplate away from the swivel, remove the 4 small Phillips screws and both stamped struts from the swivel assembly.

      • Note that only the bottom strut has a tab.

      • The screws are Phillips, 2.9mm

      댓글 쓰기

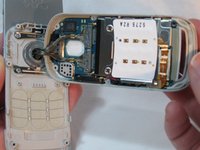
    8. Disassembling Sony Ericsson w600i LCD Section: 10 단계, 이미지 1개 중 1개
      • The back housing is now disassembled, and the swivel assembly is revealed.

      댓글 쓰기

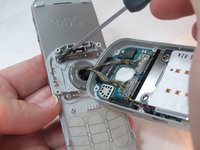
    1. Disassembling Sony Ericsson w600i LCD Section, LCD Section: 11 단계, 이미지 2개 중 1개 Disassembling Sony Ericsson w600i LCD Section, LCD Section: 11 단계, 이미지 2개 중 2개
      • Remove the four black Phillips screws holding the swivel assembly to the LCD section of the phone.

      • Be mindful of the screws, as they are very small.

      • The screws are Phillips, 2.4mm

      댓글 쓰기

    2. Disassembling Sony Ericsson w600i LCD Section: 12 단계, 이미지 1개 중 1개
      • Gently remove the grey plastic cover at the top-rear of the LCD section with a spudger.

      • It is secured with adhesive tape, the more gently you remove this piece, the easier reassembly will be later.

      댓글 쓰기

    3. Disassembling Sony Ericsson w600i LCD Section: 13 단계, 이미지 1개 중 1개
      • Remove the two Torx screws revealed under the grey cover.

      • The screws are Torx T5, 5.6mm

      댓글 쓰기

    4. Disassembling Sony Ericsson w600i LCD Section: 14 단계, 이미지 1개 중 1개
      • Gently pry off the front face, starting at the bottom slot.

      댓글 쓰기

    5. Disassembling Sony Ericsson w600i LCD Section: 15 단계, 이미지 1개 중 1개
      • Remove the Torx screws near the buttons.

      • The screws are Torx T5, 5.6mm

      댓글 쓰기

    6. Disassembling Sony Ericsson w600i LCD Section: 16 단계, 이미지 2개 중 1개 Disassembling Sony Ericsson w600i LCD Section: 16 단계, 이미지 2개 중 2개
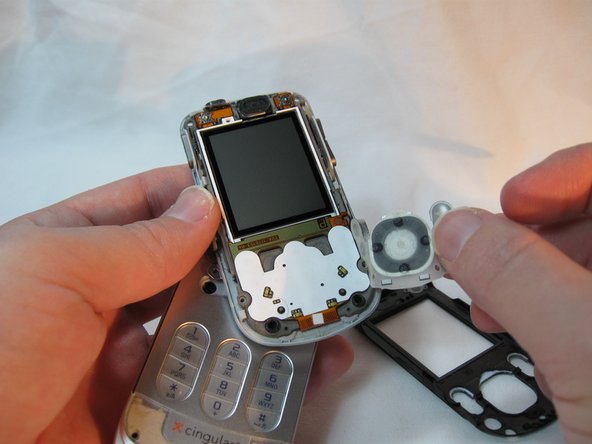
      • Remove the black front plate.

      • Remove the button overlay, taking note of its position for reassembly. There are small grey nubs that correspond to holes in the overlay.

      댓글 쓰기

    7. Disassembling Sony Ericsson w600i LCD Section: 17 단계, 이미지 1개 중 1개
      • Gently release the small grey retaining clips around the outside of the display assembly.

      • Separate the display assembly from its backplate.

      • Take care; some of the side buttons may dislodge as the backplate is separated.

      • The LCD section is now disassembled.

      댓글 쓰기

결론

To reassemble your device, follow these instructions in reverse order.

취소: 해당 안내서를 완성하지 않았습니다.

다른 한 분이 해당 안내서를 완성하였습니다.

작성자

4다른 기여자 명과 함께

Beau Blanchard

회원 가입일: 09/30/12

20 평판

안내서 6개를 작성함

University of Maine, Team 1-5, Diaz Fall 2012 University of Maine, Team 1-5, Diaz Fall 2012 회원

UMAINE-DIAZ-F12S1G5

1 회원

안내서 72개를 작성함

0가이드 댓글

댓글 쓰기

조회 통계:

지난 24시간: 0

지난 7일: 6

지난 30일: 20

전체 시간: 1,052