주요 콘텐츠로 건너뛰기
수리 커뮤니티 가입 - 계정 만들기

Dremel MultiPro 395 Casing Replacement

필요한 것

    1. Dremel MultiPro 395 Casing Replacement, Casing: 1 단계, 이미지 2개 중 1개 Dremel MultiPro 395 Casing Replacement, Casing: 1 단계, 이미지 2개 중 2개
      이 단계에 사용된 도구:
      Flathead 3/32" or 2.5 mm Screwdriver
      $5.49
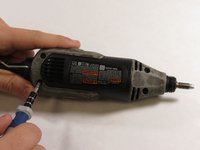
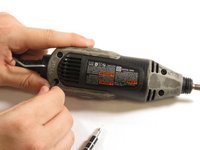
      • Remove the blue caps located on either side of the MultiPro, using a 3 mm flathead screwdriver.

      댓글 쓰기

    2. Dremel MultiPro 395 Casing Replacement: 2 단계, 이미지 2개 중 1개 Dremel MultiPro 395 Casing Replacement: 2 단계, 이미지 2개 중 2개
      • Carefully remove the carbon brushes attached at the end of the springs by gently pulling on the springs using your hands.

      댓글 쓰기

    3. Dremel MultiPro 395 Casing Replacement: 3 단계, 이미지 2개 중 1개 Dremel MultiPro 395 Casing Replacement: 3 단계, 이미지 2개 중 2개
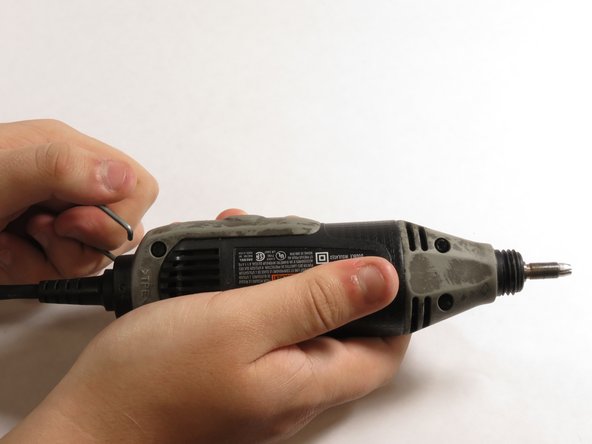
      • Pull one side of the hanger up and then pull away from the Multipro until the other side can be pulled out.

      댓글 쓰기

    4. Dremel MultiPro 395 Casing Replacement: 4 단계, 이미지 3개 중 1개 Dremel MultiPro 395 Casing Replacement: 4 단계, 이미지 3개 중 2개 Dremel MultiPro 395 Casing Replacement: 4 단계, 이미지 3개 중 3개
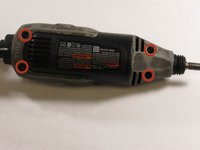
      • Remove the 4 screws located on the bottom of the Multipro with a T15 screwdriver.

      댓글 쓰기

    5. Dremel MultiPro 395 Casing Replacement: 5 단계, 이미지 3개 중 1개 Dremel MultiPro 395 Casing Replacement: 5 단계, 이미지 3개 중 2개 Dremel MultiPro 395 Casing Replacement: 5 단계, 이미지 3개 중 3개
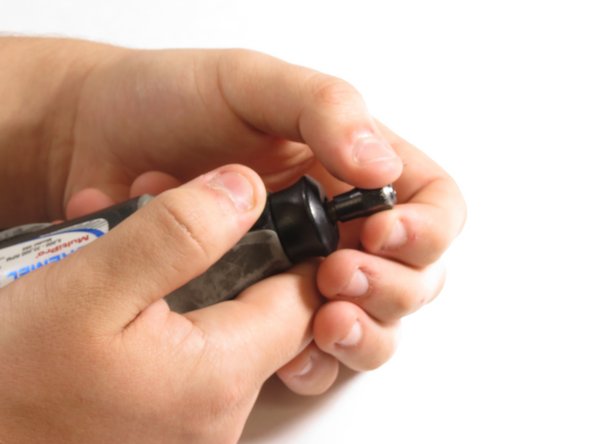
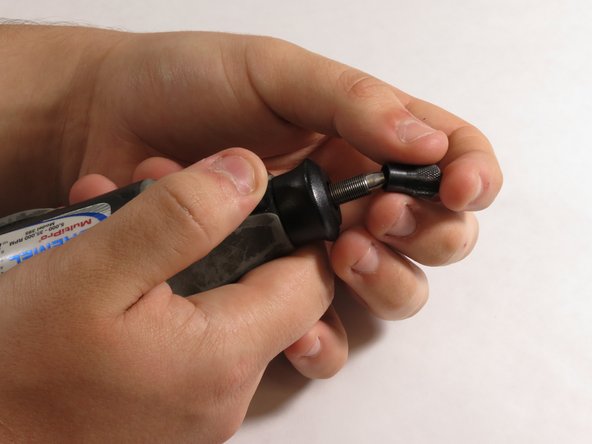
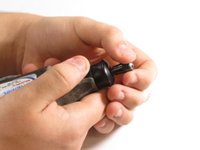
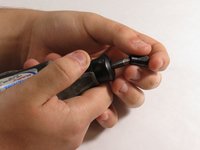
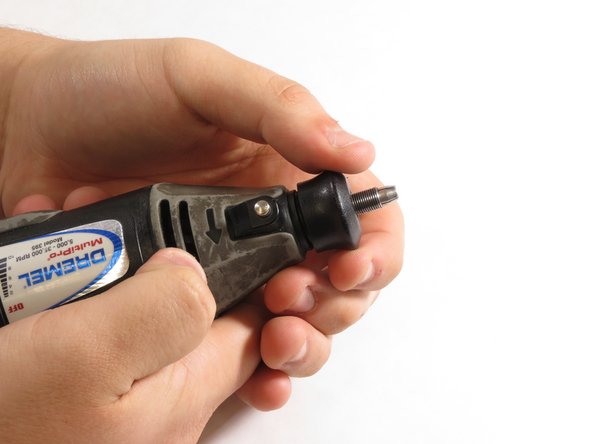
      • Hold down the collet lock, remove the chuck cap from the top of the Multipro by screwing counterclockwise.

      댓글 쓰기

    6. Dremel MultiPro 395 Casing Replacement: 6 단계, 이미지 3개 중 1개 Dremel MultiPro 395 Casing Replacement: 6 단계, 이미지 3개 중 2개 Dremel MultiPro 395 Casing Replacement: 6 단계, 이미지 3개 중 3개
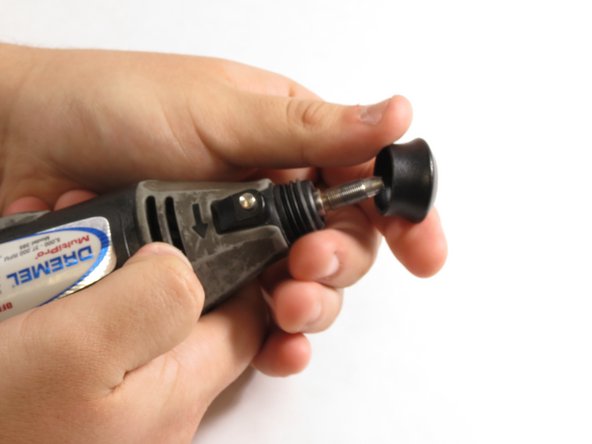
      • Remove the black housing cap from the Multipro located directly below the chuck cap.

      댓글 쓰기

    7. Dremel MultiPro 395 Casing Replacement: 7 단계, 이미지 3개 중 1개 Dremel MultiPro 395 Casing Replacement: 7 단계, 이미지 3개 중 2개 Dremel MultiPro 395 Casing Replacement: 7 단계, 이미지 3개 중 3개
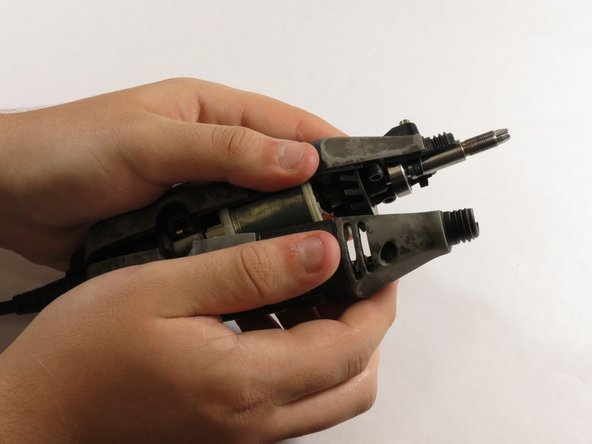
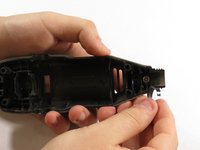
      • Pull the bottom side of the casing up to remove it.

      댓글 쓰기

    8. Dremel MultiPro 395 Casing Replacement: 8 단계, 이미지 3개 중 1개 Dremel MultiPro 395 Casing Replacement: 8 단계, 이미지 3개 중 2개 Dremel MultiPro 395 Casing Replacement: 8 단계, 이미지 3개 중 3개
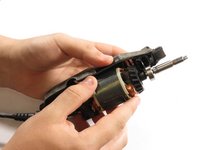
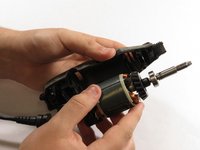
      • Gently lift the motor shaft out of the Multipro.

      댓글 쓰기

    9. Dremel MultiPro 395 Casing Replacement: 9 단계, 이미지 3개 중 1개 Dremel MultiPro 395 Casing Replacement: 9 단계, 이미지 3개 중 2개 Dremel MultiPro 395 Casing Replacement: 9 단계, 이미지 3개 중 3개
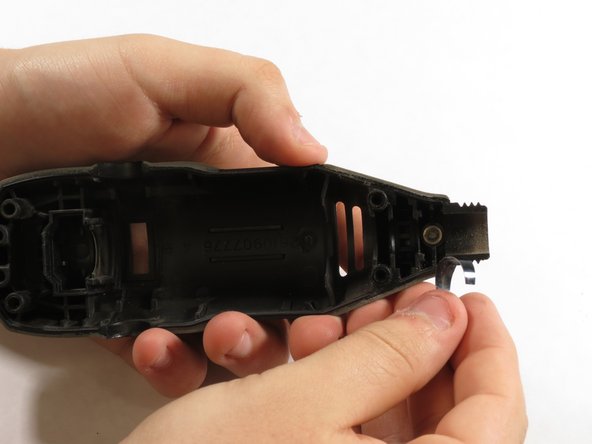
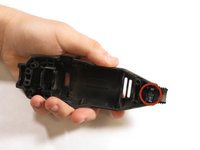
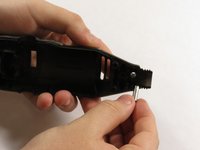
      • Pull the lock pin and its casing out of the other side of the Multipro case.

      댓글 쓰기

결론

To reassemble your device, follow these instructions in reverse order.

취소: 해당 안내서를 완성하지 않았습니다.

다른 3명이 해당 안내서를 완성하였습니다.

작성자

4다른 기여자 명과 함께

Matthew Satton

회원 가입일: 09/17/14

523 평판

안내서 2개를 작성함

2가이드 댓글

A link to parts is always nice,

bari - 답글 공유

Yay! Got my old 395 warrior back to working condition! Many thanks!

Eduardo Capocchi - 답글 공유

댓글 쓰기

조회 통계:

지난 24시간: 1

지난 7일: 13

지난 30일: 42

전체 시간: 2,927