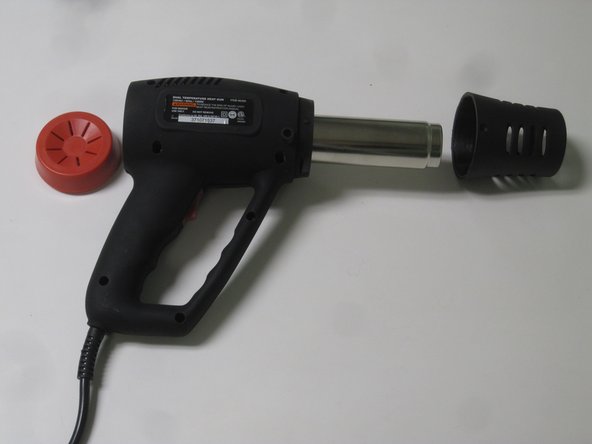
주요 콘텐츠로 건너뛰기
수리 커뮤니티 가입 - 계정 만들기

Drill Master Heat Gun Fan Replacement

필요한 것

  1. Drill Master Heat Gun Fan Replacement, Fan: 1 단계, 이미지 1개 중 1개
    • Be sure the heat gun is unplugged before starting this process.

    • Remove the seven 14mm screws from the side of the drill using the PH#0 screwdriver.

    • You will need a screwdriver extension.

  2. Drill Master Heat Gun Fan Replacement: 2 단계, 이미지 1개 중 1개
    • Remove the 8mm screw from underside of barrel using the PH#0 screwdriver.

    • Don't try to open the casing just yet.

  3. Drill Master Heat Gun Fan Replacement: 3 단계, 이미지 3개 중 1개 Drill Master Heat Gun Fan Replacement: 3 단계, 이미지 3개 중 2개 Drill Master Heat Gun Fan Replacement: 3 단계, 이미지 3개 중 3개
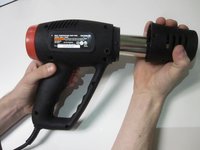
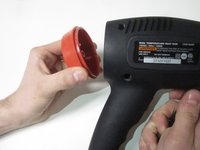
    • Remove the barrel casing on either end by twisting and pulling each side off.

  4. Drill Master Heat Gun Fan Replacement: 4 단계, 이미지 1개 중 1개
    • Remove the top casing to reveal inside of drill. You might have to tug a little harder for this one.

  5. Drill Master Heat Gun Fan Replacement: 5 단계, 이미지 1개 중 1개
    • Remove the metal casing and fan cover from the fan unit.

  6. Drill Master Heat Gun Fan Replacement: 6 단계, 이미지 1개 중 1개
    • Bend the metal prongs backward that connect the fan motor to the plastic cap.

    • Bending the brackets too far back can cause the brackets to break.

  7. Drill Master Heat Gun Fan Replacement: 7 단계, 이미지 1개 중 1개
    • Remove the plastic cap from the motor,

    • This will allow you to work only with the motor and fan.

  8. Drill Master Heat Gun Fan Replacement: 8 단계, 이미지 1개 중 1개
    • Remove the fan by pulling it from the motor rod and replace.

결론

To reassemble your device, follow these instructions in reverse order.

작성자

4다른 기여자 명과 함께

Mikayla Kim

회원 가입일: 01/31/17

529 평판

안내서 5개를 작성함

0가이드 댓글

댓글 쓰기

조회 통계:

지난 24시간: 3

지난 7일: 17

지난 30일: 75

전체 시간: 3,574