주요 콘텐츠로 건너뛰기
수리 커뮤니티 가입 - 계정 만들기

Edwin the Duck Rubber Heart Power Button Replacement

필요한 것

  1. Edwin the Duck Rubber Heart Power Button Replacement, Rubber Heart Power Button: 1 단계, 이미지 2개 중 1개 Edwin the Duck Rubber Heart Power Button Replacement, Rubber Heart Power Button: 1 단계, 이미지 2개 중 2개
    • Unscrew the four 9mm screws with a T8 bit

    • Remove the back plate off

    댓글 쓰기

  2. Edwin the Duck Rubber Heart Power Button Replacement: 2 단계, 이미지 2개 중 1개 Edwin the Duck Rubber Heart Power Button Replacement: 2 단계, 이미지 2개 중 2개
    • Carefully take off the rubber skin.

    • It's important to remember to be patient and not rush. You don't want to rip or damage the rubber skin in then resulting in not having a waterproof cover.

    댓글 쓰기

  3. Edwin the Duck Rubber Heart Power Button Replacement: 3 단계, 이미지 1개 중 1개
    • Using the J1 bit, unscrew all six 9 mm screws that run along the border.

    댓글 쓰기

  4. Edwin the Duck Rubber Heart Power Button Replacement: 4 단계, 이미지 2개 중 1개 Edwin the Duck Rubber Heart Power Button Replacement: 4 단계, 이미지 2개 중 2개
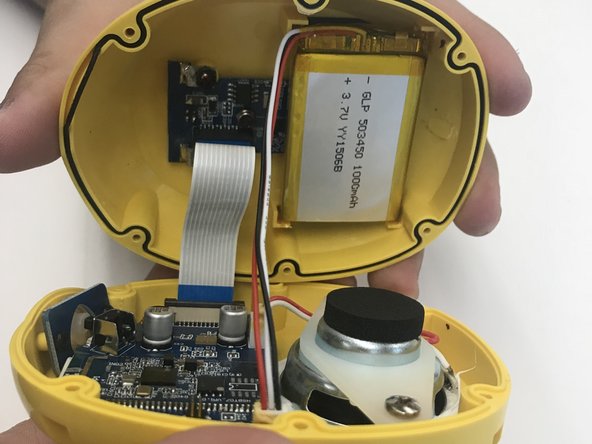
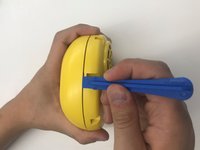
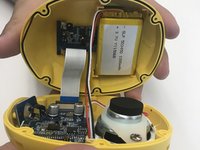
    • Use the plastic opening tool to open the inside of the duck.

    • Be very careful when splitting the two halves apart. There are wires connecting to both sides. Remember to open slowly.

    댓글 쓰기

  5. Edwin the Duck Rubber Heart Power Button Replacement: 5 단계, 이미지 2개 중 1개 Edwin the Duck Rubber Heart Power Button Replacement: 5 단계, 이미지 2개 중 2개
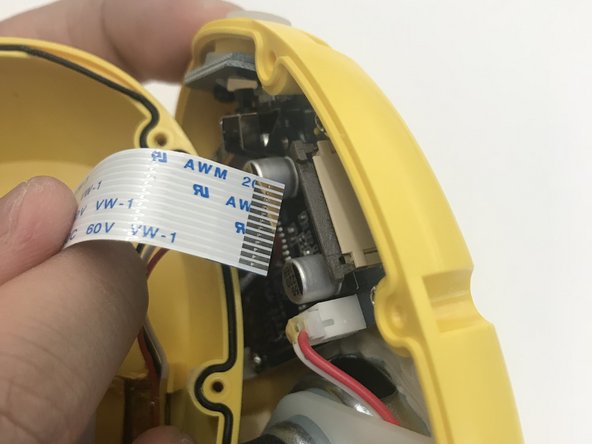
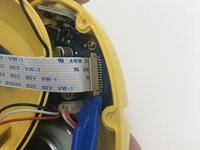
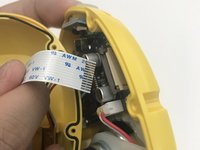
    • Using the plastic opening tool pull up the black tab up until it stops.

    • Be careful not to pull up the black tab too far up, otherwise the cable won't be secure anymore.

    • Pull up the white cable tab up slowly

    댓글 쓰기

  6. Edwin the Duck Rubber Heart Power Button Replacement: 6 단계, 이미지 2개 중 1개 Edwin the Duck Rubber Heart Power Button Replacement: 6 단계, 이미지 2개 중 2개
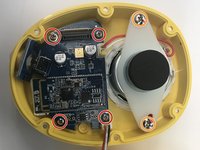
    • Use the J1 bit to unscrew all four 9 mm screws connected to the motherboard.

    • Use the J1 bit to unscrew both 9 mm screws attached to the white plastic plate

    댓글 쓰기

  7. Edwin the Duck Rubber Heart Power Button Replacement: 7 단계, 이미지 1개 중 1개
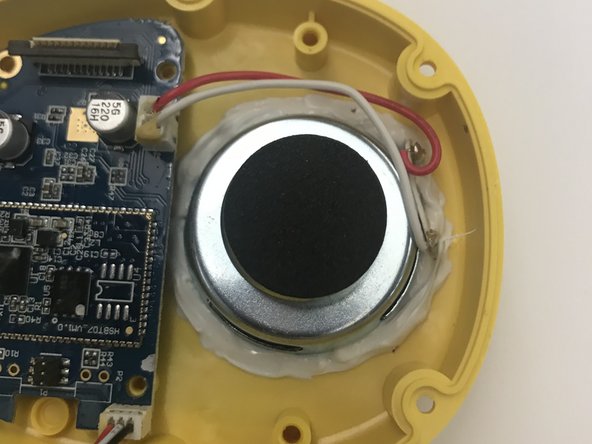
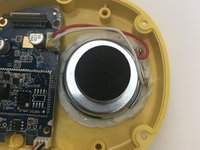
    • Lift up the motherboard and speaker and place it away and to the side like you see in the picture

    댓글 쓰기

  8. Edwin the Duck Rubber Heart Power Button Replacement: 8 단계, 이미지 2개 중 1개 Edwin the Duck Rubber Heart Power Button Replacement: 8 단계, 이미지 2개 중 2개
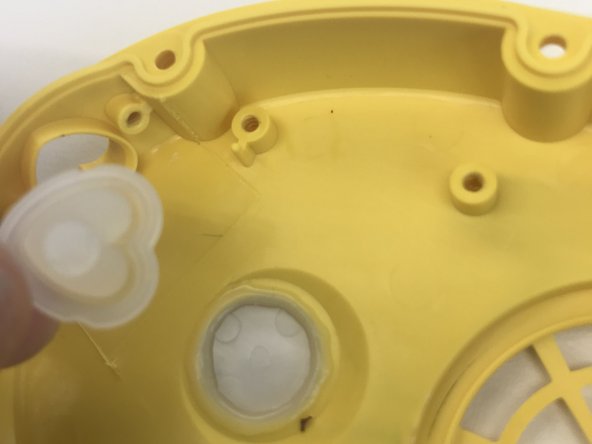
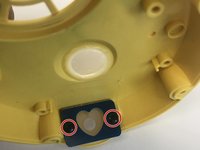
    • Unscrew the two black 9 mm screws by using the J1 bit.

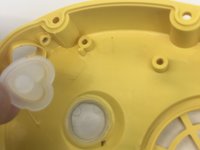
    • Remove the damaged rubber heart button and replace with a new rubber heart button.

    댓글 쓰기

결론

To reassemble your device, follow these instructions in reverse order.

취소: 해당 안내서를 완성하지 않았습니다.

다른 2명이 해당 안내서를 완성하였습니다.

작성자

3다른 기여자 명과 함께

Michelle Montano

회원 가입일: 10/18/17

116 평판

안내서 1개를 작성함

UW Tacoma, Team S1-G4, Rose Fall 2017 UW Tacoma, Team S1-G4, Rose Fall 2017 회원

UWT-ROSE-F17S1G4

3 회원들

안내서 6개를 작성함

0가이드 댓글

댓글 쓰기

조회 통계:

지난 24시간: 0

지난 7일: 8

지난 30일: 31

전체 시간: 1,065