주요 콘텐츠로 건너뛰기

Electrohome EAAC475 Projector Lens Replacement

필요한 것

  1. Electrohome EAAC475 Projector Lens Replacement, Battery: 1 단계, 이미지 1/2 Electrohome EAAC475 Projector Lens Replacement, Battery: 1 단계, 이미지 2/2
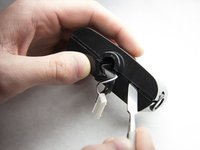
    • Remove the 10 mm Phillips #1 screw from the battery cover.

    • Remove the battery cover.

  2. Electrohome EAAC475 Projector Lens Replacement: 2 단계, 이미지 1/1
    • Remove the flat lithium battery.

  3. Electrohome EAAC475 Projector Lens Replacement, Projector Lens: 3 단계, 이미지 1/1
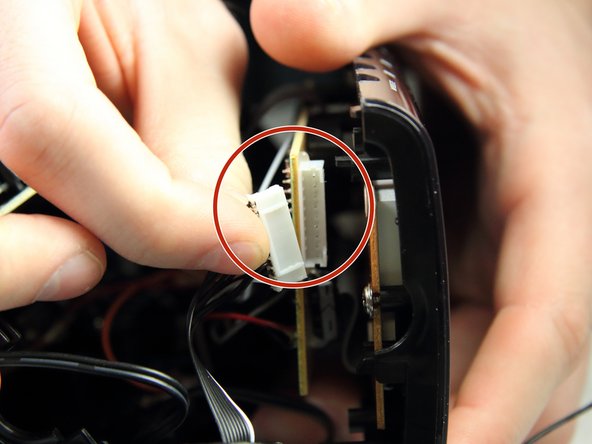
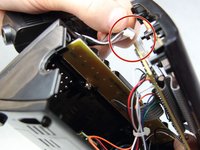
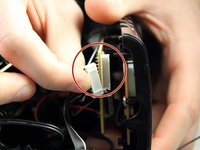
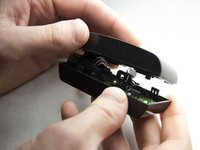
    • Slowly and carefully move one side away from another without detaching anything on the device.

  4. Electrohome EAAC475 Projector Lens Replacement: 4 단계, 이미지 1/1
    • Detach the projector.

  5. Electrohome EAAC475 Projector Lens Replacement: 5 단계, 이미지 1/2 Electrohome EAAC475 Projector Lens Replacement: 5 단계, 이미지 2/2
    • Unplug the projector's connector from the circuit board.

  6. Electrohome EAAC475 Projector Lens Replacement: 6 단계, 이미지 1/1
    • Take off the rubber ring.

  7. Electrohome EAAC475 Projector Lens Replacement: 7 단계, 이미지 1/3 Electrohome EAAC475 Projector Lens Replacement: 7 단계, 이미지 2/3 Electrohome EAAC475 Projector Lens Replacement: 7 단계, 이미지 3/3
    • Using a metal spudger, pry into the crease until it separates enough to slip the spudger between the pieces.

    • Slide the tool along the crease to separate.

  8. Electrohome EAAC475 Projector Lens Replacement: 8 단계, 이미지 1/1
    • Take the lens out of the projector.

  9. Electrohome EAAC475 Projector Lens Replacement: 9 단계, 이미지 1/1
    • Separate the lens and the gear by unscrewing the gear.

결론

To reassemble your device, follow these instructions in reverse order.

Sterling Fulk

회원 가입일: 02/16/16

264 평판

안내서 2개 작성하였습니다

IUPUI, Team 2-1, Harley Spring 2016 IUPUI, Team 2-1, Harley Spring 2016 회원

IUPUI-HARLEY-S16S2G1

4 회원들

안내서 6개 작성하였습니다

댓글 0개

댓글 쓰기

조회 통계:

24 시간 전: 2

7일 전: 4

30일 전: 5

전체 시간: 346