소개
If your digitizer is no longer responding to your touch or is cracked then you may need to replace it, this guide with teach you exactly how to replace your tablets digitizer.
필요한 것
-
-
-
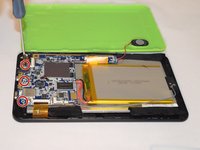
There are two screws on the side with the micro USB power port. Remove the two 2mm x 0.5mm screws with a Phillips #0 Screwdriver head.
 FixBot에 문의하기
-
-
-
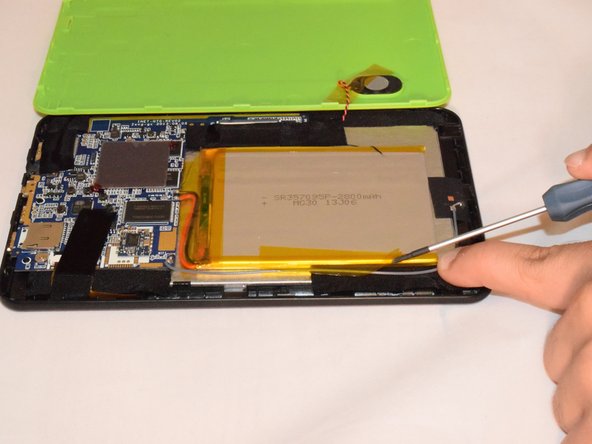
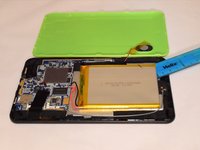
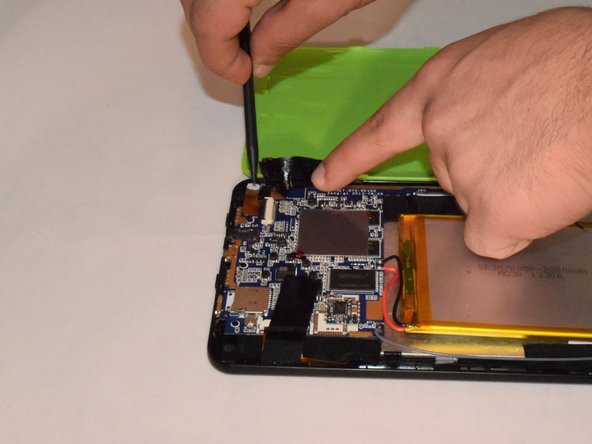
Pry off the plastic backing with the spudger and the plastic opening tools. Anything that can provide enough leverage and not conduct electricity will also work for this purpose.
-
-
-
이 단계에 사용된 도구:Plastic Cards$2.99
-
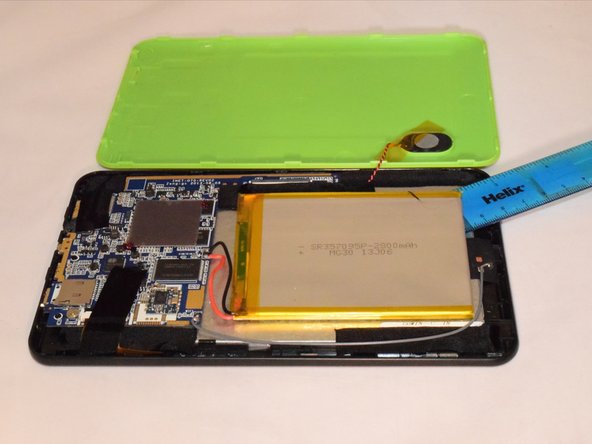
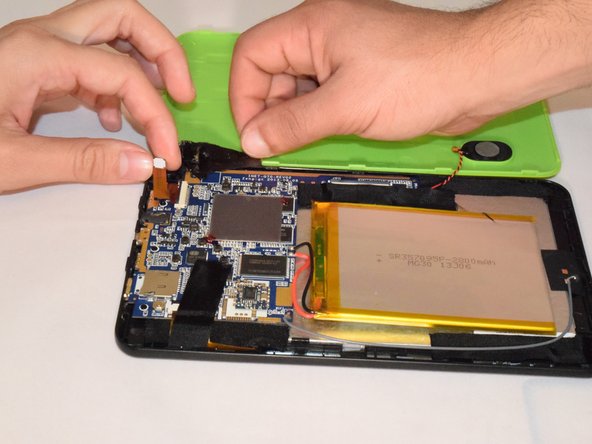
Once you pry off the plastic backing, you will expose the battery and the motherboard.
-
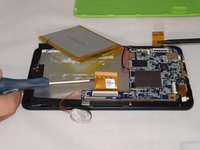
Remove the tape holding the battery to the plastic frame. The battery is glued to the back of the LCD.
-
Pry the battery off the LCD using a flat and rigid piece of plastic, such as the plastic card.
-
-
-
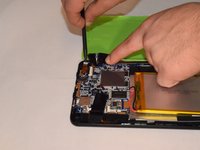
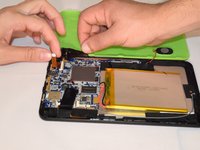
Carefully remove the tape holding the camera in place as the camera is attached to the backing of the tape.
-
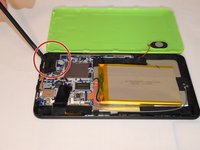
Gently lift up the black lever that’s holding the camera ribbon in place using a long piece of stiff plastic.
-
Now, remove the camera from the device.
-
-
-
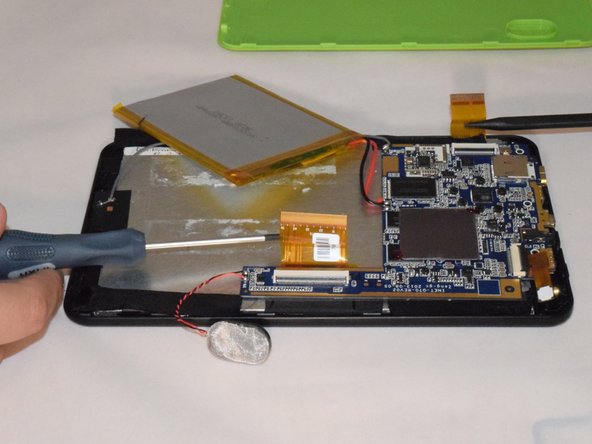
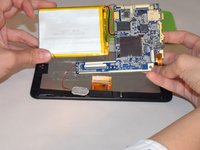
Remove the three 2mm x 0.5mm screws with a Phillips #0 Screwdriver head from the motherboard.
-
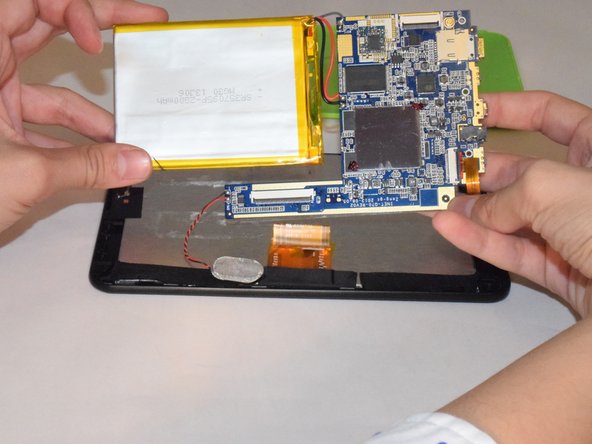
Carefully remove the motherboard from the LCD backing. Remove tape from the edges of the LCD.
-
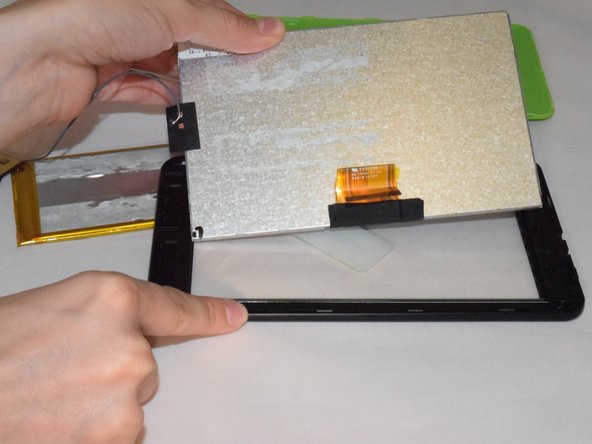
Carefully pry off the LCD with a piece of plastic.
-
-






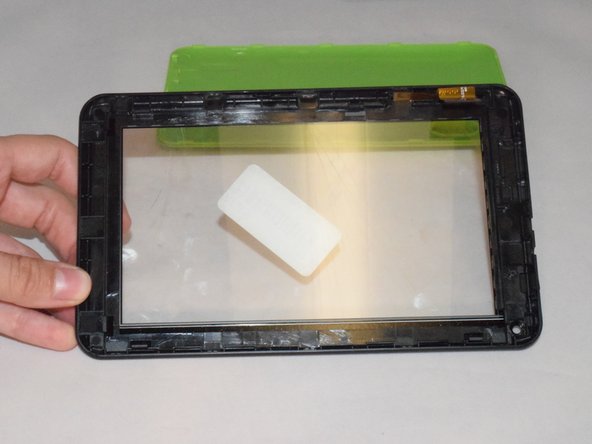
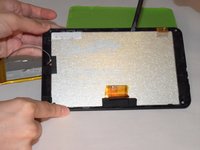
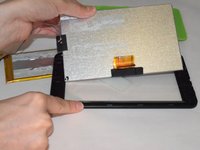
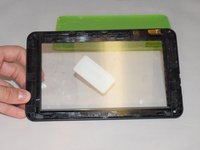
To reassemble your device, follow these instructions in reverse order.
다른 한 분이 해당 안내서를 완성하였습니다.

팀

Eastern Washington University, Team 1-1, Rowley SU 2015 Eastern Washington University, Team 1-1, Rowley SU 2015 회원
EWU-ROWLEY-SU15S1G1
4 회원들
안내서 25개를 작성함
