소개
The side button array consists of the volume button, power button, M button and H button. The side button array is connected to the motherboard with a ribbon wire and to the front case with 3 screws. It is simple to remove and replace.
필요한 것
-
-
-
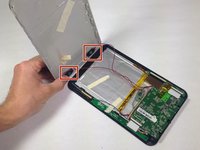
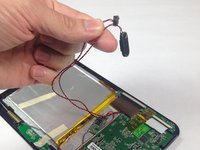
Carefully remove the speakers from the rear panel.
-
Pull the speakers off of the rear panel.
-
-
-
Remove the 3 Phillips #00 4.5 mm screws from the side button array.
-
-
-
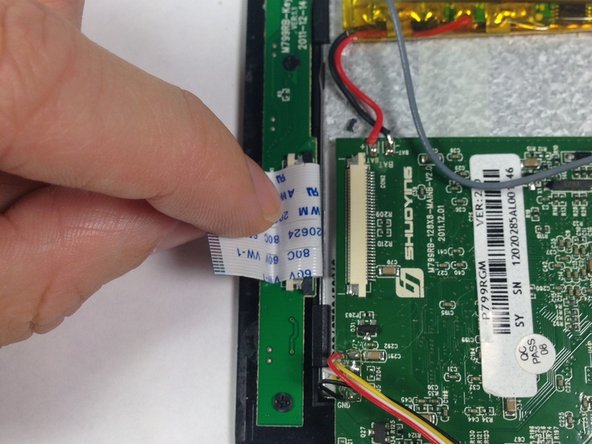
Slide the grey ribbon wire connector clip away from the ribbon wire port on the motherboard using the pointed tip of a spudger. This process will unclip the wire from the motherboard to release connection.
-
Remove the ribbon wire from the ribbon wire port on the motherboard.
-


To reassemble your device, follow these instructions in reverse order.
다른 한 분이 해당 안내서를 완성하였습니다.
팀

Baylor, Team 5-8, Williams Spring 2015 Baylor, Team 5-8, Williams Spring 2015 회원
BU-WILLIAMS-S15S5G8
3 회원들
안내서 6개를 작성함