소개
The scanner motor is what moves the scanning mechanism allowing it to scan and copy documents. This motor may stop working causing the scanning mechanism not to move, which would not allow you to scan or copy. In this case the scanner motor would need to be replaced.
필요한 것
-
-
-
Locate the 3mm Phillips #0 screw that is on the right-hand side of the printer.
-
Using a Phillips head screwdriver, remove the screw.
-
-
-
Open up the lid of the printer.
-
With the printer facing away from you, lift up on the right hand side of the lid of the printer and slide it to the left to remove it.
-
Be careful not to remove the white ribbon and wires that are connected.
-
-
-
-
With the printer facing you, open the lid of the scanner to expose the 3mm Phillips #0 screw at the top left of the scanner.
-
Using a Phillips head screwdriver, remove the screw.
-
-
-
Locate the six 3mm Phillips #2 screws under the lid of the printer and remove them.
-
-
-
Locate the three clips on the front side of the printer lid.
-
Use the plastic opening tool to release the clips and carefully pry open the lid.
-
-
-
Locate the belt that is attached to the scanner motor and remove it by carefully stretching off of the gear.
-
-
-
Remove the two 3mm Phillips #2 screws from the scanner motor assembly.
-
Carefully lift the scanner motor assembly out of the housing making sure not to damage the wiring.
-
-
-
Flip over the scanner motor assembly to expose the scanner motor.
-
Remove the two 3mm Phillips #2 screws from the assembly and remove the motor.
-

 FixBot에 문의하기


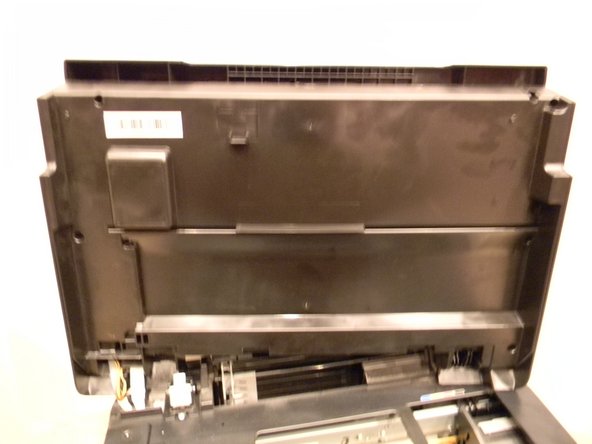


To reassemble your device, follow these instructions in reverse order.

팀

USF Tampa, Team 1-2, Donnelly Fall 2014 USF Tampa, Team 1-2, Donnelly Fall 2014 회원
USFT-DONNELLY-F14S1G2
1 회원
안내서 9개를 작성함
