주요 콘텐츠로 건너뛰기
수리 커뮤니티 가입 - 계정 만들기

Epson VS240 Motherboard Replacement

필요한 것

    1. Epson VS240 Motherboard Replacement, Shell: 1 단계, 이미지 3개 중 1개 Epson VS240 Motherboard Replacement, Shell: 1 단계, 이미지 3개 중 2개 Epson VS240 Motherboard Replacement, Shell: 1 단계, 이미지 3개 중 3개
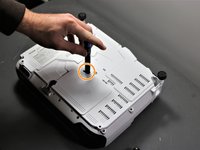
      • Using the Phillips #2 screwdriver, loosen the single captive screw on the left side of the projector.

      • The captive screw will loosen, but it cannot be fully removed.

      • Slide the panel off and remove it from the device.

      댓글 쓰기

    2. Epson VS240 Motherboard Replacement: 2 단계, 이미지 2개 중 1개 Epson VS240 Motherboard Replacement: 2 단계, 이미지 2개 중 2개
      • Use the Phillips #2 screwdriver to remove the three 5 mm screws.

      • Using the same Phillips #2 screwdriver, remove the single 8 mm silver screw.

      댓글 쓰기

    3. Epson VS240 Motherboard Replacement: 3 단계, 이미지 1개 중 1개
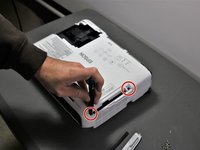
      • Use a Phillips #1 screwdriver to remove the two 10 mm silver screws from the bottom of the device.

      댓글 쓰기

    4. Epson VS240 Motherboard Replacement: 4 단계, 이미지 1개 중 1개
      • Use a Phillips #1 screwdriver to remove the single 10 mm screw where the panel was removed in Step 1.

      • Remove the white back plate from the device.

      댓글 쓰기

    5. Epson VS240 Motherboard Replacement: 5 단계, 이미지 3개 중 1개 Epson VS240 Motherboard Replacement: 5 단계, 이미지 3개 중 2개 Epson VS240 Motherboard Replacement: 5 단계, 이미지 3개 중 3개
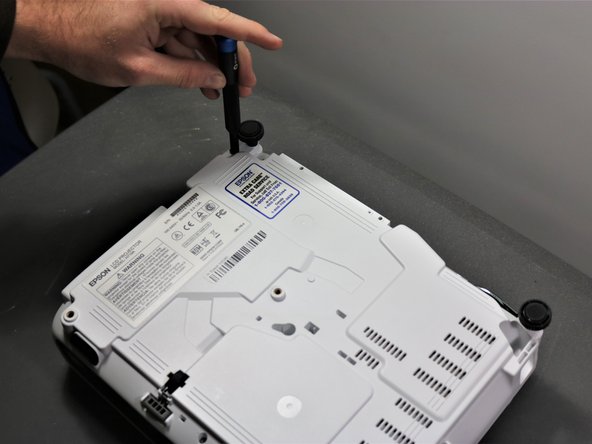
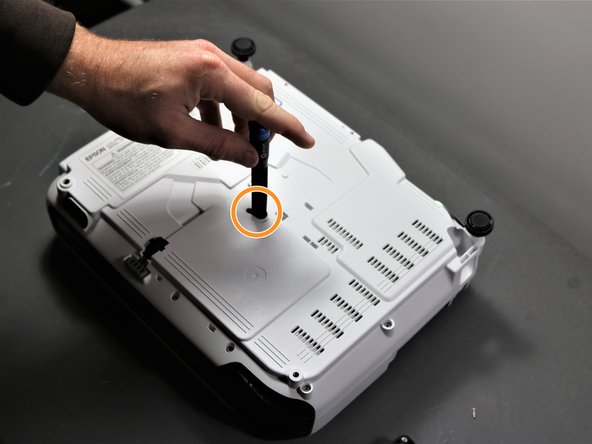
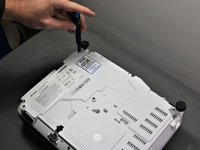
      • Flip the projector over so that the underside (side with the feet) is facing you.

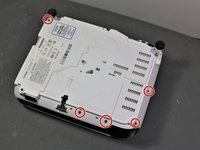
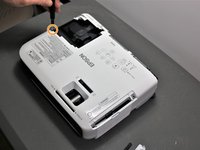
      • Use a Phillips #1 screwdriver to remove five 10 mm screws on the underside of projector.

      • Using the same Phillips #1 screwdriver, remove a single 10 mm screw in the center hole.

      • You may need to use a screwdriver extender to reach the single screw.

      댓글 쓰기

    6. Epson VS240 Motherboard Replacement: 6 단계, 이미지 3개 중 1개 Epson VS240 Motherboard Replacement: 6 단계, 이미지 3개 중 2개 Epson VS240 Motherboard Replacement: 6 단계, 이미지 3개 중 3개
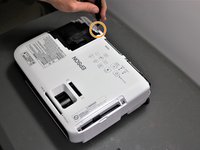
      • Use a Phillips #1 screwdriver to remove two 10 mm screws from the openings on each side of the air filter, on the topside of the projector.

      • You may need to use a screwdriver extender to reach the two screws.

      • Using the same Phillips #1 screwdriver, remove the two 10 mm screws where the white panel was removed on the topside of the projector in Step 1.

      댓글 쓰기

    7. Epson VS240 Motherboard Replacement: 7 단계, 이미지 2개 중 1개 Epson VS240 Motherboard Replacement: 7 단계, 이미지 2개 중 2개
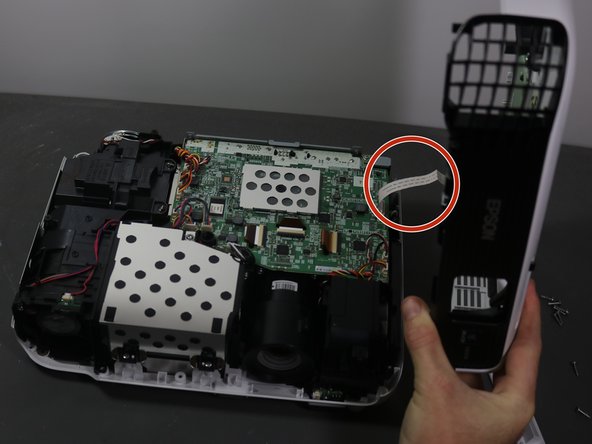
      • Be careful when removing the top cover of projector as there is as white ribbon cable connecting it to the motherboard.

      • Gently lift top cover and place it on its top next to the projector so that the ribbon has no tension on it.

      • Gently pull the brown tape connecting the cable to the motherboard and then remove the shell from the device.

      댓글 쓰기

    1. Epson VS240 Motherboard Replacement, Motherboard: 8 단계, 이미지 2개 중 1개 Epson VS240 Motherboard Replacement, Motherboard: 8 단계, 이미지 2개 중 2개
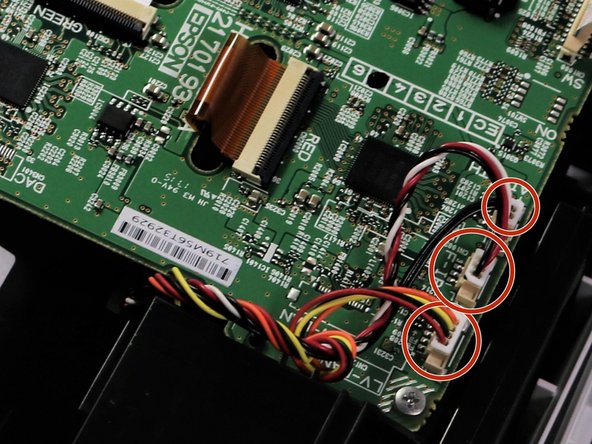
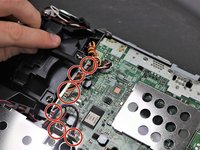
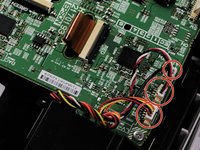
      • Using a spudger or a plastic opening tool, disconnect all of the wires connected to the motherboard.

      댓글 쓰기

    2. Epson VS240 Motherboard Replacement: 9 단계, 이미지 2개 중 1개 Epson VS240 Motherboard Replacement: 9 단계, 이미지 2개 중 2개
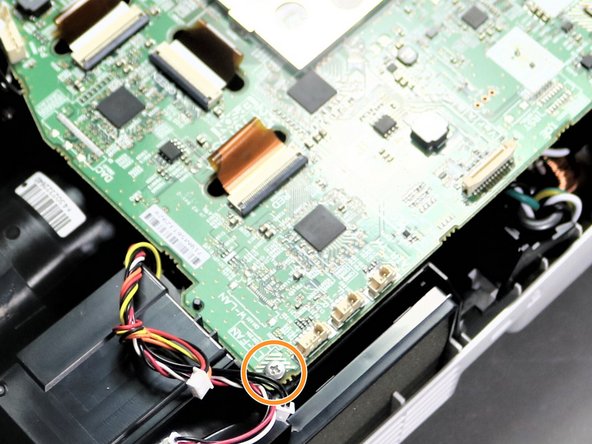
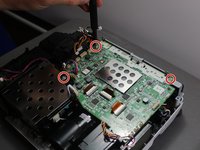
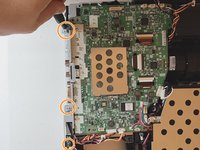
      • Using the Phillips #1 screwdriver, remove three 6 mm screws.

      • Using the same Phillips #1 screwdriver, remove a single 10 mm screw in bottom right corner of motherboard.

      댓글 쓰기

    3. Epson VS240 Motherboard Replacement: 10 단계, 이미지 2개 중 1개 Epson VS240 Motherboard Replacement: 10 단계, 이미지 2개 중 2개
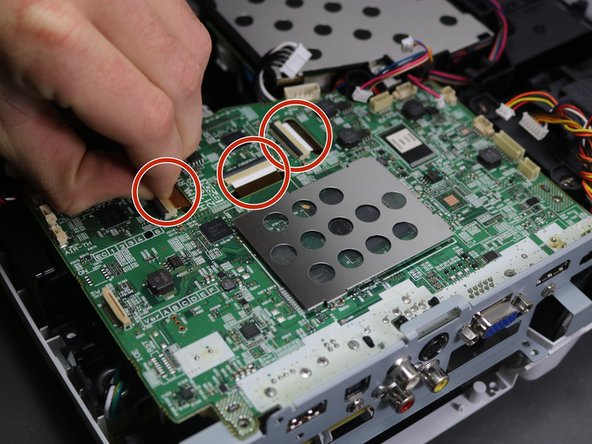
      • Using a spudger or your fingernails, lift up the black locking tabs and disconnect the three ribbon cables from the motherboard.

      • For more information on Zero Insertion Force (ZIF) connectors, please visit this guide.

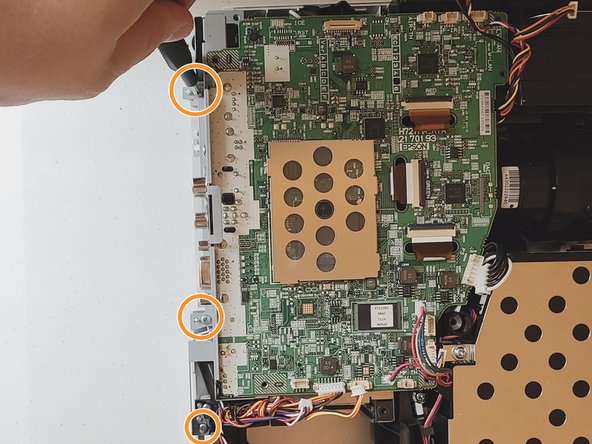
      • Using the Phillips #1 screwdriver, remove three 10 mm screws on the grey piece that is located on the side of the motherboard.

      댓글 쓰기

    4. Epson VS240 Motherboard Replacement: 11 단계, 이미지 1개 중 1개
      • Lift and remove the motherboard up and away from the device.

      댓글 쓰기

결론

To reassemble your device, follow these instructions in reverse order.

취소: 해당 안내서를 완성하지 않았습니다.

작성자

5다른 기여자 명과 함께

Daniel Scarnavack

회원 가입일: 09/28/21

109 평판

안내서 1개를 작성함

Clemson, Team 5-3, Hunter Fall 2021 Clemson, Team 5-3, Hunter Fall 2021 회원

CLEM-HUNTER-F21S5G3

5 회원들

안내서 18개를 작성함

0가이드 댓글

댓글 쓰기

조회 통계:

지난 24시간: 0

지난 7일: 4

지난 30일: 16

전체 시간: 581