소개
This installation guide will demonstrate how to remove all of the components around the main fan blade motor.
필요한 것
-
-
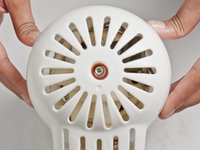
Release the 3 clips that attach the front fan guard to the rear fan guard.
 FixBot에 문의하기
-
-
-
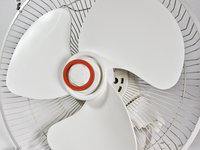
The fan blades should now be easy to lift up.
-
When reassembling the fan make sure the notches in the center of the fan blade line up with the protrusions in the motor's shaft.
-
-
-
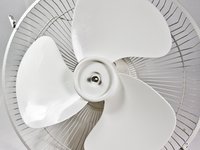
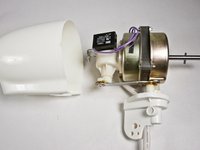
Remove the rear fan guard by taking off the plastic nut that holds the rear fan guard to the upper assembly.
-
-
-
-
Remove the screw at the center of the oscillator knob and remove the oscillator knob.
-
If the oscillator knob is clean and undamaged then the problem is with the oscillator. If the knob is damaged replace it and test your fan before proceeding forward in the guide.
-
-
-
The main motor housing can be taken off by removing a single screw at the back of the upper assembly.
-
-
-
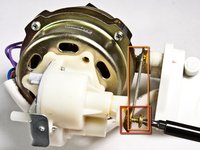
There is a capacitor attached to the oscillator by a single screw. Once the screw is removed the capacitor should come off easily.
-
-
-
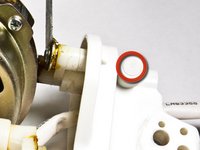
Remove the screw that connects the oscillator to the rocker arm.
-
Push down on the rocker arm after removing the screw and turn it away from the oscillator.
-
-
-
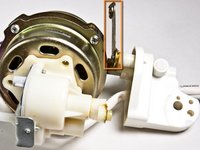
The oscillator should now be easy to pull off.
-
Clean the oscillator and remove any jams. If the problem persists the oscillator is damaged and needs to be replaced.
-
-
-
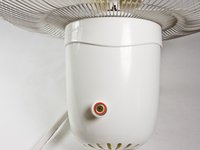
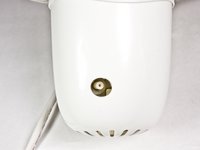
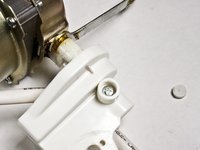
At the base of the upper assembly there is a plug which conceals a screw.
-
The plug can be removed with a screwdriver. Removing the plug may take a few attempts.
-


To reassemble your device, follow these instructions in reverse order.
다른 10명이 해당 안내서를 완성하였습니다.
팀

Cal Poly, Team 24-28, Regan Fall 2012 Cal Poly, Team 24-28, Regan Fall 2012 회원
CPSU-REGAN-F12S24G28
4 회원들
안내서 14개를 작성함
4가이드 댓글
Hey. Could you tell me where to buy the spare motor from please?
where can i buy the motor?
HAL SCHEDLER - 답글 공유
Where can I buy the motor???