소개
In this guide, I will show the process of repairing and replacing keycap switches on the GK61 Keyboard mechanical keyboard.
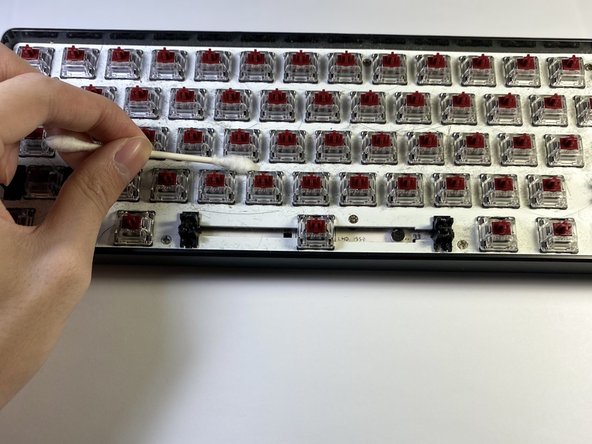
Over a period of time, though keyboards look fine on the exterior, the little crevices collect hair, oils and dust which will affects its performance. This guide will show how easy it is to repair your mechanical keyboard.
필요한 것


결론
To reassemble your device, follow these instructions in reverse order.
팀

York University, Team S1-G28, O'Regan Summer 2021 York University, Team S1-G28, O'Regan Summer 2021 회원
YORK-O'REGAN-SU21S1G28
1 회원
안내서 1개 작성