주요 콘텐츠로 건너뛰기
수리 커뮤니티 가입 - 계정 만들기

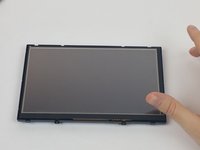
Garmin Dezl 760LMT Screen Replacement

필요한 것

  1. Garmin Dezl 760LMT Screen Replacement, Back Panel: 1 단계, 이미지 2개 중 1개 Garmin Dezl 760LMT Screen Replacement, Back Panel: 1 단계, 이미지 2개 중 2개
    • Using a Torx T6 Screwdriver, remove the ten 7mm screws from the back panel.

  2. Garmin Dezl 760LMT Screen Replacement: 2 단계, 이미지 3개 중 1개 Garmin Dezl 760LMT Screen Replacement: 2 단계, 이미지 3개 중 2개 Garmin Dezl 760LMT Screen Replacement: 2 단계, 이미지 3개 중 3개
    • Using a metal spudger, pry the device apart.

    • To recombine them, line up the two halves of the device and press them together.

  3. Garmin Dezl 760LMT Screen Replacement: 3 단계, 이미지 1개 중 1개
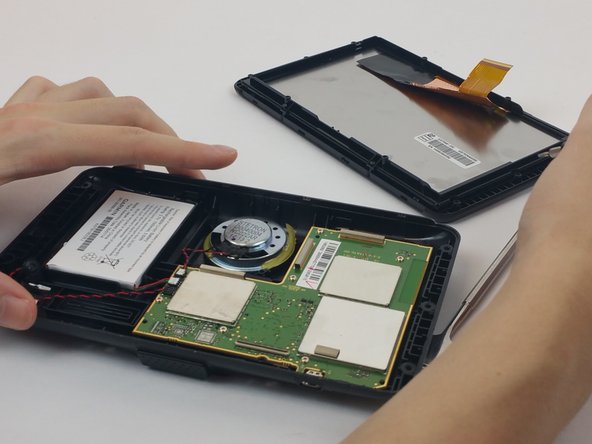
    • Turn the device over, laying it on its back with the screen facing upwards.

    • Lift the front panel away from the silver part of the back panel.

    • Make sure not to rip the ribbon cable that is connected to the screen and the motherboard.

  4. Garmin Dezl 760LMT Screen Replacement, Screen Ribbon Cable: 4 단계, 이미지 2개 중 1개 Garmin Dezl 760LMT Screen Replacement, Screen Ribbon Cable: 4 단계, 이미지 2개 중 2개
    • Lift the screen opposite where the "GARMIN" logo is located. Remove the clear tape holding the ribbon cable to the motherboard.

  5. Garmin Dezl 760LMT Screen Replacement: 5 단계, 이미지 2개 중 1개 Garmin Dezl 760LMT Screen Replacement: 5 단계, 이미지 2개 중 2개
    이 단계에 사용된 도구:
    Anti-Static Wrist Strap
    $7.95
    • Find and lift the small grey hinge at the end of the ribbon cable.

    • When handling the motherboard, make sure to wear an anti-static wrist strap.

  6. Garmin Dezl 760LMT Screen Replacement, Screen: 6 단계, 이미지 2개 중 1개 Garmin Dezl 760LMT Screen Replacement, Screen: 6 단계, 이미지 2개 중 2개
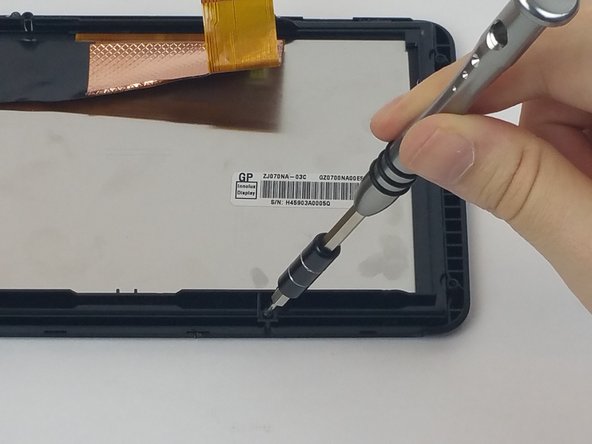
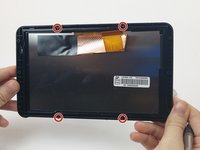
    • Using a Torx T5 screwdriver, unscrew the four 7mm screws from the back plate of the screen.

  7. Garmin Dezl 760LMT Screen Replacement: 7 단계, 이미지 3개 중 1개 Garmin Dezl 760LMT Screen Replacement: 7 단계, 이미지 3개 중 2개 Garmin Dezl 760LMT Screen Replacement: 7 단계, 이미지 3개 중 3개
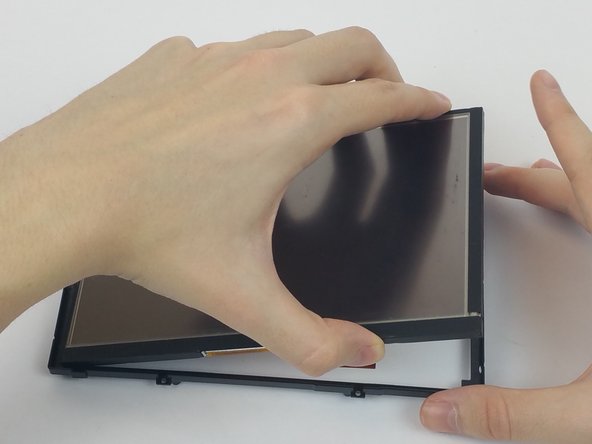
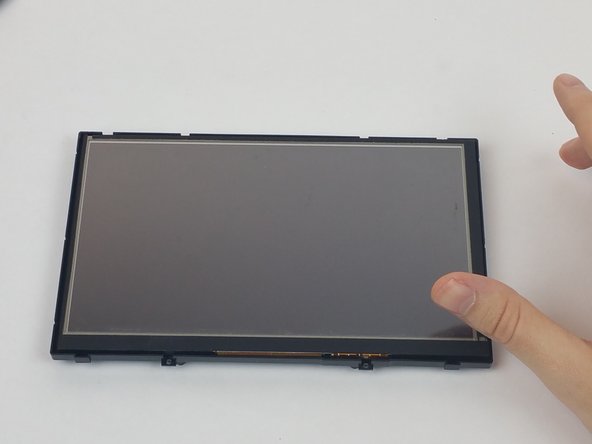
    • Turn the screen over so that it is facing upwards.

    • Remove the front plate of the screen.

    • Lift the screen from its back casing.

결론

To reassemble your device, follow these instructions in reverse order.

작성자

4다른 기여자 명과 함께

Ryan Williams

회원 가입일: 09/28/16

763 평판

안내서 6개를 작성함

USF Tampa, Team 4-2, Passmore Fall 2016 USF Tampa, Team 4-2, Passmore Fall 2016 회원

USFT-PASSMORE-F16S4G2

4 회원들

안내서 6개를 작성함

2가이드 댓글

where can one by the replacement screen

tempestrogue - 답글 공유

Ebay sells these screens replacement - search online for “ZD070NA-03K “ or on google, even amazon sometimes has them. Its a hard to find screen so you will probably only get it from hong kong or china.

neilneves - 답글 공유

댓글 쓰기

조회 통계:

지난 24시간: 0

지난 7일: 14

지난 30일: 62

전체 시간: 2,859