소개
This guide provides the step by step directions for removing and replacing damaged RAM Logic boards in a Gateway 600YGR. There are no prerequisite guides that need to be completed in order to use this guide. A Philips Head screwdriver and the PH 1 bit are required to complete the guide.
필요한 것
-
-
Use a Philips head screwdriver and the PH1 bit to remove the indicated 5.35mm screw.
-
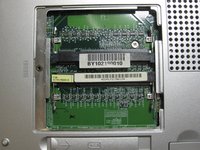
Remove the cover panel.
-
-
-
-
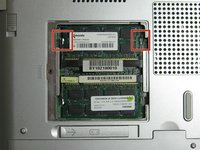
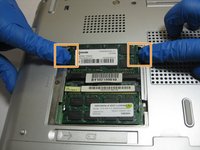
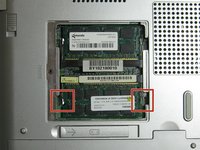
Locate the indicated tabs on the edges of the top RAM board.
-
Pull the tabs outward and the RAM board will release.
-
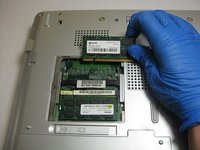
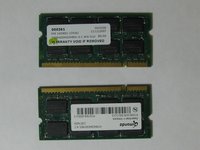
Remove the RAM board.
-
-
-
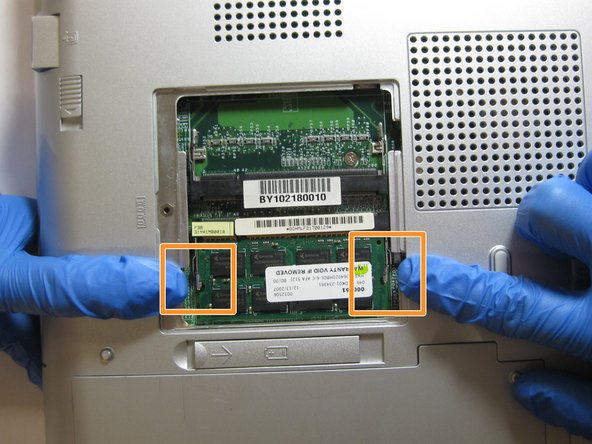
Locate the indicated tabs on the edges of the bottom RAM board.
-
Pull the tabs outward.
-
Remove the RAM board.
-


To reassemble your device, follow these instructions in reverse order.
팀

The Citadel Military College of South Carolina, Team S2-G7, Eggleston Spring 2019 The Citadel Military College of South Carolina, Team S2-G7, Eggleston Spring 2019 회원
CMCSC-EGGLESTON-S19S2G7
3 회원들
안내서 6개를 작성함