주요 콘텐츠로 건너뛰기

Gateway SA1 RAM Replacement

필요한 것

  1. Gateway SA1 RAM Replacement, Battery: 1 단계, 이미지 1/1
    • Move the latch to the right of the battery to unlock.

  2. Gateway SA1 RAM Replacement: 2 단계, 이미지 1/1
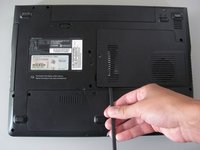
    • Slide the latch on the left directly below the battery to unlock and pull out the battery as shown.

    • The latch must be held in position to remove the battery.

  3. Gateway SA1 RAM Replacement, RAM: 3 단계, 이미지 1/2 Gateway SA1 RAM Replacement, RAM: 3 단계, 이미지 2/2
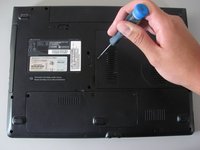
    • Loosen the indicated Philips screw that connects the memory bay cover to the casing.

    • The indicated Philips screw does not come out of the cover.

  4. Gateway SA1 RAM Replacement: 4 단계, 이미지 1/2 Gateway SA1 RAM Replacement: 4 단계, 이미지 2/2
    • Lift and remove the cover using the spudger.

  5. Gateway SA1 RAM Replacement: 5 단계, 이미지 1/2 Gateway SA1 RAM Replacement: 5 단계, 이미지 2/2
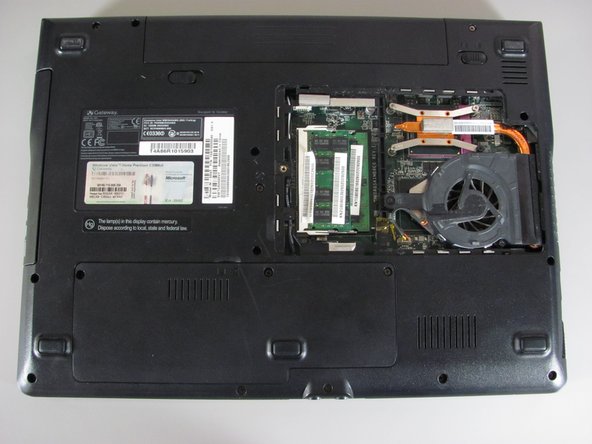
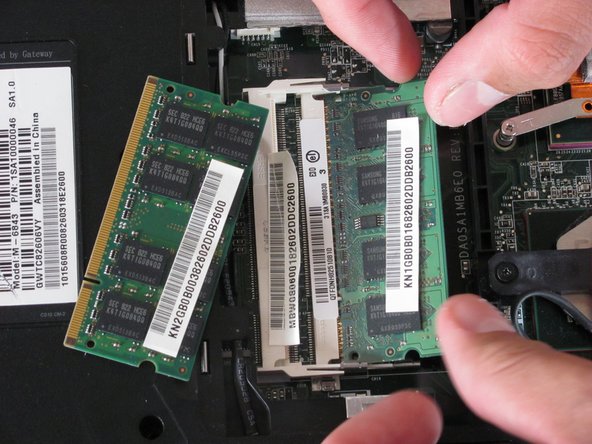
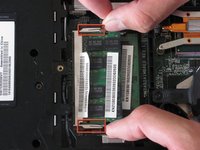
    • Gently press the clip outwards.

    • The module will tilt up and can be pulled out of the slot.

    • There may be another memory module underneath so be sure to remove both.

  6. Gateway SA1 RAM Replacement: 6 단계, 이미지 1/1
    • To insert a new memory, slide the module into the slot at a 30 to 45 degree angle.

    • Place the first module into the bottom slot then the next module into the top slot.

    • These slots are keyed so verify that you are sliding the module in one direction.

    • Verify that the new memory modules are designed for your specific Gateway Laptop.

결론

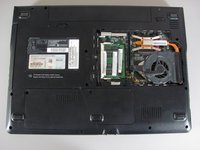
To reassemble your device, follow these instructions in reverse order.

다른 3명이 해당 안내서를 완성하였습니다.

Diego Carteno

회원 가입일: 04/15/10

258 평판

안내서 7개 작성하였습니다

Cal Poly, Team 24-20, Regan Spring 2010 Cal Poly, Team 24-20, Regan Spring 2010 회원

CPSU-REGAN-S10S24G20

4 회원들

안내서 14개 작성하였습니다

댓글 0개

댓글 쓰기

조회 통계:

24 시간 전: 0

7일 전: 5

30일 전: 7

전체 시간: 5,529