주요 콘텐츠로 건너뛰기
수리 커뮤니티 가입 - 계정 만들기

해당 분해도는 수리 안내서가 아닙니다. glorious Model 02 Pro 수리는 자사의 서비스 설명서를 사용하세요.

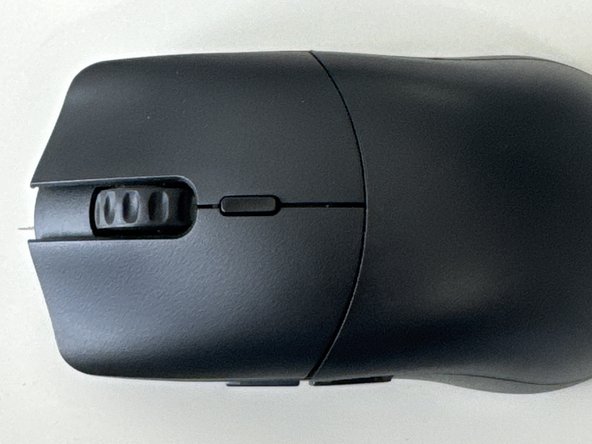
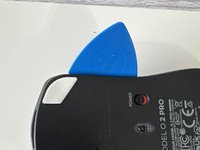
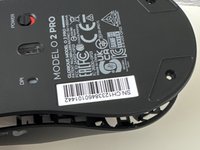
  1. Glorious Model O2 Pro Teardown, Flip Over: 1 단계, 이미지 2개 중 1개 Glorious Model O2 Pro Teardown, Flip Over: 1 단계, 이미지 2개 중 2개
    • Turn the mouse to the bottom

    댓글 쓰기

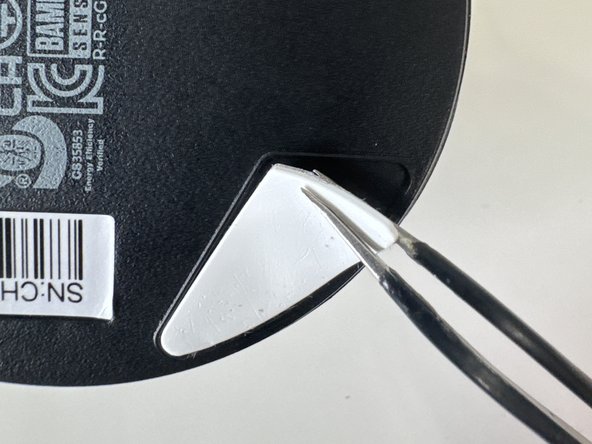
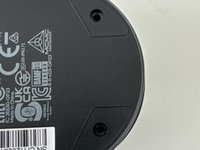
  2. Glorious Model O2 Pro Teardown, Remove feet: 2 단계, 이미지 3개 중 1개 Glorious Model O2 Pro Teardown, Remove feet: 2 단계, 이미지 3개 중 2개 Glorious Model O2 Pro Teardown, Remove feet: 2 단계, 이미지 3개 중 3개
    • Remove top and bottom feet

    • Make sure to keep these and don't loose then

    댓글 쓰기

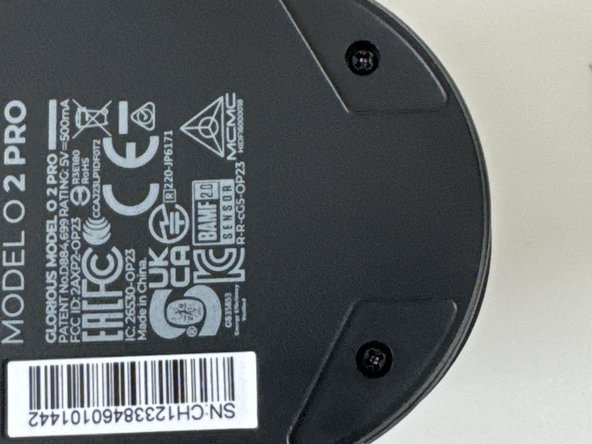
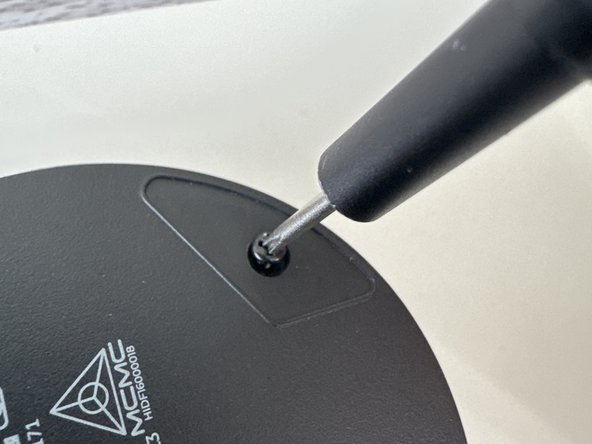
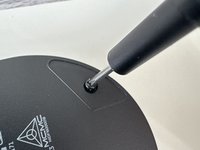
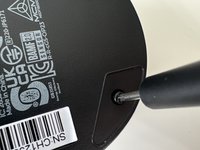
  3. Glorious Model O2 Pro Teardown, Remove Screws: 3 단계, 이미지 3개 중 1개 Glorious Model O2 Pro Teardown, Remove Screws: 3 단계, 이미지 3개 중 2개 Glorious Model O2 Pro Teardown, Remove Screws: 3 단계, 이미지 3개 중 3개
    • Use a PH001 Screwdriver to remove both screws

    댓글 쓰기

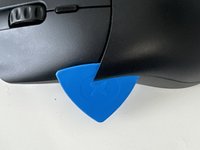
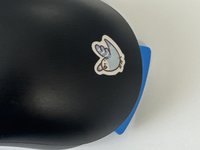
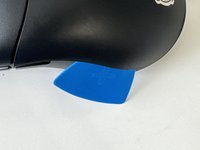
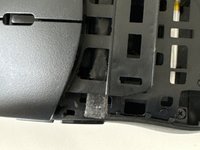
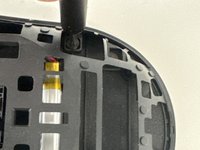
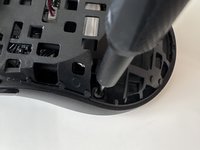
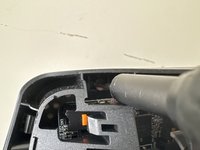
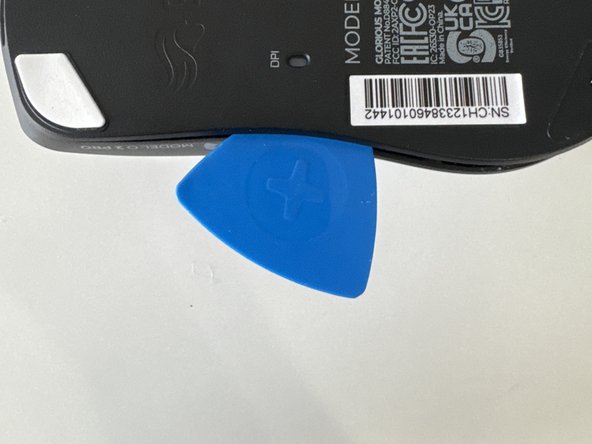
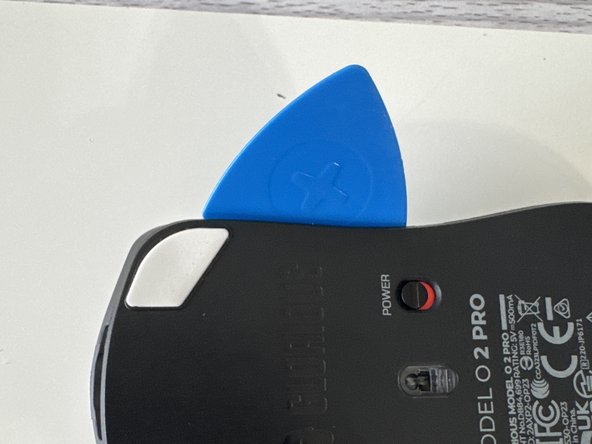
  4. Glorious Model O2 Pro Teardown, Unclip Plastic Piece: 4 단계, 이미지 3개 중 1개 Glorious Model O2 Pro Teardown, Unclip Plastic Piece: 4 단계, 이미지 3개 중 2개 Glorious Model O2 Pro Teardown, Unclip Plastic Piece: 4 단계, 이미지 3개 중 3개
    • (Ignore Bird Sticker)

    • Slide in an opening pick and gently wiggle across the plate

    댓글 쓰기

  5. Glorious Model O2 Pro Teardown, Same as step 4: 5 단계, 이미지 1개 중 1개
    • After undoing the last clip the playe should come off to reveal…. (Drum roll) More Clips!

    댓글 쓰기

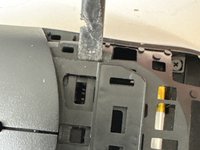
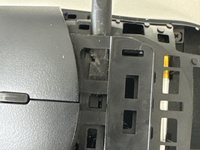
  6. Glorious Model O2 Pro Teardown, Remove Mouse Buttons: 6 단계, 이미지 3개 중 1개 Glorious Model O2 Pro Teardown, Remove Mouse Buttons: 6 단계, 이미지 3개 중 2개 Glorious Model O2 Pro Teardown, Remove Mouse Buttons: 6 단계, 이미지 3개 중 3개
    • Insert a plastic spudger through the clips

    댓글 쓰기

  7. Glorious Model O2 Pro Teardown, Unscew: 7 단계, 이미지 3개 중 1개 Glorious Model O2 Pro Teardown, Unscew: 7 단계, 이미지 3개 중 2개 Glorious Model O2 Pro Teardown, Unscew: 7 단계, 이미지 3개 중 3개
    • Make sure to get the 4th one that is horizontally straight from the other top screw

    • Keep these screws separate from the ones from the start these 4 are slightly smaller

    댓글 쓰기

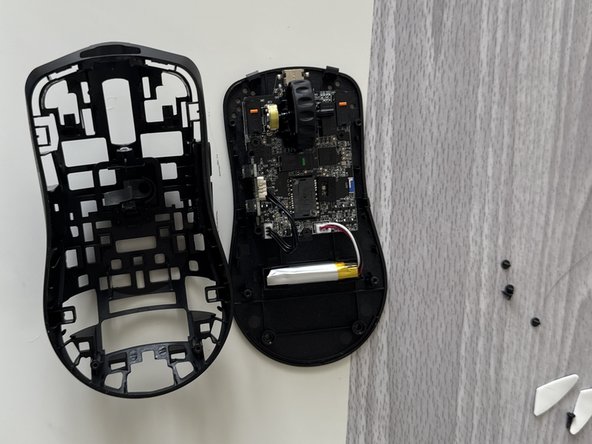
  8. Glorious Model O2 Pro Teardown, Remove Inner shell: 8 단계, 이미지 3개 중 1개 Glorious Model O2 Pro Teardown, Remove Inner shell: 8 단계, 이미지 3개 중 2개 Glorious Model O2 Pro Teardown, Remove Inner shell: 8 단계, 이미지 3개 중 3개
    • Do a combination of using the puck and prying with your hands use caution because the motherboard and battery cables can be damaged

    댓글 쓰기

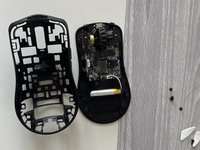
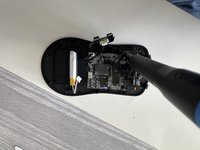
  9. Glorious Model O2 Pro Teardown, Remove housing: 9 단계, 이미지 2개 중 1개 Glorious Model O2 Pro Teardown, Remove housing: 9 단계, 이미지 2개 중 2개
    • Lift it from the housing

    댓글 쓰기

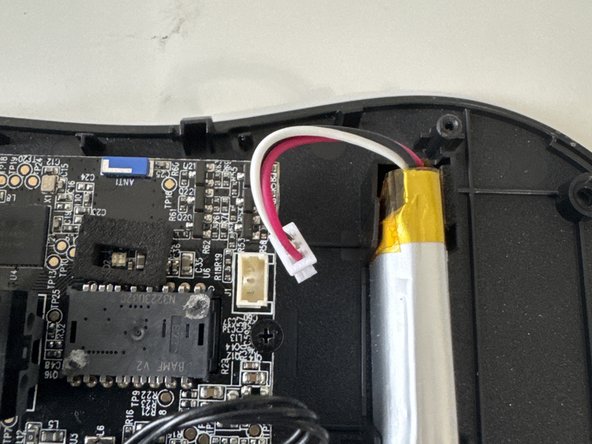
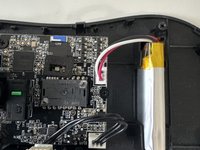
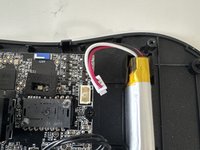
  10. Glorious Model O2 Pro Teardown, Unplug battery: 10 단계, 이미지 2개 중 1개 Glorious Model O2 Pro Teardown, Unplug battery: 10 단계, 이미지 2개 중 2개
    • Unplug the JST connector from the lipo-cell battery

    댓글 쓰기

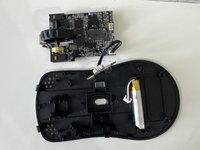
  11. Glorious Model O2 Pro Teardown, Remove mainboard: 11 단계, 이미지 2개 중 1개 Glorious Model O2 Pro Teardown, Remove mainboard: 11 단계, 이미지 2개 중 2개
    • Unscew the 3 smaller screws then remove mainboard from housing

    • Thanks for reading my first ifixit guide (R.I.P my prying puck)

    댓글 쓰기

작성자

1다른 기여자 명과 함께

0DanDan0

회원 가입일: 08/17/23

274 평판

안내서 1개를 작성함

3가이드 댓글

They removed the last photo with all the pieces 😭

0DanDan0 - 답글 공유

can you send me the photo with all the pieces?

Fok Pop - 답글 공유

Dont think i can...

0DanDan0 - 답글 공유

댓글 쓰기

조회 통계:

지난 24시간: 3

지난 7일: 30

지난 30일: 144

전체 시간: 2,582