주요 콘텐츠로 건너뛰기
수리 커뮤니티 가입 - 계정 만들기

GoPro Hero 3 Silver Image Sensor Replacement

필요한 것

    1. GoPro Hero 3 Silver Image Sensor Replacement, Battery: 1 단계, 이미지 2개 중 1개 GoPro Hero 3 Silver Image Sensor Replacement, Battery: 1 단계, 이미지 2개 중 2개
      • Pull back on the tab on the back of GoPro to open the battery cover.

      댓글 쓰기

    2. GoPro Hero 3 Silver Image Sensor Replacement: 2 단계, 이미지 1개 중 1개
      • Pull the battery out using the tab.

      댓글 쓰기

    1. GoPro Hero 3 Silver Image Sensor Replacement, Image Sensor: 3 단계, 이미지 2개 중 1개 GoPro Hero 3 Silver Image Sensor Replacement, Image Sensor: 3 단계, 이미지 2개 중 2개
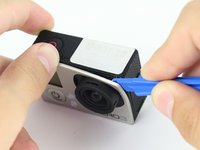
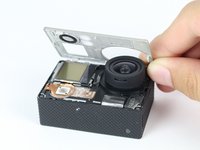
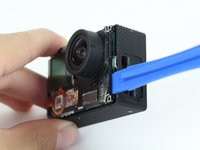
      • Use the plastic opening tool to remove the faceplate.

      • There is some adhesive and clips so be careful and the faceplate should pop right off.

      댓글 쓰기

    2. GoPro Hero 3 Silver Image Sensor Replacement: 4 단계, 이미지 2개 중 1개 GoPro Hero 3 Silver Image Sensor Replacement: 4 단계, 이미지 2개 중 2개
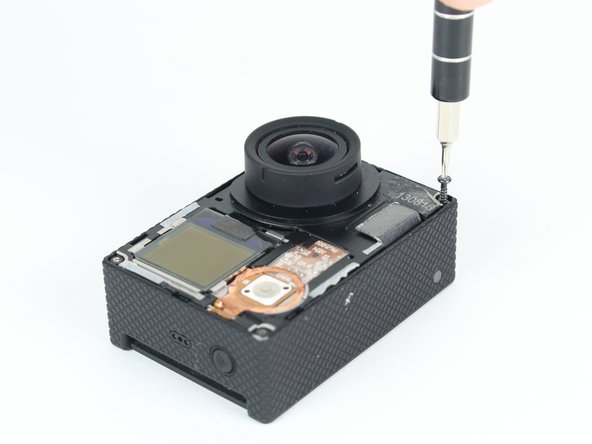
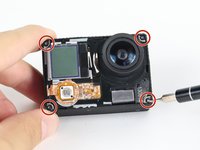
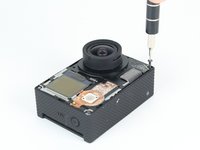
      • Now that the faceplate is off, it is time to remove the 4 screws on each corner.

      • Use the T4 tool bit from the iFixit toolkit in order to remove the 4 screws on each corner.

      댓글 쓰기

    3. GoPro Hero 3 Silver Image Sensor Replacement: 5 단계, 이미지 2개 중 1개 GoPro Hero 3 Silver Image Sensor Replacement: 5 단계, 이미지 2개 중 2개
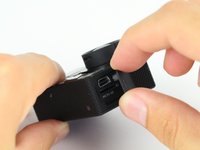
      • Note: Make sure you remove the door cover of the USB, mini HDMI, and SD port before. Separating the motherboard will be easier.

      • Using the plastic opening tool, slowly pry open the motherboard assembly.

      댓글 쓰기

    4. GoPro Hero 3 Silver Image Sensor Replacement: 6 단계, 이미지 2개 중 1개 GoPro Hero 3 Silver Image Sensor Replacement: 6 단계, 이미지 2개 중 2개
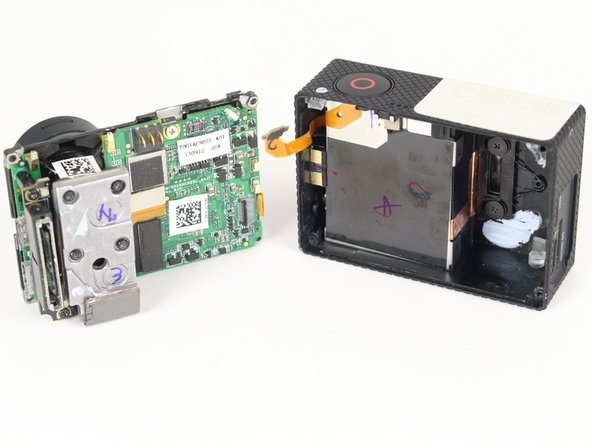
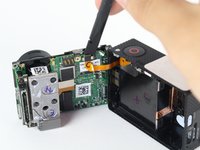
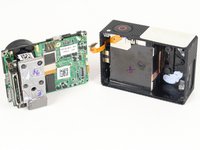
      • Use the spudger to gently pry off the connector of the housing to the motherboard.

      • You should now have the motherboard assembly and the housing separated.

      댓글 쓰기

    5. GoPro Hero 3 Silver Image Sensor Replacement: 7 단계, 이미지 2개 중 1개 GoPro Hero 3 Silver Image Sensor Replacement: 7 단계, 이미지 2개 중 2개
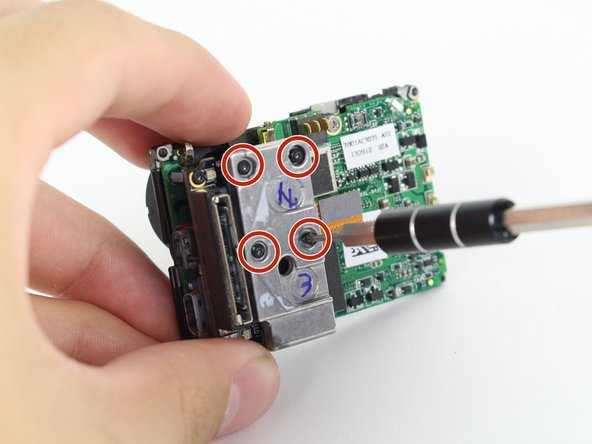
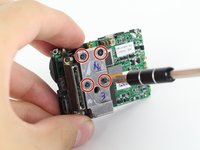
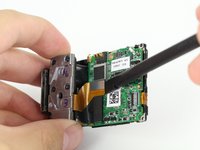
      • Use the spudger to remove the heat shield tape and detach the image sensor from the motherboard.

      • Using the T4 Torx toolbit, remove the 4 screws that connect the sensor to the lens.

      댓글 쓰기

    6. GoPro Hero 3 Silver Image Sensor Replacement: 8 단계, 이미지 2개 중 1개 GoPro Hero 3 Silver Image Sensor Replacement: 8 단계, 이미지 2개 중 2개
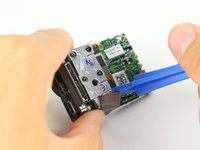
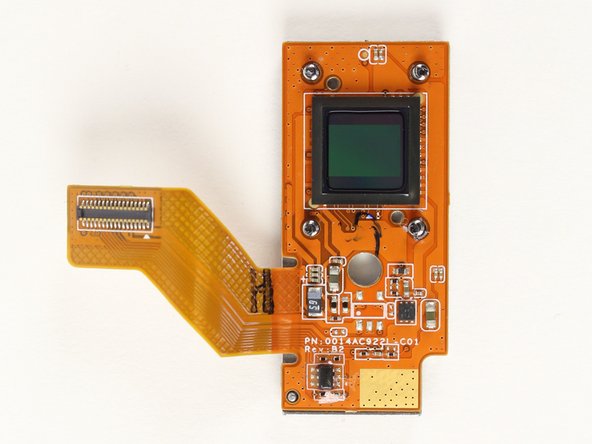
      • Remove the silver connector of the image sensor from the motherboard using the spudger to pry it off.

      • You should now be able to remove the image sensor by simply pulling it.

      댓글 쓰기

결론

To reassemble your device, follow these instructions in reverse order.

취소: 해당 안내서를 완성하지 않았습니다.

다른 2명이 해당 안내서를 완성하였습니다.

작성자

4다른 기여자 명과 함께

Jose Villa

회원 가입일: 04/01/15

297 평판

안내서 1개를 작성함

Cal Poly, Team 24-7, Lancaster Spring 2015 Cal Poly, Team 24-7, Lancaster Spring 2015 회원

CPSU-LANCASTER-S15S24G7

3 회원들

안내서 21개를 작성함

2가이드 댓글

After the sensor has been replaced, does the camera need any catibration?

enrilazaro - 답글 공유

Your pictures are really dark.

Nick Ruiz - 답글 공유

댓글 쓰기

조회 통계:

지난 24시간: 1

지난 7일: 6

지난 30일: 36

전체 시간: 2,406