소개
If your HMDX Chill is having any kind of issue this guide will show how to disassemble the device in order to begin the process of fixing your issues.
필요한 것
-
-
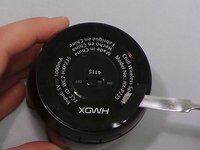
Insert a metal spudger under the rubber base.
-
Pry the rubber base off.
 FixBot에 문의하기
-
-
-
-
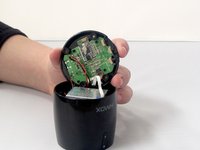
Use a Phillips #1 screwdriver to remove four 9 mm screws from the base of the device.
-


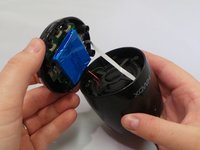
To reassemble your device, follow these instructions in reverse order.
다른 한 분이 해당 안내서를 완성하였습니다.
팀

1가이드 댓글
I have jam zero chill. One year old. Very very little use. Maybe 3 to 4 hours total.
Plug in to charge red light comes on solid and goes out in couple of hours. Then light flashes red and zero chill will not connect.
Thank you
Lorne Janes - 답글 공유