소개
A good hard drive is essential to an optimally performing computer. If your computer is slowing down, a new hard drive may be exactly what your device needs to start functioning at its maximum potential.
필요한 것
-
-
-
Flip the device over and locate the battery compartment.
-
Slide the battery release latch to the left until the battery is detached from its slot.
-
A distinguishable pop will be heard when the battery is fully released.
 FixBot에 문의하기
-
-
-
Slowly pull the battery out of its slot, being careful not to damage any of the connectors in the process.
-
-
-
-
-
-
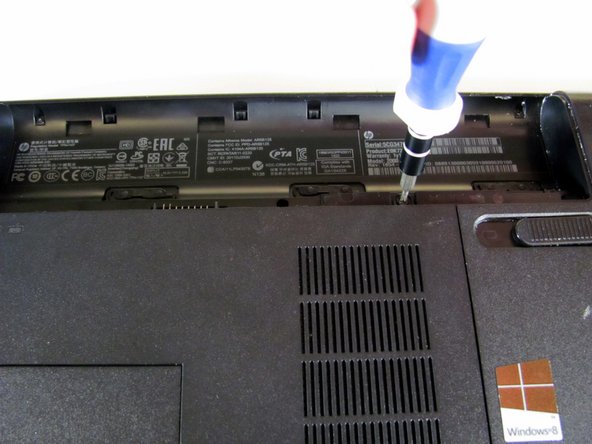
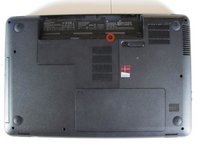
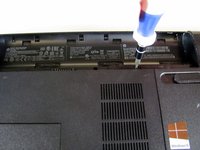
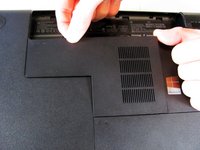
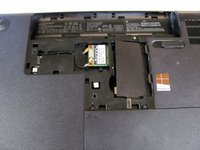
Once the screw is sufficiently loosened, slowly unclip the RAM compartment cover from its slots in the plastic chassis.
-
When unclipped completely, pull the compartment door out and away from the chassis.
-
-
-
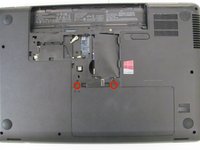
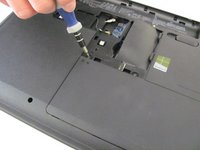
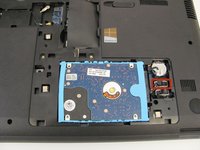
Loosen the two Phillips #00 screws that are securing the hard drive compartment.
-
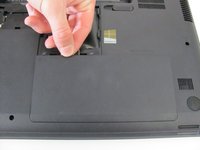
Once the screws are sufficiently loosened, disconnect the clips holding the cover in place and slowly pull the cover away from the plastic chassis.
-
-
-
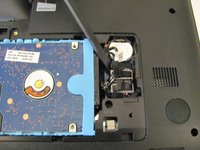
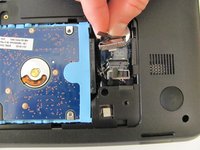
Using a spudger, disconnect the hard drive connecting cable. Use a slow, prying motion as if pulling a nail out of wood.
-
-
-
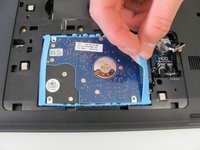
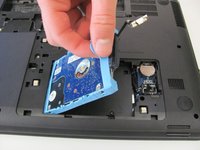
Using your fingers, grab the blue tab on the right side of the hard drive and slowly pull upwards.
-
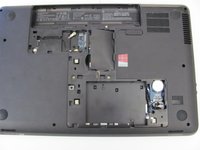
Lift the hard drive out and away from its socket in the plastic chassis.
-










To reassemble your device, follow these instructions in reverse order.
다른 27명이 해당 안내서를 완성하였습니다.

팀

Cal Poly, Team 3-40, Maness Spring 2014 Cal Poly, Team 3-40, Maness Spring 2014 회원
CPSU-MANESS-S14S3G40
4 회원들
안내서 24개를 작성함
