주요 콘텐츠로 건너뛰기
수리 커뮤니티 가입 - 계정 만들기

HP 7 1800 Display Replacement

필요한 것

    1. HP 7 1800 Display Replacement, Remove the back panel: 1 단계, 이미지 2개 중 1개 HP 7 1800 Display Replacement, Remove the back panel: 1 단계, 이미지 2개 중 2개
      • Carefully insert a Spudger into one of the corners of the tablet.

      • Slide the Spudger along the edge popping the tabs out along the way.

      • Be careful not to break the tabs.

      댓글 쓰기

    2. HP 7 1800 Display Replacement, Remove the battery: 2 단계, 이미지 3개 중 1개 HP 7 1800 Display Replacement, Remove the battery: 2 단계, 이미지 3개 중 2개 HP 7 1800 Display Replacement, Remove the battery: 2 단계, 이미지 3개 중 3개
      이 단계에 사용된 도구:
      Tweezers
      $4.99
      • Slide the Spudger under the battery to lift it off the adhesive.

      • Gently pull the cable connection from the motherboard using tweezers.

      댓글 쓰기

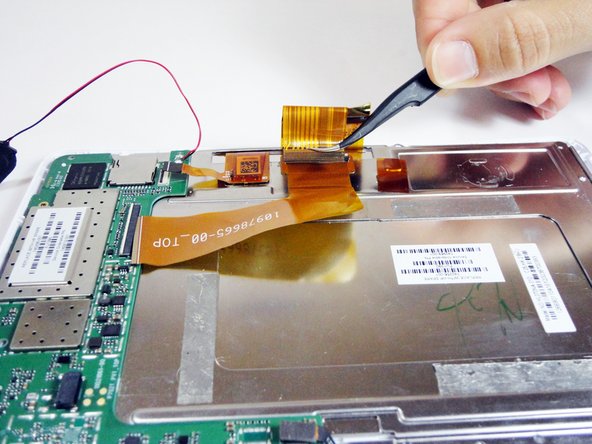
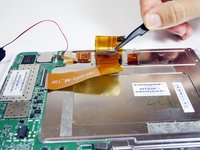
    1. HP 7 1800 Display Replacement, Remove the large ribbon cable: 3 단계, 이미지 2개 중 1개 HP 7 1800 Display Replacement, Remove the large ribbon cable: 3 단계, 이미지 2개 중 2개
      이 단계에 사용된 도구:
      Tweezers
      $4.99
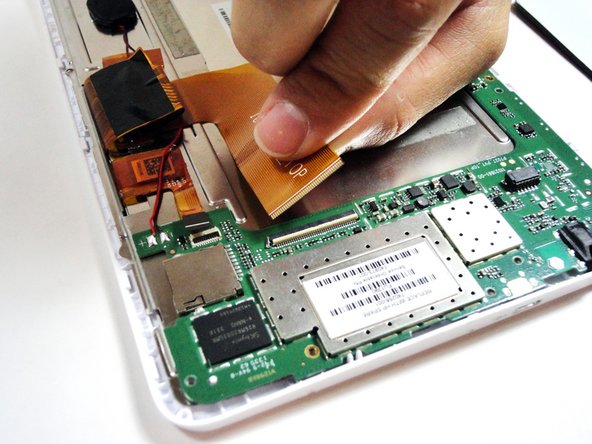
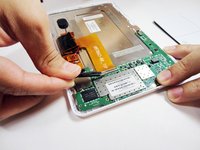
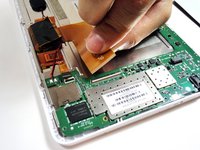
      • Remove the larger ribbon cable by gently flipping the beige latch and pulling it out with tweezers.

      댓글 쓰기

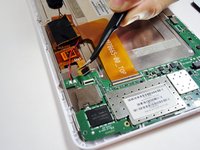
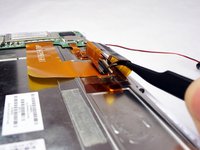
    2. HP 7 1800 Display Replacement, Remove the smaller ribbon cable: 4 단계, 이미지 2개 중 1개 HP 7 1800 Display Replacement, Remove the smaller ribbon cable: 4 단계, 이미지 2개 중 2개
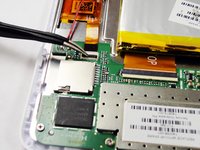
      • Remove the smaller ribbon cable by gently flipping the black latch and pulling it out with tweezers.

      댓글 쓰기

    3. HP 7 1800 Display Replacement, Unscrew the 7 silver screws from the logic board: 5 단계, 이미지 1개 중 1개
      • Remove the following 7 screws:

      • Six 4.17mm Phillips #00 around the motherboard.

      • One 2.67mm Phillips #00 next to the front facing camera.

      • The 2.67mm screw circled in yellow is notably shorter than the other 6 screws circled in red.

      댓글 쓰기

    4. HP 7 1800 Display Replacement, Unplug the front facing camera from the logic board: 6 단계, 이미지 1개 중 1개
      • Gently pry the front facing camera plug up and off of the motherboard.

      댓글 쓰기

    5. HP 7 1800 Display Replacement, Remove the logic board: 7 단계, 이미지 1개 중 1개
      • Carefully lift the motherboard directly up.

      댓글 쓰기

    1. HP 7 1800 Display Replacement, Remove the ribbon cable attached to the metal plate: 8 단계, 이미지 2개 중 1개 HP 7 1800 Display Replacement, Remove the ribbon cable attached to the metal plate: 8 단계, 이미지 2개 중 2개
      • On the metal plate inside of the device, there is a ribbon cable in a loop. Flip the white tab and pull the cable out.

      댓글 쓰기

    2. HP 7 1800 Display Replacement, Unscrew the 7 black screws on the metal plate: 9 단계, 이미지 1개 중 1개
      • Unscrew the following black screws:

      • Seven 2.82mm Phillips #00 around the metal casing.

      댓글 쓰기

    3. HP 7 1800 Display Replacement, Remove the metal plate: 10 단계, 이미지 1개 중 1개
      • Gently lift the metal plate directly up.

      댓글 쓰기

    4. HP 7 1800 Display Replacement, Remove the display: 11 단계, 이미지 1개 중 1개
      • Gently lift the display directly up.

      댓글 쓰기

결론

To reassemble your device, follow these instructions in reverse order.

취소: 해당 안내서를 완성하지 않았습니다.

다른 5명이 해당 안내서를 완성하였습니다.

작성자

2다른 기여자 명과 함께

TMD

회원 가입일: 01/21/15

792 평판

안내서 5개를 작성함

USF Tampa, Team 4-1, Brown Winter 2015 USF Tampa, Team 4-1, Brown Winter 2015 회원

USFT-BROWN-W15S4G1

4 회원들

안내서 42개를 작성함

2가이드 댓글

I have this same tablet but I cannot find a replacement screen. Do you know where I could find one?

Karen Porter - 답글 공유

I have the same problem

akiel panchan - 답글 공유

댓글 쓰기

조회 통계:

지난 24시간: 0

지난 7일: 4

지난 30일: 21

전체 시간: 2,268