주요 콘텐츠로 건너뛰기
수리 커뮤니티 가입 - 계정 만들기

HP Chromebook 11 G3 Camera Replacement

필요한 것

  1. HP Chromebook 11 G3 Camera Replacement, Keyboard Mount: 1 단계, 이미지 2개 중 1개 HP Chromebook 11 G3 Camera Replacement, Keyboard Mount: 1 단계, 이미지 2개 중 2개
    • Flip the laptop upside down so that the lid lies flat on the table.

    • Remove the nine 6mm Phillips #00 screws that line the border.

    댓글 쓰기

  2. HP Chromebook 11 G3 Camera Replacement: 2 단계, 이미지 2개 중 1개 HP Chromebook 11 G3 Camera Replacement: 2 단계, 이미지 2개 중 2개
    이 단계에 사용된 도구:
    Tweezers
    $4.99
    • Remove the two rubber feet closest to the hinge using tweezers.

    • Remove the two 6mm Phillips #00 screws revealed under these rubber feet.

    • The rubber feet may tear while removal; preventing this can be difficult, but it won’t harm the laptop. If desired, replace these rubber feet during reassembly.

    댓글 쓰기

  3. HP Chromebook 11 G3 Camera Replacement: 3 단계, 이미지 1개 중 1개
    • Flip the laptop so it is in the upright position.

    • Open the lid.

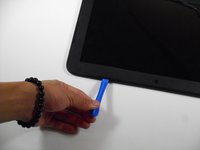
    • Unsnap the keyboard mount along the border of the laptop using a plastic opening tool.

    • This may require more force than expected. Hearing loud clicks as the plastic opening tool slides along the seam is normal.

    댓글 쓰기

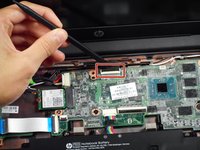
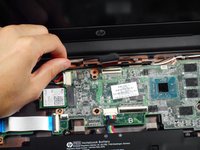
  4. HP Chromebook 11 G3 Camera Replacement: 4 단계, 이미지 3개 중 1개 HP Chromebook 11 G3 Camera Replacement: 4 단계, 이미지 3개 중 2개 HP Chromebook 11 G3 Camera Replacement: 4 단계, 이미지 3개 중 3개
    • Tilt the keyboard mount up.

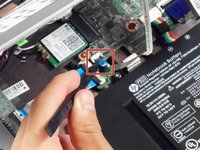
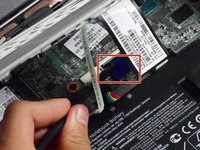
    • Use a spudger to flip up the two ZIF connector retaining flaps for the ribbon cables that connect the keyboard mount to the motherboard.

    • Gently remove both ribbon cables.

    댓글 쓰기

  5. HP Chromebook 11 G3 Camera Replacement: 5 단계, 이미지 1개 중 1개
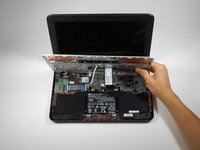
    • Lift the keyboard mount out of the laptop.

    댓글 쓰기

  6. HP Chromebook 11 G3 Camera Replacement, Display Assembly: 6 단계, 이미지 1개 중 1개
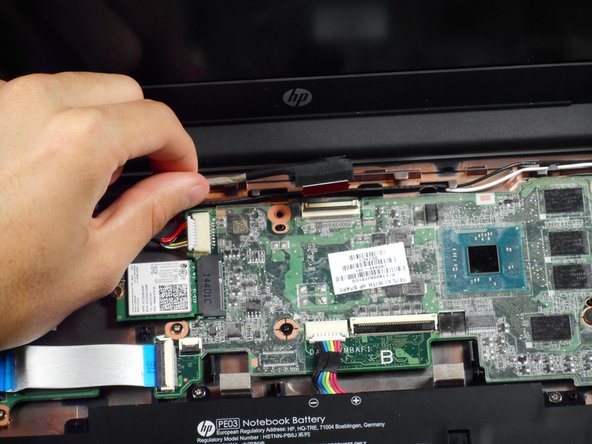
    • Gently tug on the black and white wires connected to the Wi-Fi module to disconnect them.

    댓글 쓰기

  7. HP Chromebook 11 G3 Camera Replacement: 7 단계, 이미지 2개 중 1개 HP Chromebook 11 G3 Camera Replacement: 7 단계, 이미지 2개 중 2개
    • Using a spudger, lift the ZIF retaining flap that secures the display’s ribbon cable to the motherboard.

    • Gently pull the ribbon cable out of its socket.

    댓글 쓰기

  8. HP Chromebook 11 G3 Camera Replacement: 8 단계, 이미지 1개 중 1개
    • Free the wire from the casing.

    댓글 쓰기

  9. HP Chromebook 11 G3 Camera Replacement: 9 단계, 이미지 1개 중 1개
    • Remove the two 6mm Phillips #00 screws located near the upper left and right corners of the hinge mounts.

    • Hold the lid so that it is folded slightly inwards while removing the screws so that the lid doesn’t fall.

    댓글 쓰기

  10. HP Chromebook 11 G3 Camera Replacement: 10 단계, 이미지 1개 중 1개
    • Rotate the lid to a 90-degree angle with the table.

    • Shimmy the lid out of the laptop.

    댓글 쓰기

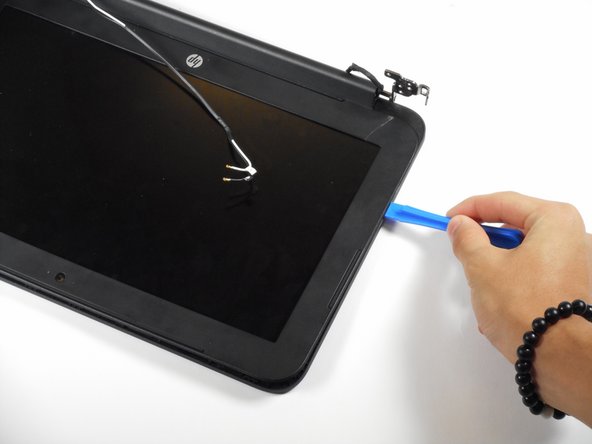
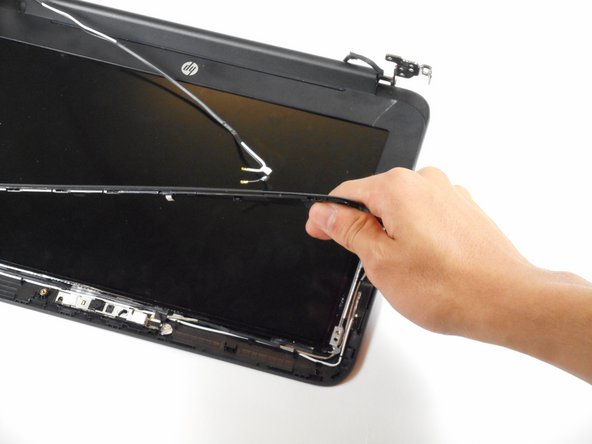
  11. HP Chromebook 11 G3 Camera Replacement, Screen Bezel: 11 단계, 이미지 3개 중 1개 HP Chromebook 11 G3 Camera Replacement, Screen Bezel: 11 단계, 이미지 3개 중 2개 HP Chromebook 11 G3 Camera Replacement, Screen Bezel: 11 단계, 이미지 3개 중 3개
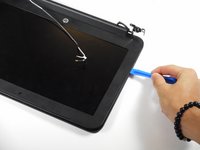
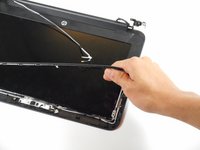
    • Use the plastic opening tool to pry the left and right side of the top of the lid, and proceed inwards from the sides.

    • Do not attempt to remove the entire frame; this isn't necessary for removing the camera.

    • Do not pry at the center of the lid; this may damage the camera inside.

    댓글 쓰기

  12. HP Chromebook 11 G3 Camera Replacement, Camera: 12 단계, 이미지 1개 중 1개
    • Gently remove the slide-out connector near the bottom left corner of the camera mount.

    댓글 쓰기

  13. HP Chromebook 11 G3 Camera Replacement: 13 단계, 이미지 1개 중 1개
    이 단계에 사용된 도구:
    Tweezers
    $4.99
    • Locate the two silver strips of tape on each edge of the camera mount.

    • Use tweezers to peel off these strips.

    댓글 쓰기

  14. HP Chromebook 11 G3 Camera Replacement: 14 단계, 이미지 1개 중 1개
    • Use a plastic opening tool to pry the camera mount out of the lid.

    • Apply force evenly to prevent bending the mount.

    댓글 쓰기

  15. HP Chromebook 11 G3 Camera Replacement: 15 단계, 이미지 1개 중 1개
    • Lift the camera out of the lid.

    댓글 쓰기

결론

To reassemble your device, follow these instructions in reverse order.

취소: 해당 안내서를 완성하지 않았습니다.

다른 3명이 해당 안내서를 완성하였습니다.

작성자

3다른 기여자 명과 함께

Rahul Goyal

회원 가입일: 04/26/17

1,401 평판

안내서 10개를 작성함

Cal Poly, Team S23-G3, Livingston Spring 2017 Cal Poly, Team S23-G3, Livingston Spring 2017 회원

CPSU-LIVINGSTON-S17S23G3

4 회원들

안내서 12개를 작성함

0가이드 댓글

댓글 쓰기

조회 통계:

지난 24시간: 0

지난 7일: 4

지난 30일: 27

전체 시간: 1,462