소개
If your printer is not dispensing paper, and it makes no sense, the Paper Control Sensor may not be sensing the paper. The Paper Control Sensor is soldered to a small circuit board. Be careful when handling electronic circuits to avoid damaging it or to avoid damaging yourself. This guide will walk you through on how to replace the Paper Control Sensor.
필요한 것
-
-
-
Remove the two 13 mm screws located on the back of the printer using a screwdriver with the T10 torx bit (star-shaped).
 FixBot에 문의하기
-
-
-
In the front of the printer, open the tray where the paper comes out and remove the two 13 mm screws located under the top of the printer.
-
-
-
-
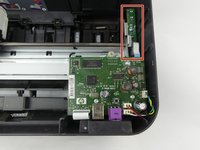
With the front of the printer facing you, lift and raise the left side of the panel (like opening a book in reverse) until it disconnects from the clip on the right side of the panel.
-
-
-
-
이 단계에 사용된 도구:Tweezers$4.99
-
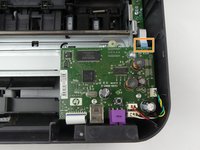
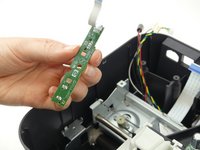
Locate the paper control sensor.
-
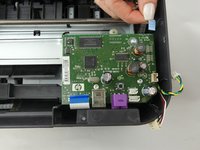
Locate and unplug the connector which connects the sensor board to the main circuit board.
-
-
-
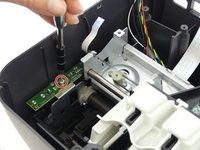
Locate and remove the 8mm screw with a screwdriver and the T10 torx bit, then remove the paper control sensor board.
-
-


To reassemble your device, follow these instructions in reverse order.
다른 4명이 해당 안내서를 완성하였습니다.
팀

USF Tampa, Team S5-G3, Passmore Spring 2018 USF Tampa, Team S5-G3, Passmore Spring 2018 회원
USFT-PASSMORE-S18S5G3
4 회원들
안내서 12개를 작성함