소개
This guide will replace the encoder strip, which the printer carriage uses to read its speed and position. It runs through the opening of the carriage and is attached to each end of the frame inside the printer. Without this strip, the carriage will slam against the side of the printer when it is turned on.
필요한 것
-
-
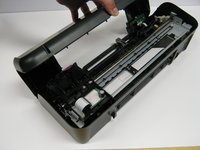
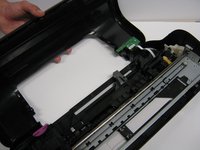
Lay the printer on its back.
-
Grab the paper tray by its right side and pull it to the left and up.
-
-
-
-
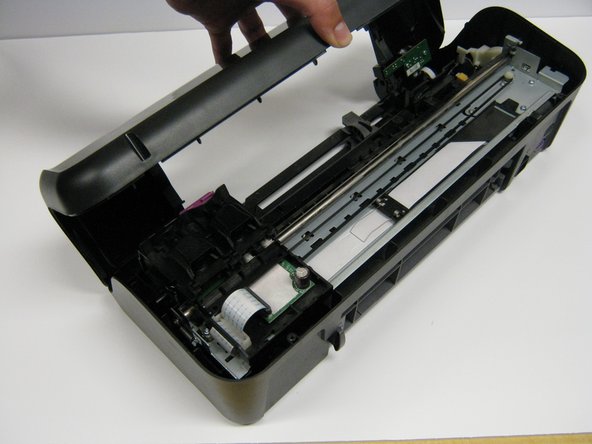
Open the frontal access panel by lifting it from the top.
-
Similar to the paper tray, grab it from the right side and pull it to the left and up.
-
-
-
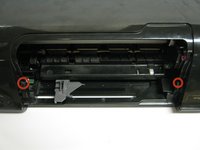
Take out the two frontal 14.0 mm Torx #10 screws.
-
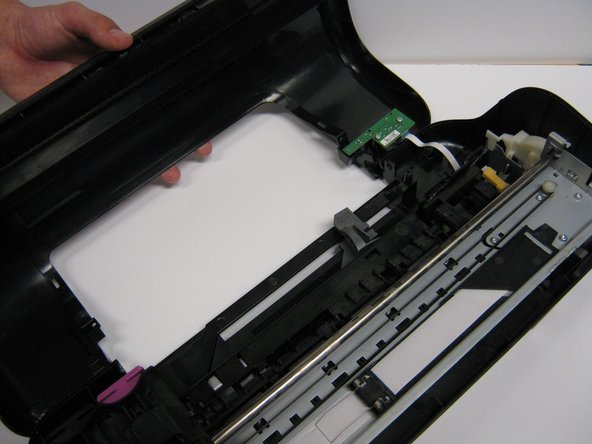
Carefully lift the frontal cover.
-
-
-
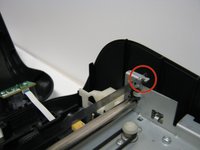
Looking at the printer from the front, carefully unhook the encoder strip from the left side.
-
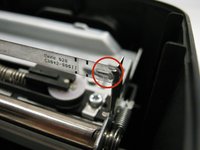
Do the same thing on the other side by pulling to the right and pushing a little.
-
Pull the strip completely out from the cartridge holder.
-


To reassemble your device, follow these instructions in reverse order.
다른 3명이 해당 안내서를 완성하였습니다.
팀

Cal Poly, Team 1-41, Maness Winter 2014 Cal Poly, Team 1-41, Maness Winter 2014 회원
CPSU-MANESS-W14S1G41
4 회원들
안내서 14개를 작성함