소개
Does the printer button not work or stay on when you are trying to turn the printer off? Use this guide to replace the malfunctioning button. This will ensure that you have a working printer that will actually print.
필요한 것
-
-
Lay the printer on its back.
-
Grab the paper tray by its right side and pull it to the left and up.
-
-
-
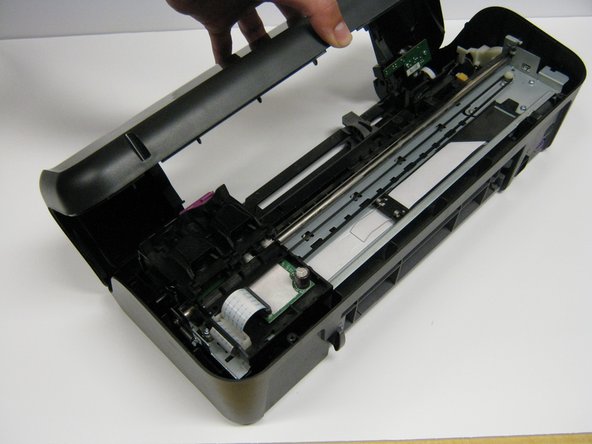
Open the frontal access panel by lifting it from the top.
-
Similar to the paper tray, grab it from the right side and pull it to the left and up.
-
-
-
-
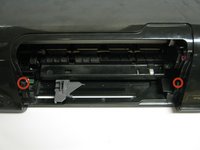
Take out the two frontal 14.0 mm Torx #10 screws.
-
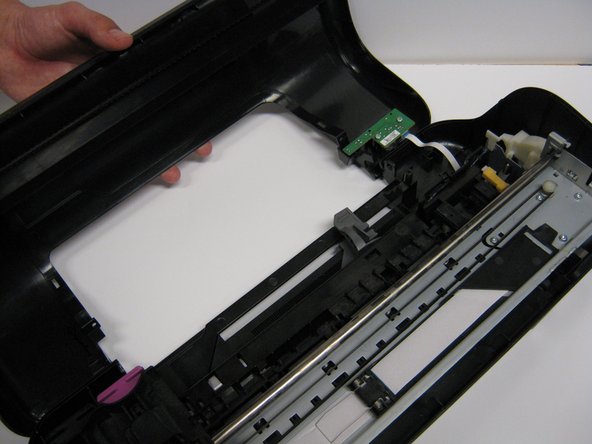
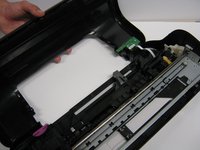
Carefully lift the frontal cover.
-
-
-
Remove the two 13.0 mm Torx #10 screws.
-
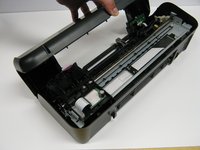
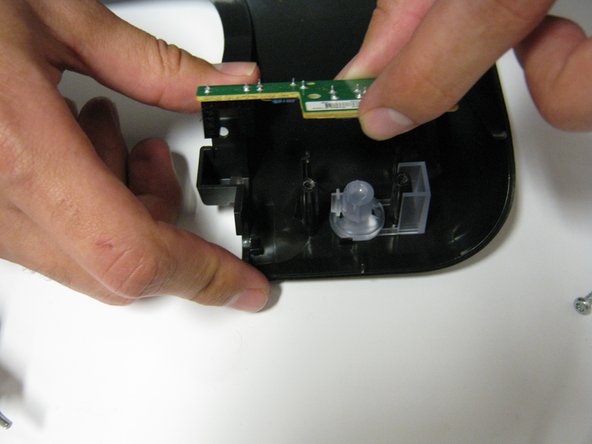
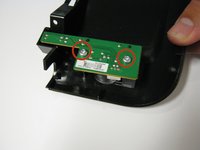
Carefully lift it up. The button will be located under it.
-


To reassemble your device, follow these instructions in reverse order.
다른 한 분이 해당 안내서를 완성하였습니다.
팀

Cal Poly, Team 1-41, Maness Winter 2014 Cal Poly, Team 1-41, Maness Winter 2014 회원
CPSU-MANESS-W14S1G41
4 회원들
안내서 14개를 작성함