주요 콘텐츠로 건너뛰기
수리 커뮤니티 가입 - 계정 만들기

HP G71t-300 Thermal Paste Replacement

필요한 것

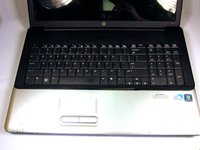
  1. HP G71t-300 Thermal Paste Replacement, Keyboard: 1 단계, 이미지 3개 중 1개 HP G71t-300 Thermal Paste Replacement, Keyboard: 1 단계, 이미지 3개 중 2개 HP G71t-300 Thermal Paste Replacement, Keyboard: 1 단계, 이미지 3개 중 3개
    이 단계에 사용된 도구:
    Anti-Static Wrist Strap
    $7.95
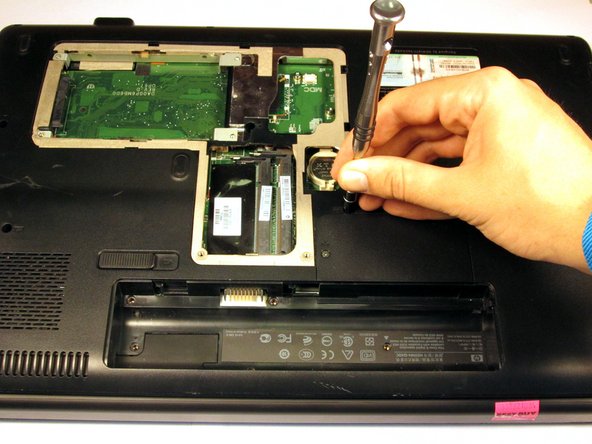
    • Ground yourself by either touching an unpainted metal surface or by using the Anti-Static wrist strap.

    • Turn off the computer and remove the charger from the charging port.

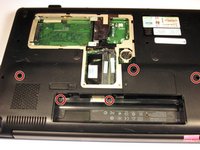
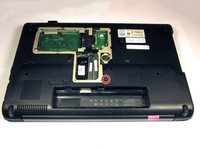
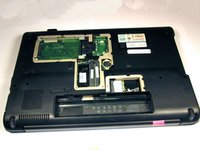
    • Turn the laptop over and slide the battery release catch to the right. The battery will pop up from its slot. Remove it using your fingers.

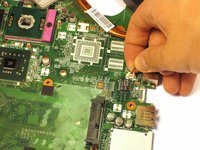
  2. HP G71t-300 Thermal Paste Replacement: 2 단계, 이미지 2개 중 1개 HP G71t-300 Thermal Paste Replacement: 2 단계, 이미지 2개 중 2개
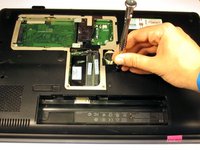
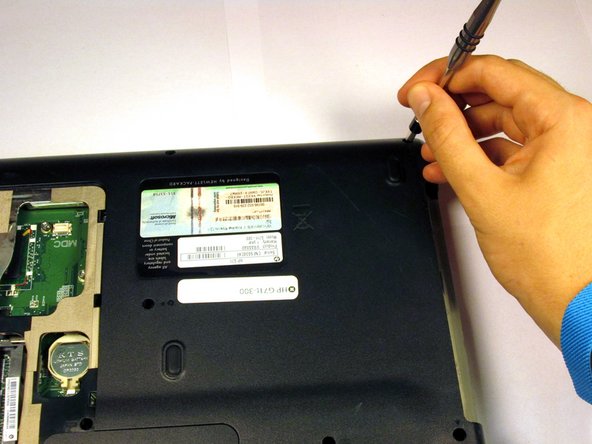
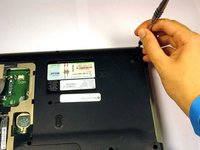
    • Use a Phillips #0 screwdriver to remove the four screws from the indicated cover.

    • Gently lift and remove the cover.

  3. HP G71t-300 Thermal Paste Replacement: 3 단계, 이미지 2개 중 1개 HP G71t-300 Thermal Paste Replacement: 3 단계, 이미지 2개 중 2개
    • Remove the five 6mm screws with the Phillips #0 screwdriver.

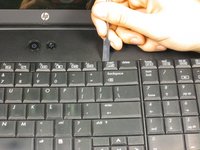
  4. HP G71t-300 Thermal Paste Replacement: 4 단계, 이미지 2개 중 1개 HP G71t-300 Thermal Paste Replacement: 4 단계, 이미지 2개 중 2개
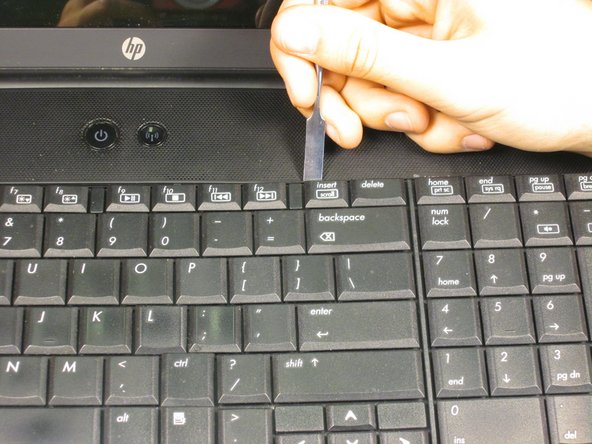
    • Pry the keyboard off with a spudger. Be careful not to apply too much pressure and damage any components.

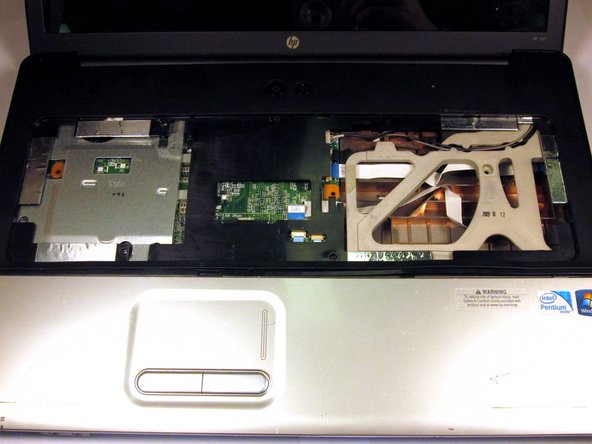
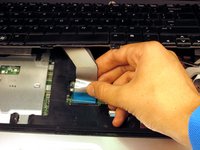
  5. HP G71t-300 Thermal Paste Replacement: 5 단계, 이미지 2개 중 1개 HP G71t-300 Thermal Paste Replacement: 5 단계, 이미지 2개 중 2개
    • Disconnect the clip attaching the keyboard wiring to the motherboard. Lift and remove the keyboard.

  6. HP G71t-300 Thermal Paste Replacement, Cooling Fan: 6 단계, 이미지 3개 중 1개 HP G71t-300 Thermal Paste Replacement, Cooling Fan: 6 단계, 이미지 3개 중 2개 HP G71t-300 Thermal Paste Replacement, Cooling Fan: 6 단계, 이미지 3개 중 3개
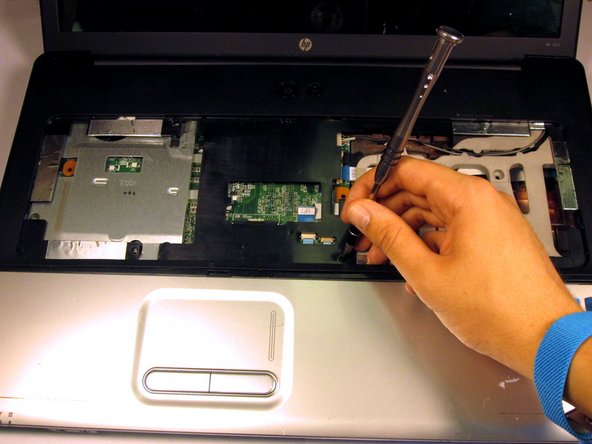
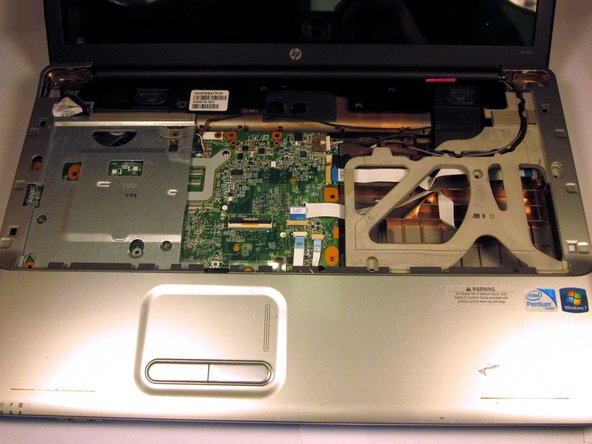
    • Use a Phillips #0 screwdriver to remove the 6mm screw from the top panel.

    • Gently lift and remove the panel. Use a metal spudger if the it seems set in place.

  7. HP G71t-300 Thermal Paste Replacement: 7 단계, 이미지 2개 중 1개 HP G71t-300 Thermal Paste Replacement: 7 단계, 이미지 2개 중 2개
    • Use a Phillips #0 screwdriver to remove the 6mm screw for the Wi-Fi module cover.

    • Remove the cover.

  8. HP G71t-300 Thermal Paste Replacement: 8 단계, 이미지 2개 중 1개 HP G71t-300 Thermal Paste Replacement: 8 단계, 이미지 2개 중 2개
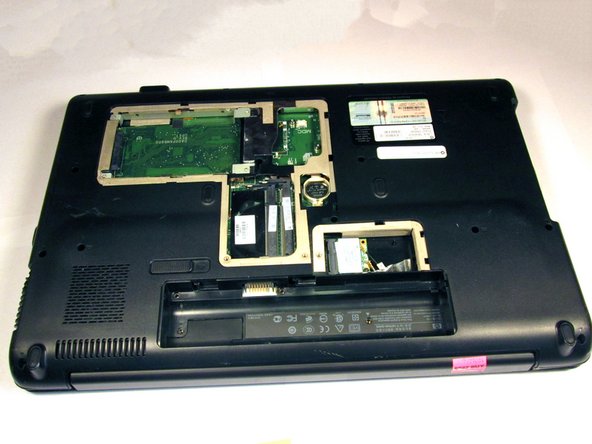
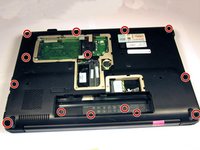
    • Remove all fourteen 6mm screws using a Phillips #0 screwdriver.

  9. HP G71t-300 Thermal Paste Replacement: 9 단계, 이미지 2개 중 1개 HP G71t-300 Thermal Paste Replacement: 9 단계, 이미지 2개 중 2개
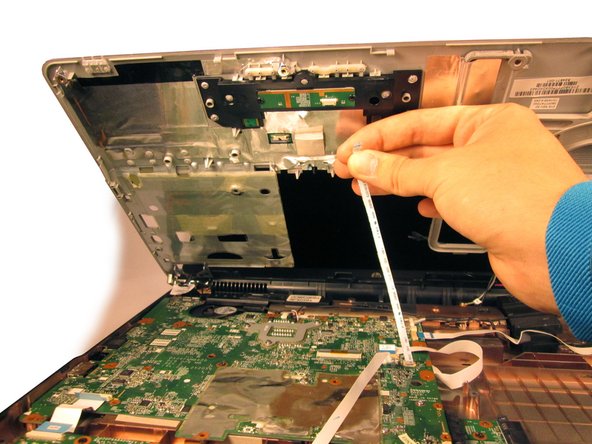
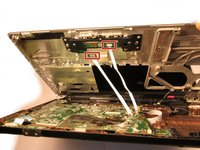
    • Partially separate the two panels until connectors are visible.

    • Unclip the wires that attach the trackpad module to the motherboard.

  10. HP G71t-300 Thermal Paste Replacement: 10 단계, 이미지 2개 중 1개 HP G71t-300 Thermal Paste Replacement: 10 단계, 이미지 2개 중 2개
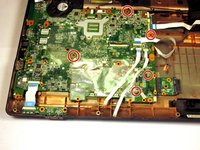
    • Remove the five highlighted screws using a Phillips #0 screwdriver.

  11. HP G71t-300 Thermal Paste Replacement: 11 단계, 이미지 2개 중 1개 HP G71t-300 Thermal Paste Replacement: 11 단계, 이미지 2개 중 2개
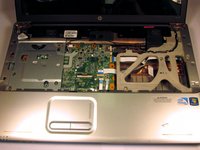
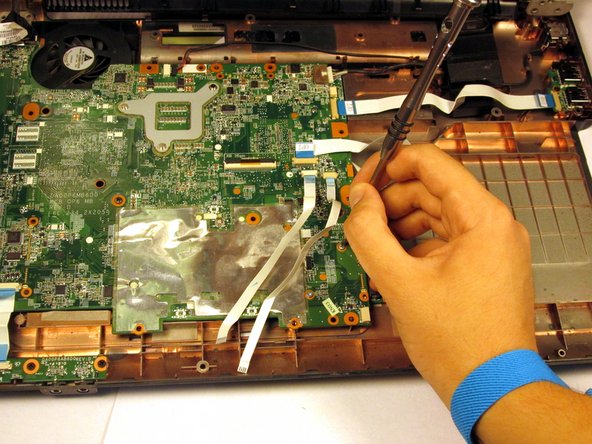
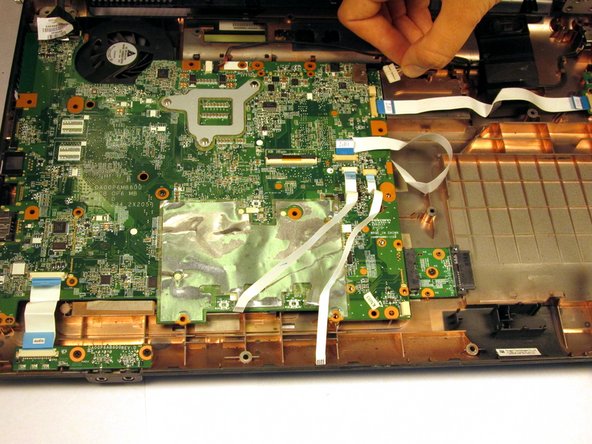
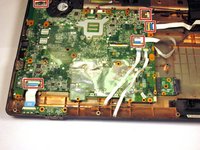
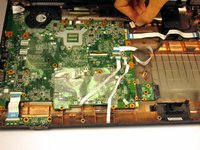
    • Disconnect the five cables by gently pulling them from their slots.

  12. HP G71t-300 Thermal Paste Replacement: 12 단계, 이미지 2개 중 1개 HP G71t-300 Thermal Paste Replacement: 12 단계, 이미지 2개 중 2개
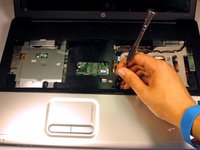
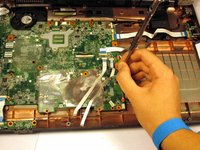
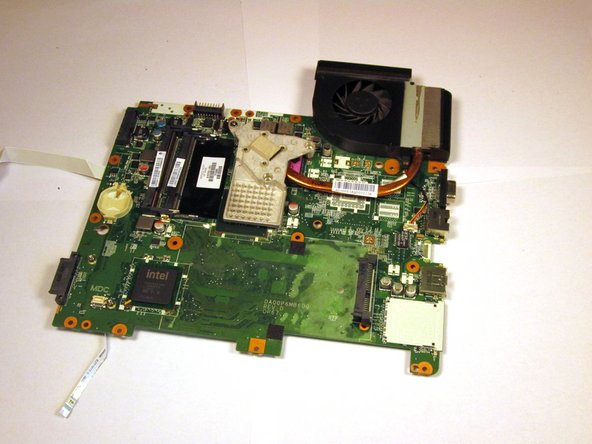
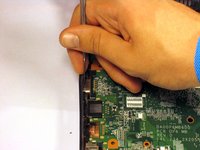
    • Press a metal spudger between the VGA port and the plastic housing to pry up the motherboard.

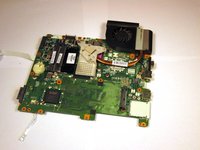
    • Remove the motherboard and turn it so that the fan is facing upward.

  13. HP G71t-300 Thermal Paste Replacement: 13 단계, 이미지 3개 중 1개 HP G71t-300 Thermal Paste Replacement: 13 단계, 이미지 3개 중 2개 HP G71t-300 Thermal Paste Replacement: 13 단계, 이미지 3개 중 3개
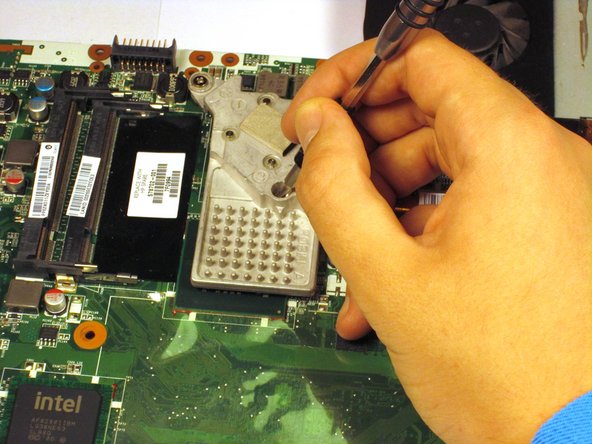
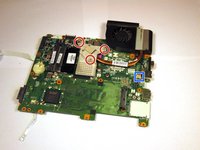
    • Use a Phillips #0 screwdriver to loosen the three screws attaching the heatsink to the motherboard.

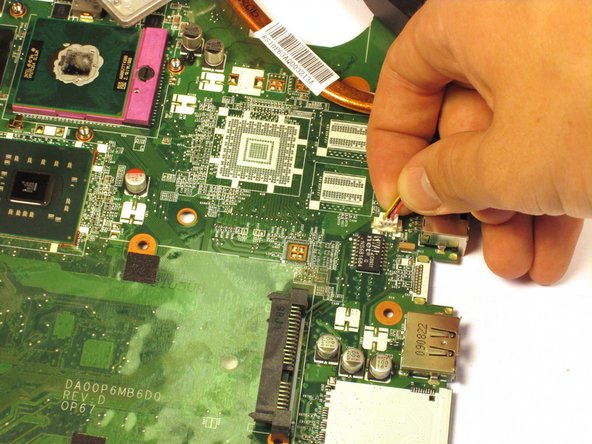
    • Remove the heatsink and fan assembly by unclipping the fan from the motherboard.

  14. HP G71t-300 Thermal Paste Replacement, Thermal Paste: 14 단계, 이미지 2개 중 1개 HP G71t-300 Thermal Paste Replacement, Thermal Paste: 14 단계, 이미지 2개 중 2개
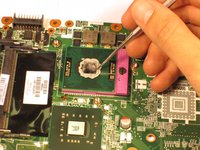
    • Gently wipe the thermal paste off of the processor and heatsink using an alcohol pad or damp cloth. Let the components dry for a few minutes.

    • Apply a pea sized amount of thermal paste to the processor and heatsink. Keep the paste thick to prevent forming air bubbles and reducing thermal performance.

결론

To reassemble your device, follow these instructions in reverse order.

작성자

4다른 기여자 명과 함께

Rohan Mathew

회원 가입일: 09/22/16

513 평판

안내서 5개를 작성함

UC Davis, Team 2-3, Oliver Fall 2016 UC Davis, Team 2-3, Oliver Fall 2016 회원

UCD-OLIVER-F16S2G3

5 회원들

안내서 6개를 작성함

0가이드 댓글

댓글 쓰기

조회 통계:

지난 24시간: 1

지난 7일: 5

지난 30일: 34

전체 시간: 411