주요 콘텐츠로 건너뛰기

HP Mini 311 Keyboard Replacement

필요한 것

  1. HP Mini 311 Keyboard Replacement, Battery: 1 단계, 이미지 1/3 HP Mini 311 Keyboard Replacement, Battery: 1 단계, 이미지 2/3 HP Mini 311 Keyboard Replacement, Battery: 1 단계, 이미지 3/3
    • Lay the laptop on a flat surface, bottom side up and slide the two battery release latches toward the outside of the case.

  2. HP Mini 311 Keyboard Replacement: 2 단계, 이미지 1/2 HP Mini 311 Keyboard Replacement: 2 단계, 이미지 2/2
    • Slide the battery away from the device to remove.

  3. HP Mini 311 Keyboard Replacement, Memory Shield: 3 단계, 이미지 1/1
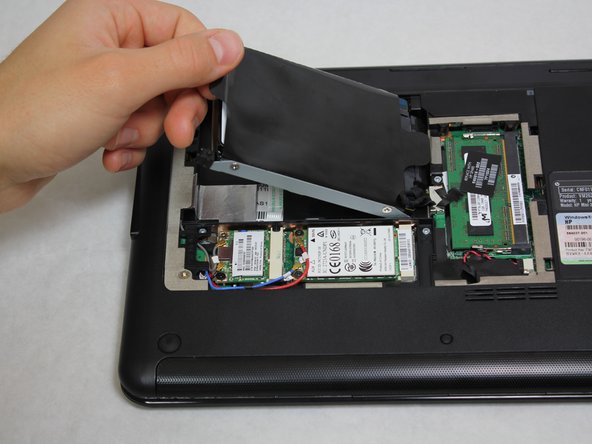
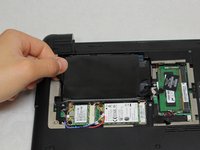
    • With the device still in a bottom side up position, proceed to unscrew the two 4.8mm Phillips 00 screws from the memory shield.

    • The screws will remain in the shied.

  4. HP Mini 311 Keyboard Replacement: 4 단계, 이미지 1/2 HP Mini 311 Keyboard Replacement: 4 단계, 이미지 2/2
    • Lift the memory shield up and remove from the laptop.

  5. HP Mini 311 Keyboard Replacement, Hard Drive: 5 단계, 이미지 1/3 HP Mini 311 Keyboard Replacement, Hard Drive: 5 단계, 이미지 2/3 HP Mini 311 Keyboard Replacement, Hard Drive: 5 단계, 이미지 3/3
    • Grab the left black, plastic tab and carefully pull upward.

    • Be sure to pull carefully. Pulling too forcefully may damage the tab.

  6. HP Mini 311 Keyboard Replacement: 6 단계, 이미지 1/3 HP Mini 311 Keyboard Replacement: 6 단계, 이미지 2/3 HP Mini 311 Keyboard Replacement: 6 단계, 이미지 3/3
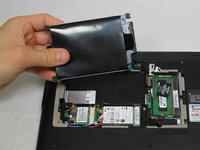
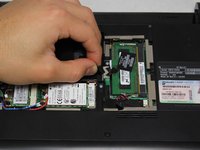
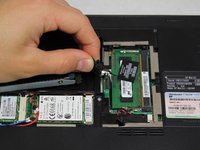
    • Grab a hold of the wire connecting the hard drive and the device.

    • Pull upward, perpendicular to the surface of the laptop, releasing the connector tethering the hard drive to the motherboard.

  7. HP Mini 311 Keyboard Replacement, Keyboard: 7 단계, 이미지 1/1
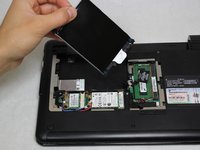
    • Unscrew the four Phillip 00 5.6 mm screws located around the wireless card and RAM.

  8. HP Mini 311 Keyboard Replacement: 8 단계, 이미지 1/1
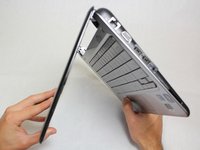
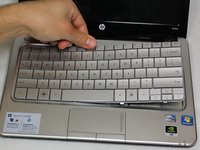
    • Open the laptop so that the screen and front of the keyboard are both facing the ground.

    • Push on the opening on the back side of the device until the keyboard partially pops out.

    • This opening is located where the original hard drive was set.

  9. HP Mini 311 Keyboard Replacement: 9 단계, 이미지 1/3 HP Mini 311 Keyboard Replacement: 9 단계, 이미지 2/3 HP Mini 311 Keyboard Replacement: 9 단계, 이미지 3/3
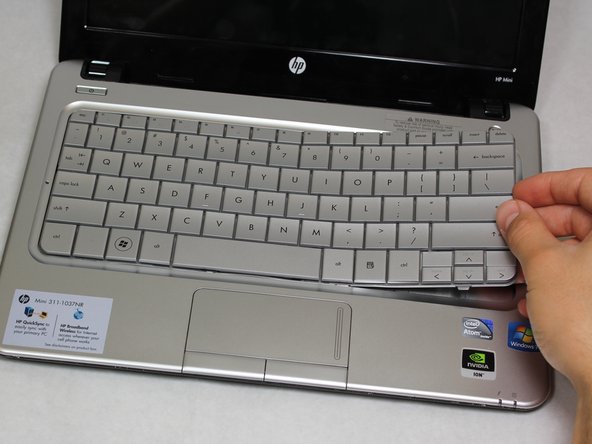
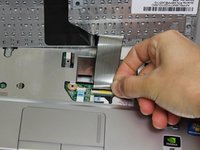
    • Flip the device around and orient it so that the screen and keyboard are facing you.

    • Starting at the right side, work your way towards the left end and remove the keyboard by unhinging the latches attaching it to the base of the device.

    • The right side of the keyboard should be unattached.

    • Be gentle and patient. You don't want to pull the entire keyboard at once, but rather pull by sections.

  10. HP Mini 311 Keyboard Replacement: 10 단계, 이미지 1/3 HP Mini 311 Keyboard Replacement: 10 단계, 이미지 2/3 HP Mini 311 Keyboard Replacement: 10 단계, 이미지 3/3
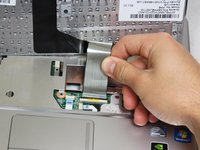
    • Carefully pull the ribbon cable connecting the keyboard and the laptop to remove from the device.

결론

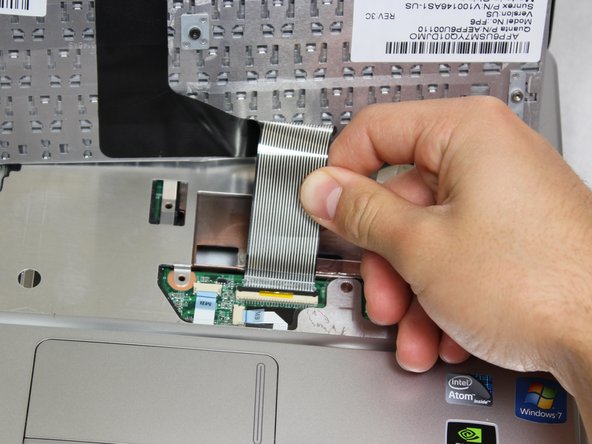
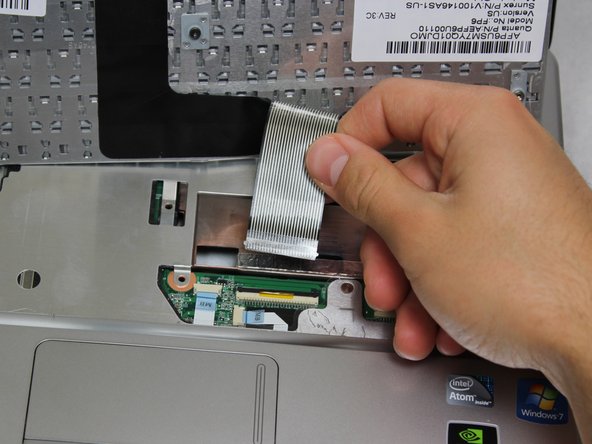
To reassemble your device, follow these instructions in reverse order.

다른 4명이 해당 안내서를 완성하였습니다.

Christian Santoyo

회원 가입일: 01/31/13

495 평판

안내서 6개 작성하였습니다

Cal Poly, Team 20-4, Maness Winter 2013 Cal Poly, Team 20-4, Maness Winter 2013 회원

CPSU-MANESS-W13S20G4

4 회원들

안내서 6개 작성하였습니다

댓글 0개

댓글 쓰기

조회 통계:

24 시간 전: 0

7일 전: 1

30일 전: 5

전체 시간: 2,539