주요 콘텐츠로 건너뛰기
수리 커뮤니티 가입 - 계정 만들기

HP Officejet Pro 8620 Power Adapter Replacement

필요한 것

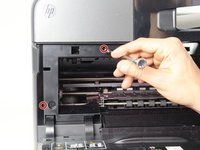
    1. HP Officejet Pro 8620 Power Adapter Replacement, Left Panel: 1 단계, 이미지 3개 중 1개 HP Officejet Pro 8620 Power Adapter Replacement, Left Panel: 1 단계, 이미지 3개 중 2개 HP Officejet Pro 8620 Power Adapter Replacement, Left Panel: 1 단계, 이미지 3개 중 3개
      • Turn off the printer and remove the power cable.

      • Remove two 13mm T9 screws using a T9-Torx screwdriver. Turn counterclockwise until the screws are released.

      댓글 쓰기

    2. HP Officejet Pro 8620 Power Adapter Replacement: 2 단계, 이미지 2개 중 1개 HP Officejet Pro 8620 Power Adapter Replacement: 2 단계, 이미지 2개 중 2개
      • Open the front door by placing your finger on the indented groove on the left side of the printer and pulling down

      • This will give you access to the two T9-TORX 13mm screws that need to be removed to release the panel.

      댓글 쓰기

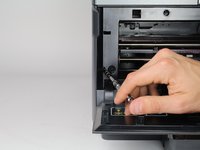
    3. HP Officejet Pro 8620 Power Adapter Replacement: 3 단계, 이미지 2개 중 1개 HP Officejet Pro 8620 Power Adapter Replacement: 3 단계, 이미지 2개 중 2개
      • Remove the two 13mm screws with a T9-TORX screwdriver by turning counter-clockwise (left).

      댓글 쓰기

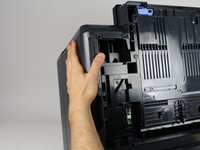
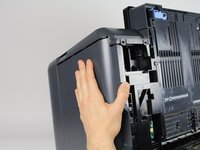
    4. HP Officejet Pro 8620 Power Adapter Replacement: 4 단계, 이미지 3개 중 1개 HP Officejet Pro 8620 Power Adapter Replacement: 4 단계, 이미지 3개 중 2개 HP Officejet Pro 8620 Power Adapter Replacement: 4 단계, 이미지 3개 중 3개
      • Gently remove the left side panel by placing your palm flat against the surface and pulling down.

      댓글 쓰기

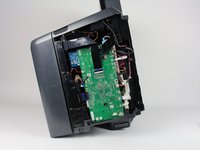
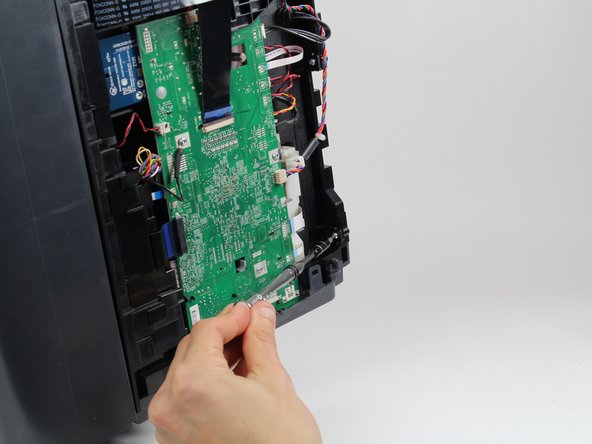
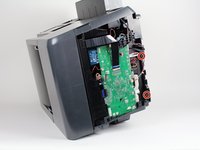
    1. HP Officejet Pro 8620 Power Adapter Replacement, Power Adapter: 5 단계, 이미지 3개 중 1개 HP Officejet Pro 8620 Power Adapter Replacement, Power Adapter: 5 단계, 이미지 3개 중 2개 HP Officejet Pro 8620 Power Adapter Replacement, Power Adapter: 5 단계, 이미지 3개 중 3개
      • Remove two screws 13mm screws with a T9-Torx screwdriver by rotating them counterclockwise.

      댓글 쓰기

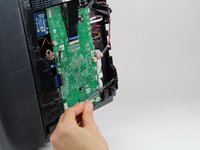
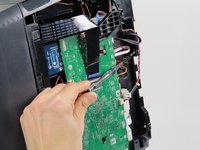
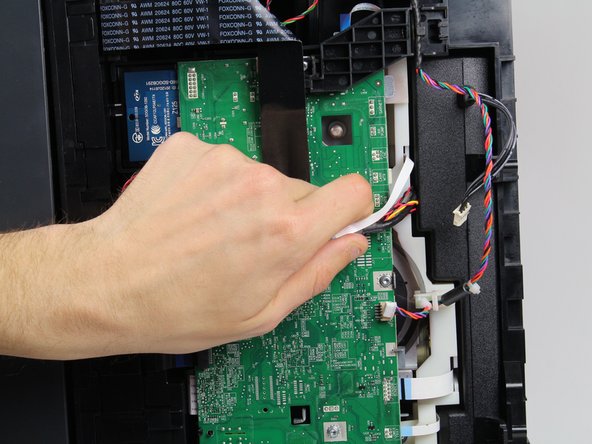
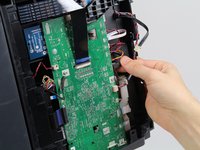
    2. HP Officejet Pro 8620 Power Adapter Replacement: 6 단계, 이미지 3개 중 1개 HP Officejet Pro 8620 Power Adapter Replacement: 6 단계, 이미지 3개 중 2개 HP Officejet Pro 8620 Power Adapter Replacement: 6 단계, 이미지 3개 중 3개
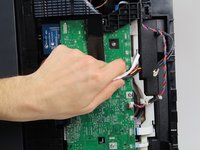
      • Unplug the black cable .

      • Move all the cables and wires to the top of the motherboard to allow the power adapter underneath to be removed freely.

      댓글 쓰기

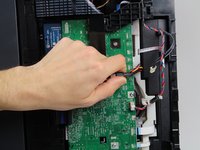
    3. HP Officejet Pro 8620 Power Adapter Replacement: 7 단계, 이미지 1개 중 1개
      • Gently bend the black ribbon cable.

      • Remove one 8mm T8 screw underneath the ribbon cable by rotating it counterclockwise with a T8 -Torx screwdriver.

      • Take out the black plastic cover and the colored wires connected to it.

      • Now you have cleared a passage for the power adapter to be taken out.

      댓글 쓰기

    4. HP Officejet Pro 8620 Power Adapter Replacement: 8 단계, 이미지 1개 중 1개
      • Gently pulling out the power adapter.

      • Be careful with all the wires when pulling out the adapter.

      댓글 쓰기

결론

To reassemble your device, follow these instructions in reverse order.

취소: 해당 안내서를 완성하지 않았습니다.

작성자

4다른 기여자 명과 함께

Scott

회원 가입일: 01/24/18

656 평판

안내서 3개를 작성함

Cal Poly, Team S19-G2, Livingston Spring 2018 Cal Poly, Team S19-G2, Livingston Spring 2018 회원

CPSU-LIVINGSTON-S18S19G2

1 회원

안내서 6개를 작성함

0가이드 댓글

댓글 쓰기

조회 통계:

지난 24시간: 0

지난 7일: 2

지난 30일: 27

전체 시간: 2,765