주요 콘텐츠로 건너뛰기
수리 커뮤니티 가입 - 계정 만들기

HP Photosmart 935 Plastic Casing Replacement

필요한 것

  1. HP Photosmart 935 Plastic Casing Replacement, Batteries: 1 단계, 이미지 2개 중 1개 HP Photosmart 935 Plastic Casing Replacement, Batteries: 1 단계, 이미지 2개 중 2개
    • Flip the camera over so the bottom of the camera is facing you.

    • Turn the mode dial to the OFF position.

  2. HP Photosmart 935 Plastic Casing Replacement: 3 단계, 이미지 2개 중 1개 HP Photosmart 935 Plastic Casing Replacement: 3 단계, 이미지 2개 중 2개
    • Slide the bottom cover in the direction of the arrow to open it.

  3. HP Photosmart 935 Plastic Casing Replacement: 4 단계, 이미지 1개 중 1개
    • Pull out the batteries.

  4. HP Photosmart 935 Plastic Casing Replacement, Plastic Casing: 5 단계, 이미지 1개 중 1개
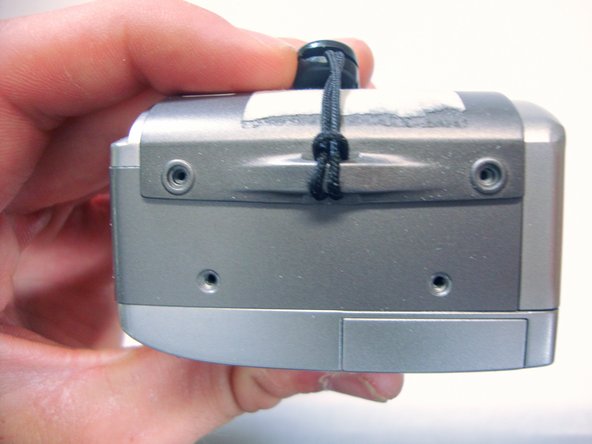
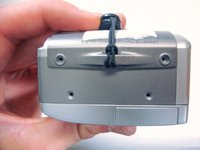
    • Use a Phillips #00 screwdriver to remove the two 4.7 mm screws in the bottom of the plastic casing.

  5. HP Photosmart 935 Plastic Casing Replacement: 6 단계, 이미지 2개 중 1개 HP Photosmart 935 Plastic Casing Replacement: 6 단계, 이미지 2개 중 2개
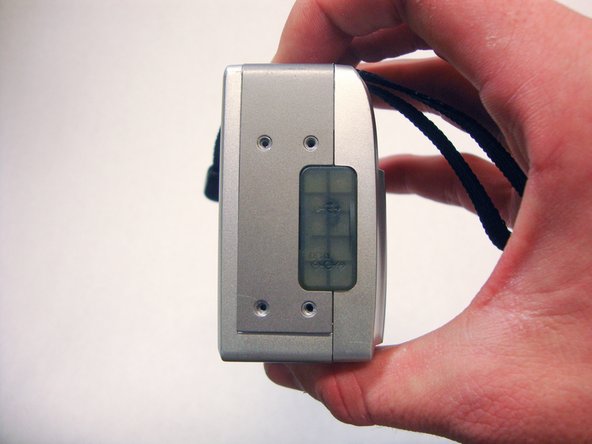
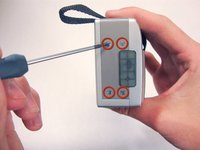
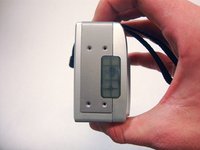
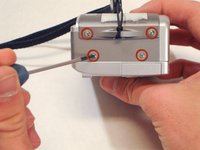
    • Remove the four 4.7 mm screws on the left side of the camera.

  6. HP Photosmart 935 Plastic Casing Replacement: 7 단계, 이미지 2개 중 1개 HP Photosmart 935 Plastic Casing Replacement: 7 단계, 이미지 2개 중 2개
    • Remove the four 4.7 mm screws on the opposite side of the camera.

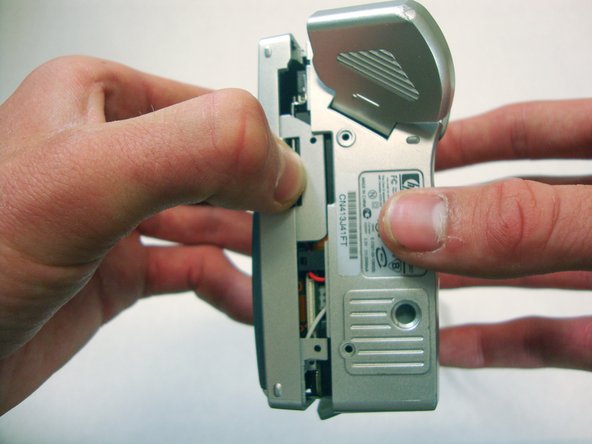
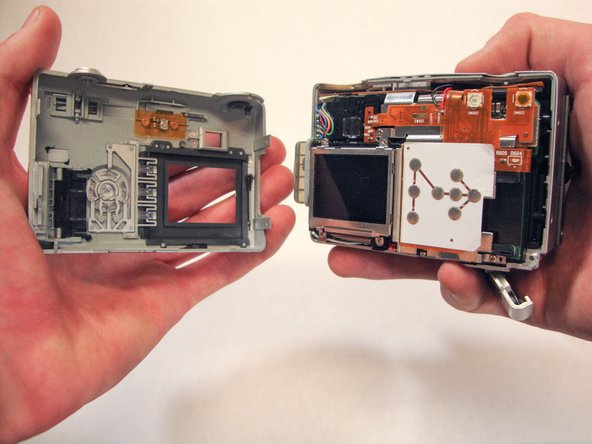
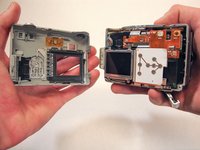
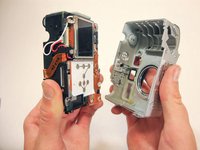
  7. HP Photosmart 935 Plastic Casing Replacement: 8 단계, 이미지 3개 중 1개 HP Photosmart 935 Plastic Casing Replacement: 8 단계, 이미지 3개 중 2개 HP Photosmart 935 Plastic Casing Replacement: 8 단계, 이미지 3개 중 3개
    • Use your thumbs to pry the case apart.

    • It is easiest to pry the case apart if you start at the bottom.

    • The case should come apart with minimal effort. If it doesn't, you can use a spudger or plastic opening tool to pry it open.

  8. HP Photosmart 935 Plastic Casing Replacement: 9 단계, 이미지 1개 중 1개
    • This step requires a significant amount of force.

    • Pull the bottom half of the inner camera out of the case by half an inch. This may be difficult.

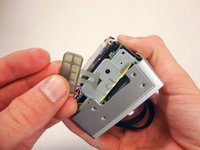
  9. HP Photosmart 935 Plastic Casing Replacement: 10 단계, 이미지 2개 중 1개 HP Photosmart 935 Plastic Casing Replacement: 10 단계, 이미지 2개 중 2개
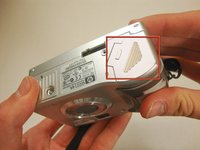
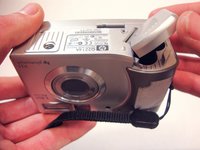
    • While pulling the camera out of the case, note the small soft plastic cover on the side. This cover will detach from the rest of the device.

    • Once the bottom of the inner camera is pulled out, pull the device out completely.

    • Use a firm grasp when removing the device from the case for stability and control.

결론

To reassemble your device, follow these instructions in reverse order.

작성자

9다른 기여자 명과 함께

Clay Young

회원 가입일: 04/04/12

245 평판

안내서 2개를 작성함

Cal Poly, Team 15-13, Forte Spring 2012 Cal Poly, Team 15-13, Forte Spring 2012 회원

CPSU-FORTE-S12S15G13

5 회원들

안내서 10개를 작성함

0가이드 댓글

댓글 쓰기

조회 통계:

지난 24시간: 3

지난 7일: 16

지난 30일: 68

전체 시간: 2,117