소개
If the scanner on your HP Photosmart c3180 is not working, you may want to check the scanner bulb.
The scanner bulb illuminates the document being scanned in order for the printer to get a clearer image of the document.
Scanner bulbs dim over time and eventually burn out. This requires the owner to replace the bulb in order to get the scanner working again.
This guide requires steady hands to deal with small parts as well as knowing the parts of the printer.
BEFORE REPLACING BULB UNPLUG PRINTER FROM POWER SOURCE
필요한 것
-
-
-
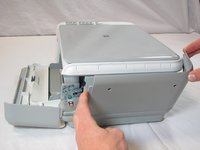
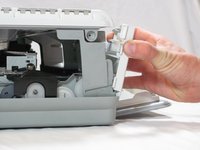
Rotate the printer 90 degrees counter clockwise so that the side panel next to control panel is facing you.
-
Remove the two T10 12mm Torx screws from the left side panel.
 FixBot에 문의하기
-
-
-
Firmly pull the the back of the side panel until it separates from the body of the printer.
-
Rotate the side panel upwards while pulling it towards yourself to remove the panel.
-
-
-
Rotate the printer 90 degrees clockwise.
-
Grasp the paper tray and rotate it down.
-
Insert your fingers into the slot in the printer door and pull to rotate the gate down.
-
-
-
Rotate the printer 90 degrees clockwise.
-
Remove the two T10 12 mm Torx screws.
-
Grasp both sides of the side panel and pull it forward to remove the panel.
-
-
-
-
Rotate the printer 90 degrees counter clockwise.
-
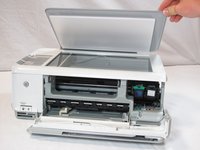
Lift the scanner lid to expose the scanner glass.
-
-
-
Rotate the printer 90 degrees counter clockwise.
-
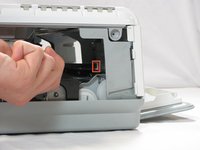
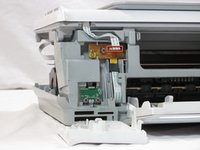
Inside the printer is a small white tab. Press it inward with a spudger until a pop is heard.
-
Remove the front panel by grasping its front and pulling away from the printer.
-
-
-
Rotate the printer 90 degrees clockwise.
-
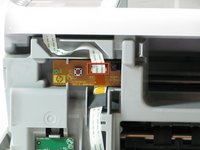
Remove the cable connecting the top panel of the printer to the power button assembly.
-
-
-
-
-
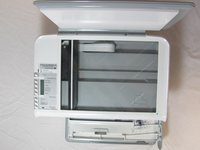
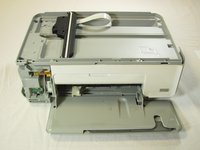
Flip the scanner carriage over to expose the connectors on the bottom.
-
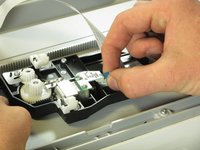
Carefully remove the small cable from the connector.
-
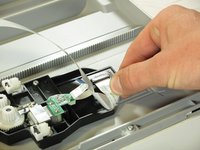
Carefully remove the large cable from the connector.
-
-
-
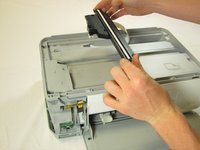
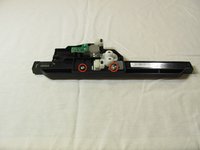
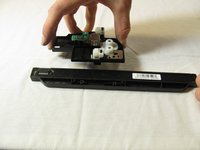
Remove the scanner carriage from the scanner tray and flip it upside down.
-
Remove the two T10 12mm Torx screws.
-
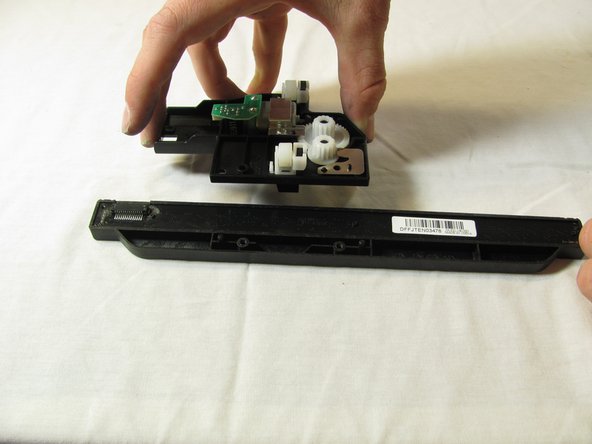
Remove the scanner carriage from the scanner bulb.
-


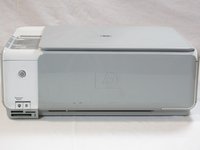


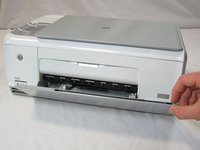
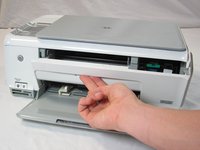


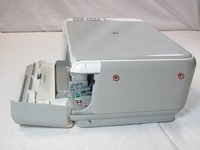











To reassemble your device, follow these instructions in reverse order.
다른 2명이 해당 안내서를 완성하였습니다.

팀

Cal Poly, Team 20-30, Maness Fall 2011 Cal Poly, Team 20-30, Maness Fall 2011 회원
CPSU-MANESS-F11S20G30
4 회원들
안내서 45개를 작성함
1가이드 댓글
You say no parts needed to be purchased. You have to buy a new scanner bulb if you’re replacing it.
