소개
If your HP ProBook 450 G4 fan is making excessive noise while powered on, this could indicate a problem with the mechanics of your fan. Before using this guide, you want to rule out that the excessive fan noise is not being caused by an overworked CPU. Check your task manager to see what is using the majority of your CPU. Ending those tasks should restore the function of your CPU and could make your fan quieter. If that does not help, follow the instructions in this guide to safely and properly remove your laptop’s fan. Before beginning, make sure to power off your laptop and disconnect it from all power sources.
필요한 것
-
-
-
Flip the laptop over.
-
Orient the laptop so the two vents on the bottom face upward and are further away from you.
 FixBot에 문의하기
-
-
-
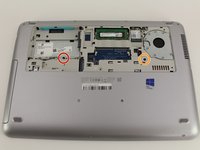
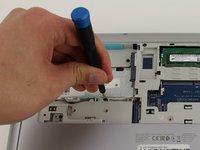
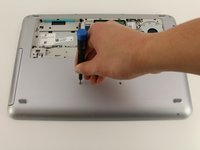
Use the Phillips #0 screwdriver to remove the 6.8 mm screw that secures the vent panel to the laptop.
-
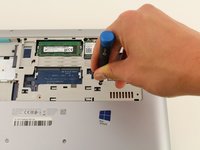
Use the spudger to separate the vent panel from the laptop.
-
Slide the vent panel off the backside of the laptop.
-
-
-
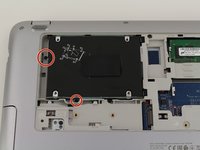
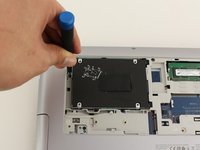
Use the Phillips #0 screwdriver to remove the black 3.2mm screw that secures the hard drive to the left side of the laptop.
-
-
-
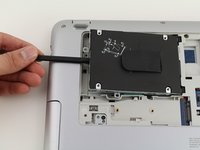
Use the spudger to lift the left side of the hard drive up.
-
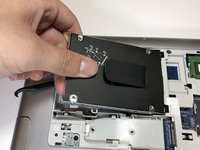
Pull the hard drive diagonally to the left to release the hard drive from the laptop.
-
-
-
-
-
Remove the 6.6mm T8 Torx screw located below where the hard drive used to be.
-
Remove the 6.6mm T8 Torx screw located below and to the left of the circular, silver and black fan.
-
-
-
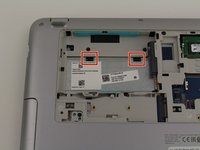
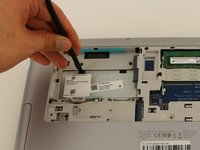
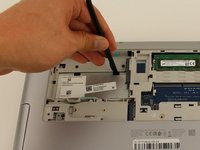
Use the spudger to press down on the two black tabs that are underneath where the hard drive used to be.
-
Apply pressure to the black tabs until they release and pop out.
-
-
-
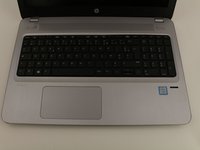
Orient the laptop so the keyboard is facing upwards and towards you.
-
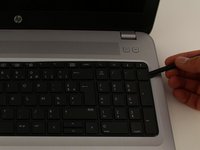
Insert the spudger in between the edge of the keyboard and the computer frame.
-
Slide the spudger around the edge of the keyboard until the keyboard is loose.
-
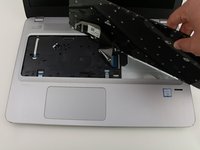
Gently pull the keyboard away from the body of the laptop.
-
-
-
-
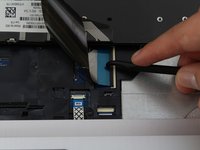
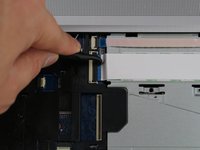
Use a spudger to gently lift up the black locking bar on the keyboard connector.
-
Slide the keyboard ribbon out of the connector.
-
Remove the keyboard.
-
-
-
-
-
Flip the laptop back over.
-
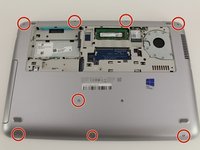
Remove the eight 6.8mm T8 Torx screws on the backside of the laptop.
-
-
-
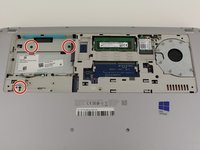
Use a Phillips #0 screwdriver to remove the three 6.6mm screws from the upper left corner of the laptop.
-
-
-
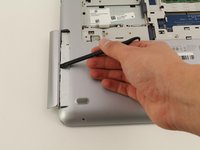
Use the spudger to slide the disk drive out of the laptop.
-
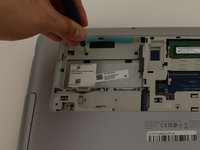
Use the Phillips #0 screwdriver to remove the two 3.2mm screws that are underneath where the disk drive previously was.
-
-
-
Flip the laptop back over so it is facing upwards.
-
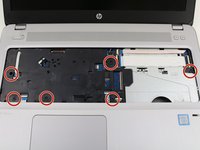
Remove the six 6.6mm T8 Torx screws underneath where the keyboard used to be.
-
-
-
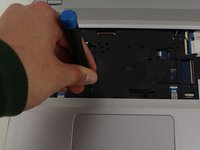
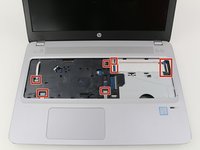
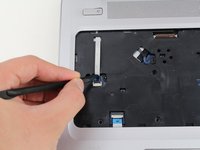
Use the spudger to disconnect the nine cable connectors that secure the top case of the laptop to the body of the laptop.
-
-
-
Insert the spudger in between the top case of the laptop and its outer frame.
-
Slide the spudger around the edge of the laptop until the top case comes off.
-
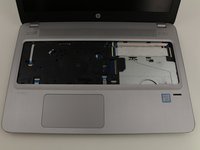
Remove the top case.
-
-
-
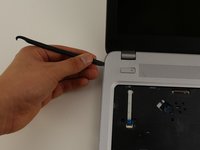
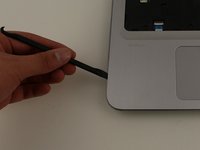
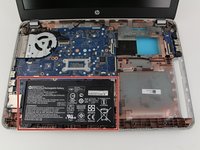
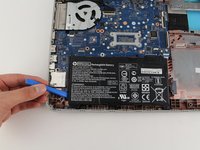
Insert the opening tool underneath the left side of the battery to remove it from the laptop.
-
-
-
-
-
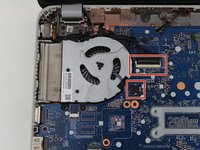
Use the spudger to disconnect the two cable connectors that secure the fan to the laptop.
-
-
-
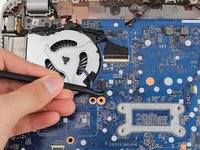
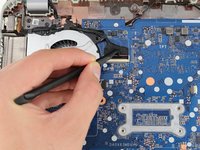
Insert the spudger underneath the black wire that wraps over the top of the fan.
-
Use the spudger to pull the black wire away from the top of the fan.
-
-
-
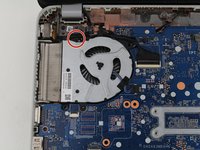
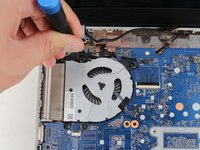
Use a TR9 Torx screwdriver to remove the 6.6mm black screw directly above the fan.
-
-
-
Insert the spudger under the right side of the fan.
-
Use the spudger to gently lift the fan from the laptop.
-
-


















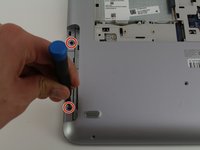


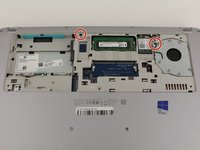
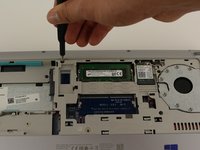
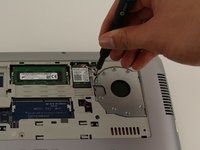













To reassemble your device, follow these instructions in reverse order.
다른 5명이 해당 안내서를 완성하였습니다.

팀

Cal Poly, Team S1-G3, White Winter 2020 Cal Poly, Team S1-G3, White Winter 2020 회원
CPSU-WHITE-W20S1G3
4 회원들
안내서 18개를 작성함
