소개
This guide will help you replace the optical drive, otherwise known as the CD drive. Be sure that no disks are within the drive before replacing the drive.
필요한 것
-
-
-
Slide the two release latches on either side of the battery.
-
Gently tilt the battery upward and remove it from its socket.
 FixBot에 문의하기
-
-
-
-
-
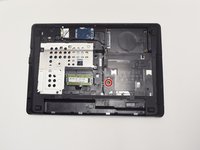
Turn the computer so the bottom is facing towards you.
-
Remove the one 3.0 mm Phillips PM2.0x3.0 security screw.
-
Slide the release latches then pull the door towards you. Lift the door away to completely remove it.
-
-
-
-
-
-
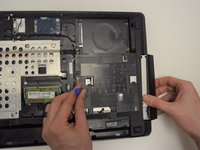
Remove one 6.0 mm Phillips PM2.5x6.0 screw that is securing the optical drive.
-
-
-
Press the optical drive tab to release the drive component.
-
Gently pull and remove the component from the computer.
-
-


To reassemble your device, follow these instructions in reverse order.
다른 3명이 해당 안내서를 완성하였습니다.
팀

UW Tacoma, Team 1-5, Rose Fall 2016 UW Tacoma, Team 1-5, Rose Fall 2016 회원
UWT-ROSE-F16S1G5
4 회원들
안내서 6개를 작성함