소개
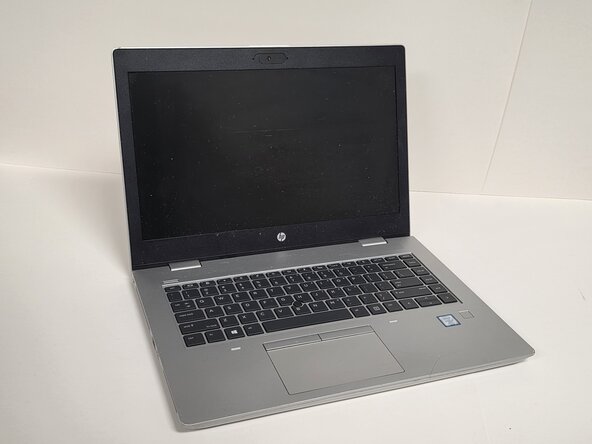
Use this guide to replace a faulty or damaged SSD in the HP ProBook 640 G5 laptop. If your laptop is not booting, showing "No boot device found", experiencing slow performance, or failing to load the operating system, the SSD may be the cause. This guide will show you how to safely remove the bottom cover, locate the SSD, and remove the existing drive to install a new one. Before starting, power off the laptop completely and disconnect all power sources.
필요한 것
-
-
-
Shut down the HP ProBook 640 G5 completely.
-
Disconnect the power adapter and all connected peripherals.
-
Press and hold the power button for 5 seconds to discharge remaining electricity.
 FixBot에 문의하기
-
-
-
-
Flip the laptop over so the bottom is facing up.
-
Loosen eight silver 6mm screws using a Phillips #0 screwdriver.
-
Remove two black 6mm screws using a TR7 Torx screwdriver.
-
Insert a plastic opening tool into the seam and gently pry around the edges.
-
Lift the bottom cover away from the laptop.
-
-
-
-
-
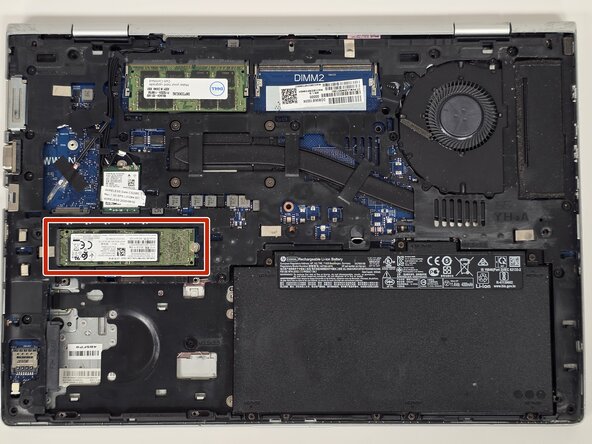
Locate the SSD on the motherboard (typically a small rectangular module secured by a single screw).
-
Remove the single 3 mm screw securing the SSD using a Phillips #1 screwdriver.
-
Hold the SSD by the edges and gently remove it from the slot.
-
-



To reassemble your device, follow these instructions in reverse order.

팀

Austin Community College, Team 1-2, Anderson Spring 2026 Austin Community College, Team 1-2, Anderson Spring 2026 회원
AUSTINCC-ANDERSON-S26S1G2
3 회원들
안내서 6개를 작성함
