이 번역은 기계에 의해 생성된 것이며, 아직 사람이 검토하지 않았습니다. 이 언어를 아세요? 리뷰 보기.
소개
이 안내서는 노트북 스크린을 교체하는 데 도움을 줍니다. 컴퓨터 손상을 방지하기 위해 이 안내서를 시작하기 전에 정전기-방지용 손목 밴드를 착용하고 배터리를 분리했는지 확인하세요.
필요한 것
-
-
이 단계에 사용된 도구:Anti-Static Wrist Strap$7.95
-
정전기-방지용 손목 밴드(Anti Static Wrist Strap)를 착용하세요.
-
컴퓨터를 뒤집으세요.
-
T4 톡스 스크루 드라이버를 사용하여 후면 케이스의 3.3mm 검은색 나사 8개를 푸세요.
 FixBot에 문의하기
-
-
-
-


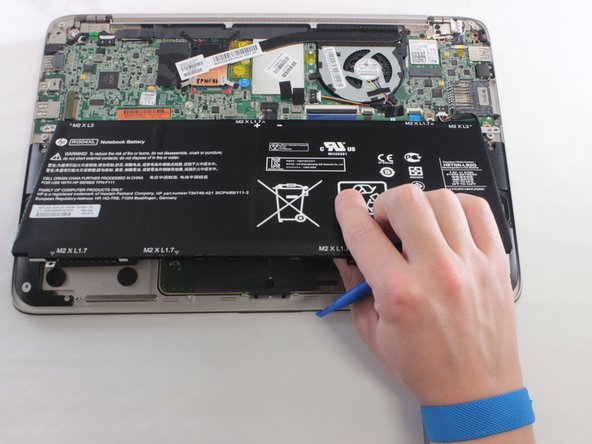
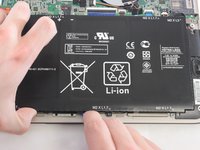
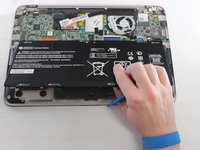


기기를 재조립하려면 이 지침을 역순으로 따르세요.
다른 7명이 해당 안내서를 완성하였습니다.

팀

University of Wisconsin Stout, Team 1-2, Schneider-Bateman Spring 2016 University of Wisconsin Stout, Team 1-2, Schneider-Bateman Spring 2016 회원
UWSTOUT-SCHNEIDER-BATEMAN-S16S1G2
3 회원들
안내서 42개를 작성함
8가이드 댓글
I think that it is not necessary to remove the battery in order to replace the screen. So steps 3 and 5 can be skipped. It is a good idea though, to pull the battery cable as described in step 4, so you cannot accidently turn the notebook on during maintenance.
Another notice: The 13-3010dx is structurally identical with the 13-3010eg (which is the German version with QWERTZ-keyboard). So this manual can be used for that one as well.
Another observation I made:
Once I had removed the screen (I removed it entirely, including case, hinge, and everything), the notebook didn’t start anymore. This was strange, because I had the battery connected, the case closed and the power supply plugged in. Basically, I tried to use the notebook with an external screen, but whenever I pressed the power button, this happened: Fan and keyboard illumination turned on, the illumination faded until only the F5-key kept illuminated and then the notebook turned off entirely, then rebooted. No output on the screen, no BIOS visible, nothing. First I thought, I had damaged the mainboard, but then I tried out some advice, I found on Youtube:
In order to fix my boot-loop problem, I removed the power cable, then opened the case again, removed the battery cable, and pressed the power button for a minute. Then I attached the battery cable again, closed the case – and voila: The notebook started again and I was able to use it in combination with my external screen.
Something else to consider:
When I tried to replace a broken digitizer glass (the touch-screen, that sits in front of the IPS-panel), I found out that glass and screen are glued together all over and not only at the edges. For this reason, it is pointless to try to separate LCD-panel and glass. Even if you succeed somehow, it will be almost impossible, to glue together a new glass and the old screen without any bubbles of air in between!
So what you need is an assembly of digitizer and screen. On ebay I found a dealer named “ftdlcd”, who is originated in Hong Kong, China, but he somehow ships worldwide without shipping charges and without taxes. Shipping from China to Germany took about 2 weeks. A new assembly of digitizer and screen will take you about 170€ (October 2016). First time I received a wrong screen (one for the 4000-Series), but it was a high quality panel with QHD resolution and IPS technology. Now I’m waiting for the correct item, which the dealer promised to send immediately.
In order to find the correct screen, search for “13.3" LCD Touchscreen Digitizer Display Assembly für HP Spectre 13-3000 Series” on ebay, or for item number 222172811465 on ebay.de or for the dealer „ftdlcd“.
If someone is interested in how to change the panel – write a comment, then I’ll add some further steps to the manual.
