소개
This guide is one of the longer processes, second only to the Logic Board, or the screen. Have a reasonably long time set aside to complete this guide.
필요한 것
-
-
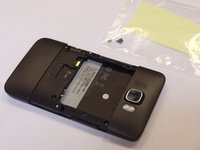
Carefully pull the rear cover from the back of the phone.
-
Place a finger beneath the small lip on the left side of the battery.
 FixBot에 문의하기
-
-
-
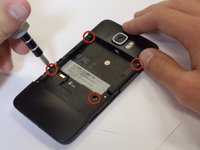
Lay the phone down on it's screen.
-
Lift up on the lip and pull the battery from the phone.
-
-
-
-
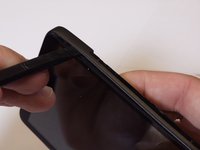
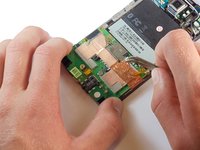
Insert the flat end of a spudger between the midframe and the display.
-
Slide the spudger along the seam between the frame and the display.
-
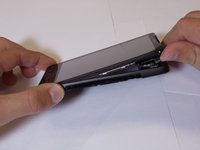
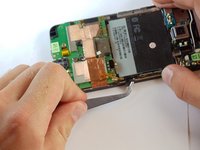
Using the spudger for leverage, carefully pry the midframe away from the display assembly.
-
As it releases, pull the midframe away from the phone.
-
-
-
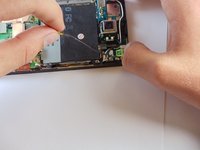
Disconnect the flash cable from its socket in the bottom of the motherboard.
-
Carefully pull the cable from its groove in the frame, working your way back to the camera.
-
-
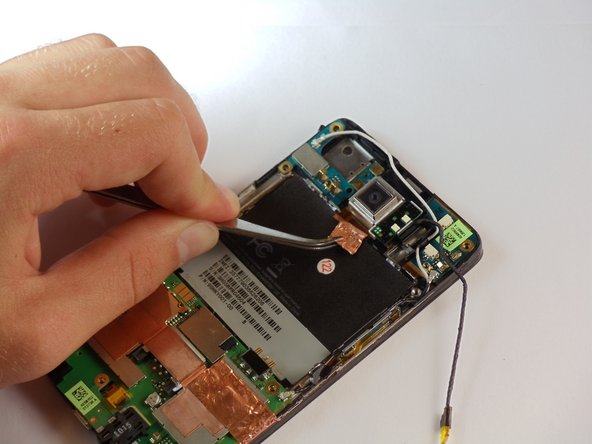
이 단계에 사용된 도구:Tweezers$4.99
-
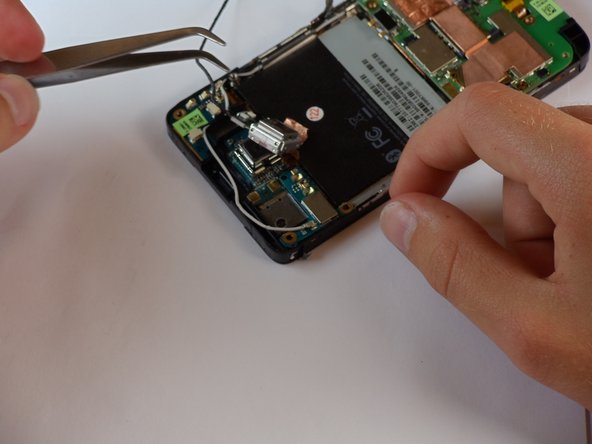
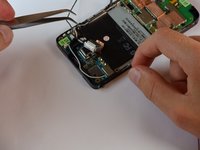
Around the camera is a thin shielding. Remove it with tweezers.
-
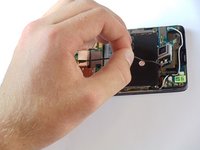
Using tweezers, remove the primary camera.
-


To reassemble your device, follow these instructions in reverse order.
다른 2명이 해당 안내서를 완성하였습니다.
팀

Cal Poly, Team 24-55, Amido Spring 2011 Cal Poly, Team 24-55, Amido Spring 2011 회원
CPSU-AMIDO-S11S24G55
5 회원들
안내서 24개를 작성함