소개
This guide will show you how to replace a cracked or damaged digitizer and lcd in your HTC One Mini
필요한 것
-
-
Use your T6 Torx screwdriver to remove the single screw that holds the body to the aluminium back
-
-
-
Use a plastic opening tool next to the usb port to gently lift the bottom away from the backing.
-
Use a second tool to work your way around the phone undoing the clips while the first tool lifts the undone areas
-
-
-
-
Use your heat gun and infra-red thermometer to heat the screen assembly to 130 degrees C (265 F) to soften the adhesive
-
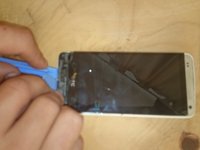
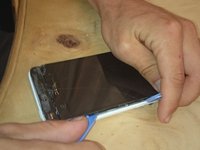
Use opening tool to gently lift the edges of the screen away from the body working from the top down.
-
-
-
Undo the 2 Phillips screws circled in red and detach the battery connector (so we don't short anything out)
-
Undo the 3 screws holding down the bottom of the logic board and charger port circled in green
-
Undo the flex cables and speaker power cable circled in blue and lift the charger port out
-
Gently using a plastic opening tool lift out the bottom speaker
-
Also the rubber spacer circled in blue
-
Undo the flex cables circled in orange and slowly start pulling the old screen out
-
-
-
Remove any old adhesive and broken glass from the frame
-
Gently feed through the flex cables taking great care not to break them
-
-
-
Fold the screen away from the body keeping in mind not to damage the flex cables.
-
Add your strips of adhesive tape to the frame and put put the screen onto the body (I have highlighted the placement areas in blue)
-
Follow the steps in reverse for reassembly and use a couple of drops of super glue to put the front speaker cover back on
-

 FixBot에 문의하기




To reassemble your device, follow these instructions in reverse order.
다른 10명이 해당 안내서를 완성하였습니다.

