주요 콘텐츠로 건너뛰기
수리 커뮤니티 가입 - 계정 만들기

HTC Wizard 200 Motherboard Replacement

필요한 것

    1. HTC Wizard 200 Motherboard Replacement, Battery: 1 단계, 이미지 2개 중 1개 HTC Wizard 200 Motherboard Replacement, Battery: 1 단계, 이미지 2개 중 2개
      • To expose the battery, remove the outer case with your fingernail.

      • Remove the battery by pulling the black tab.

      댓글 쓰기

    1. HTC Wizard 200 Motherboard Replacement, Back Panel: 2 단계, 이미지 1개 중 1개
      이 단계에 사용된 도구:
      Spudger
      $3.99
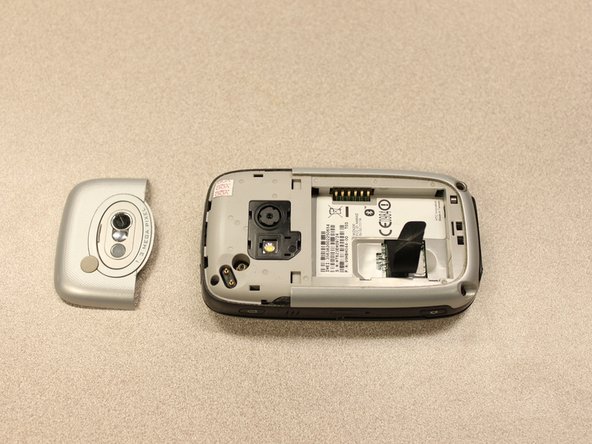
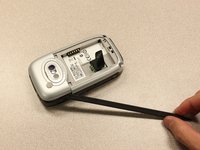
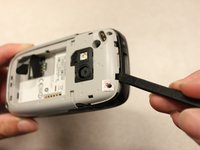
      • Insert the flat end of the spudger into the two notches on the back of the camera cover and pry them up.

      댓글 쓰기

    2. HTC Wizard 200 Motherboard Replacement: 3 단계, 이미지 2개 중 1개 HTC Wizard 200 Motherboard Replacement: 3 단계, 이미지 2개 중 2개
      이 단계에 사용된 도구:
      Spudger
      $3.99
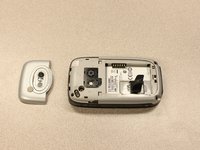
      • Work the spudger around the edges of the camera cover until it comes off.

      댓글 쓰기

    3. HTC Wizard 200 Motherboard Replacement: 4 단계, 이미지 2개 중 1개 HTC Wizard 200 Motherboard Replacement: 4 단계, 이미지 2개 중 2개
      이 단계에 사용된 도구:
      T5 Torx Screwdriver
      $5.49
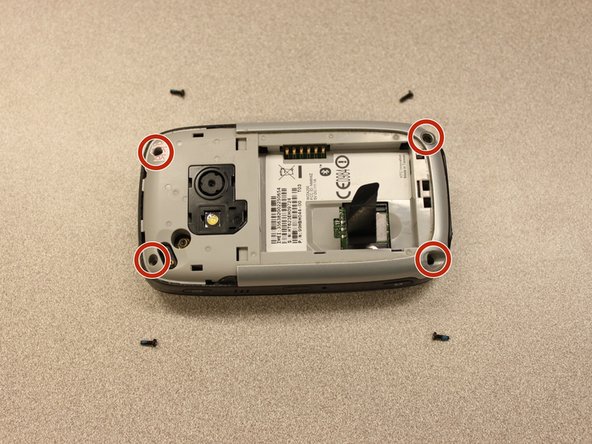
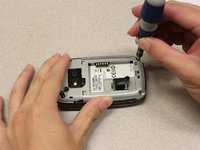
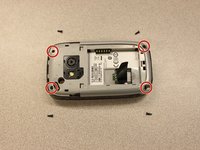
      • Remove the four 6 mm screws with the T5 Torx screwdriver.

      • One of the screws is under the "void" sticker.

      댓글 쓰기

    4. HTC Wizard 200 Motherboard Replacement: 5 단계, 이미지 3개 중 1개 HTC Wizard 200 Motherboard Replacement: 5 단계, 이미지 3개 중 2개 HTC Wizard 200 Motherboard Replacement: 5 단계, 이미지 3개 중 3개
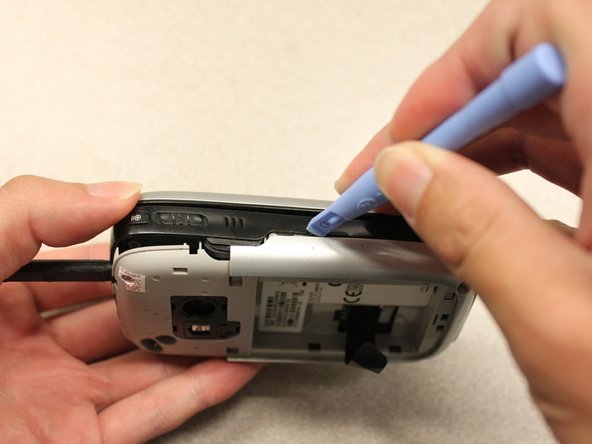
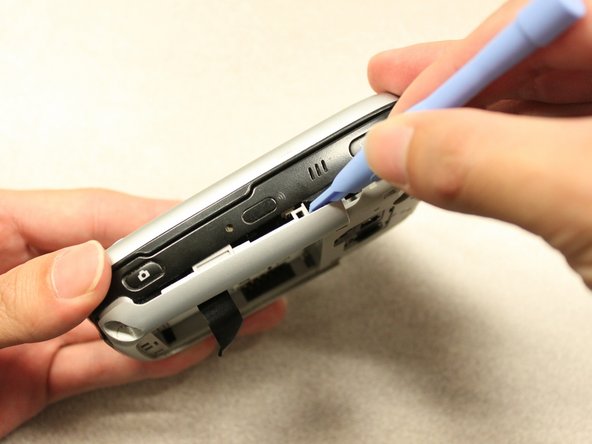
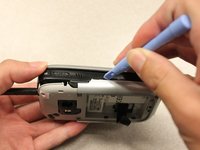
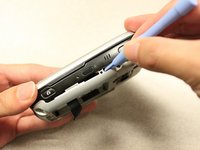
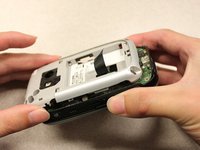
      • Insert the flat end of an iFixit opening tool between the side and inner covers to create a gap.

      • Work the tool around the edges until all the clips release.

      댓글 쓰기

    5. HTC Wizard 200 Motherboard Replacement: 6 단계, 이미지 2개 중 1개 HTC Wizard 200 Motherboard Replacement: 6 단계, 이미지 2개 중 2개
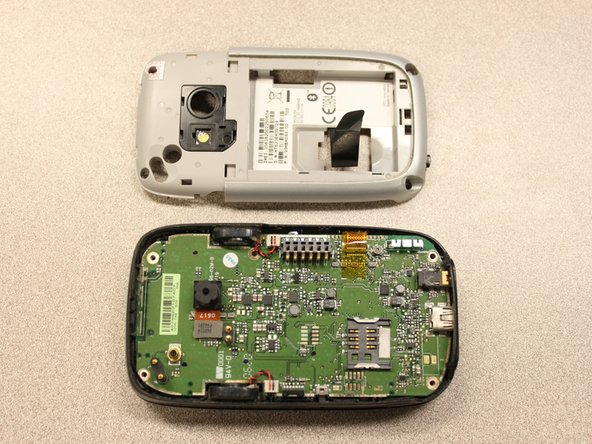
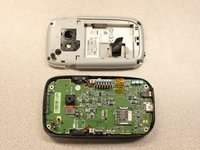
      • Once all the clips are open, remove the inner panel from the phone.

      댓글 쓰기

    1. HTC Wizard 200 Motherboard Replacement, Motherboard: 7 단계, 이미지 1개 중 1개
      이 단계에 사용된 도구:
      Spudger
      $3.99
      • Use the spudger to pry the camera off.

      댓글 쓰기

    2. HTC Wizard 200 Motherboard Replacement: 8 단계, 이미지 2개 중 1개 HTC Wizard 200 Motherboard Replacement: 8 단계, 이미지 2개 중 2개
      이 단계에 사용된 도구:
      Tweezers
      $4.99
      • Using tweezers, flip the connector latch away from the motherboard.

      • Detach the flexible connection from under the connector latch.

      댓글 쓰기

    3. HTC Wizard 200 Motherboard Replacement: 9 단계, 이미지 1개 중 1개
      • Slide the keyboard into the open position.

      댓글 쓰기

    4. HTC Wizard 200 Motherboard Replacement: 10 단계, 이미지 2개 중 1개 HTC Wizard 200 Motherboard Replacement: 10 단계, 이미지 2개 중 2개
      이 단계에 사용된 도구:
      Spudger
      $3.99
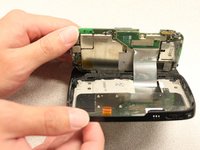
      • Lift the motherboard out of the case using the spudger.

      • Expose the underside of the motherboard using your hands.

      댓글 쓰기

    5. HTC Wizard 200 Motherboard Replacement: 11 단계, 이미지 2개 중 1개 HTC Wizard 200 Motherboard Replacement: 11 단계, 이미지 2개 중 2개
      • Remove the flexible connection from the motherboard.

      • Caution: Removing the connection too fast may cause damage to the connection and cables.

      댓글 쓰기

결론

To reassemble your device, follow these instructions in reverse order.

취소: 해당 안내서를 완성하지 않았습니다.

작성자

9다른 기여자 명과 함께

Kyle Champ

회원 가입일: 10/03/11

225 평판

안내서 12개를 작성함

Cal Poly, Team 20-27, Maness Fall 2011 Cal Poly, Team 20-27, Maness Fall 2011 회원

CPSU-MANESS-F11S20G27

4 회원들

안내서 84개를 작성함

0가이드 댓글

댓글 쓰기

조회 통계:

지난 24시간: 0

지난 7일: 5

지난 30일: 40

전체 시간: 1,512