소개
The top panel houses and protects the projector's sensitive internal components. If there is any damage to the top case, it may need to be replaced. Removing the top panel is also necessary to replace most of the internal components for the Hitachi CP-X2010N.
Before removing the top panel, ensure the device is powered off and unplugged. Also make sure that the projector has cooled off if it has recently been used as it could become warm after prolonged use.
필요한 것
-
-
-
Flip the projector upside down to expose the screws on the underside.
 FixBot에 문의하기
-
-
-
Use a Phillips #2 screwdriver to remove eight black 14 mm screws holding the top panel to the main projector body.
-
-
-
-
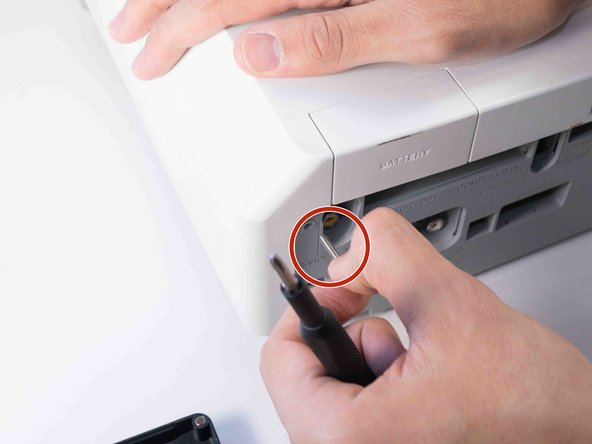
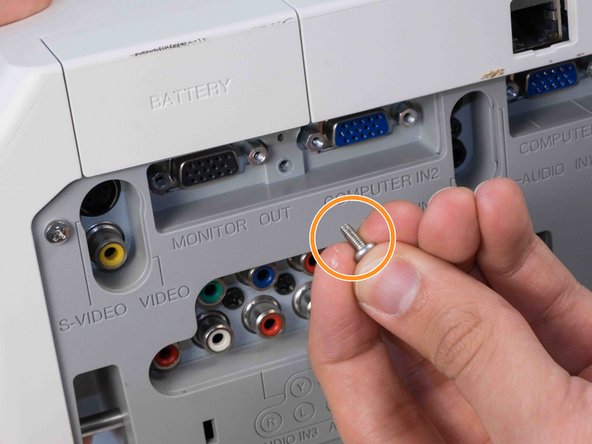
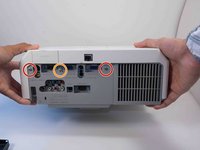
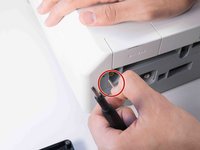
Use a Phillips #2 screwdriver to remove two silver 22 mm long screws.
-
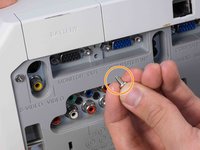
Use a Phillips #2 screwdriver to remove the short silver 10 mm screw.
-
-
-
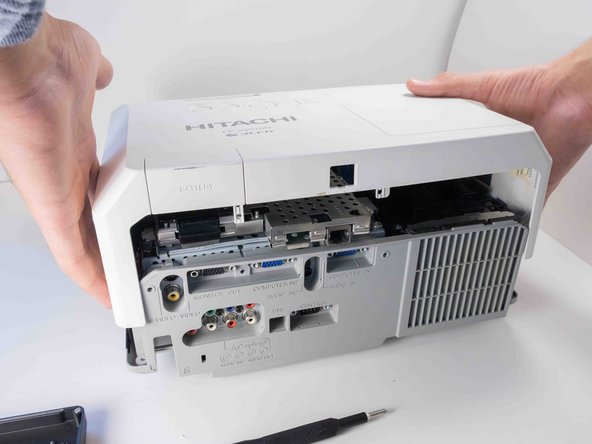
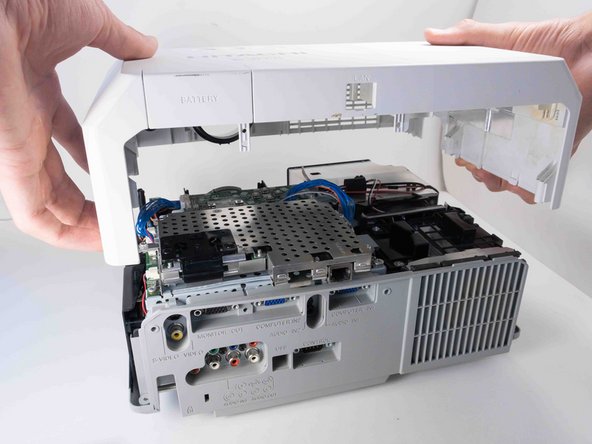
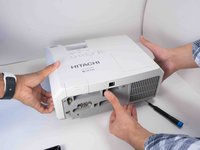
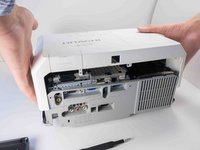
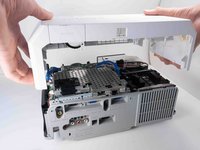
Carefully lift the top panel from the body of the projector, making sure it doesn't catch on anything.
-
Remove the panel from the body of the projector.
-
-



To reassemble your device, follow these instructions in reverse order.
다른 3명이 해당 안내서를 완성하였습니다.

팀

Austin Community College, Team 9-2, Watkins Fall 2022 Austin Community College, Team 9-2, Watkins Fall 2022 회원
AUSTINCC-WATKINS-F22S9G2
4 회원들
안내서 12개를 작성함
