소개
This guide will walk you through the easy process of repairing or replacing the heater control buttons.
필요한 것
-
-
-
-
Turn heater over so the controls are facing up.
-
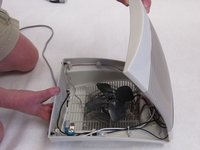
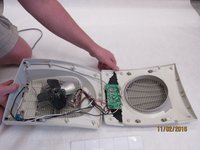
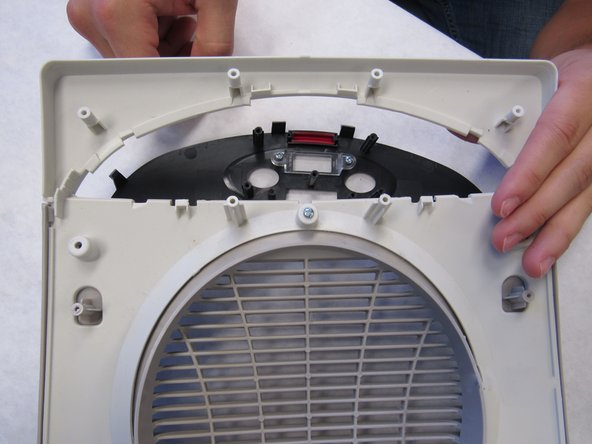
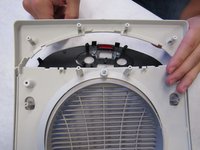
Lift the front housing away from the back of the fan and slowly fold the front housing back down to the floor.
-
-
-
-
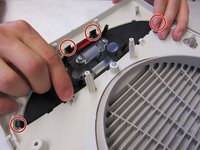
Remove four 12mm Phillips #2 screws from the circuit board.
-
-
-
-
-
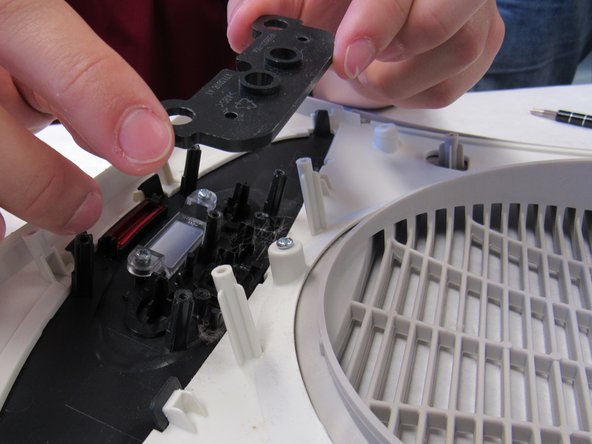
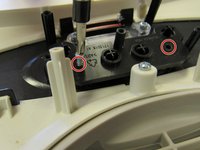
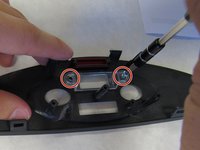
Remove the two Phillips #2 12mm screws from the button retainer.
-
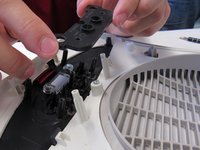
Lift the button retainer off.
-
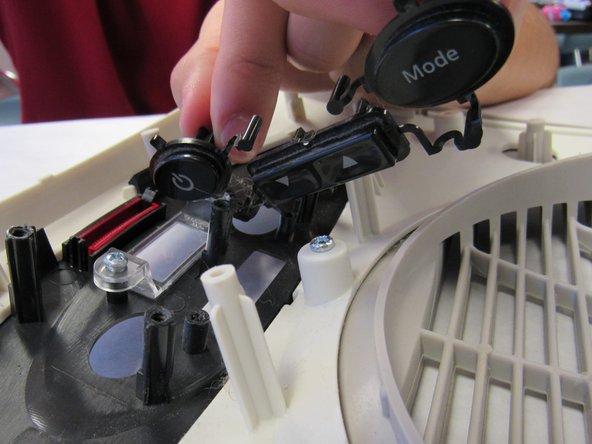
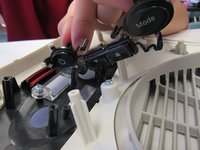
Remove the interconnected buttons.
-
If the buttons are broken, replace them.
-
If the buttons are sticking, clean them in warm soapy water and allow to dry.
-
-
-
Using light finger pressure, carefully push the black plastic tabs off the white plastic hooks.
-
Remove the black plastic bracket out through the front of the heater housing.
-
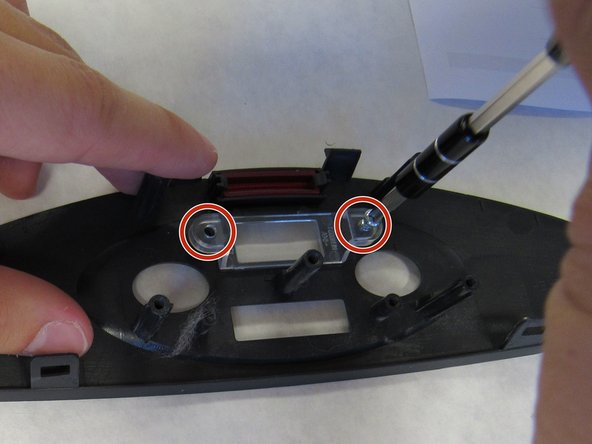
Remove the two Phillips #2 12mm screws and remove the clear window from the black plastic bracket.
-
If the buttons were sticking, clean the black plastic bracket in warm soapy water and allow to dry.
-
If the clear window was dirty, clean it in warm soapy water and allow to dry.
-
-

 FixBot에 문의하기





To reassemble your device, follow these instructions in reverse order.
다른 한 분이 해당 안내서를 완성하였습니다.

팀

IUPUI, Team 2-1, Baechle Fall 2016 IUPUI, Team 2-1, Baechle Fall 2016 회원
IUPUI-BAECHLE-F16S2G1
4 회원들
안내서 16개를 작성함
