주요 콘텐츠로 건너뛰기
수리 커뮤니티 가입 - 계정 만들기

Hover-1 H1 Shell Replacement

필요한 것

    1. Hover-1 H1 Shell Replacement, Bottom Shell: 1 단계, 이미지 1개 중 1개
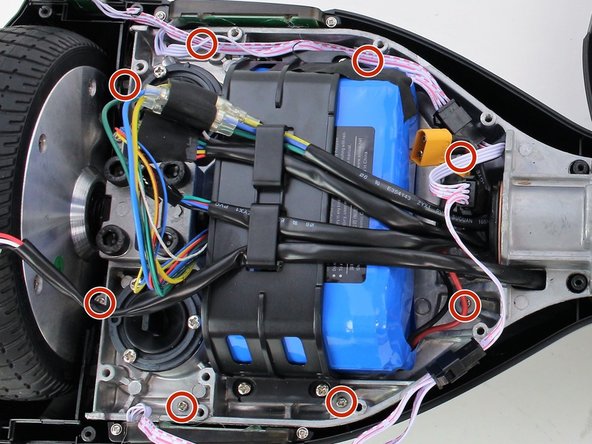
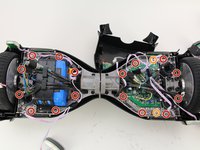
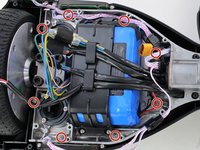
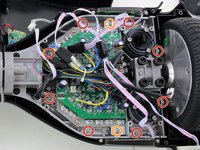
      • Remove the ten 9mm machine screws by using a long Phillips #2 screwdriver to rotate the screws counterclockwise.

      • Remove the twelve 9mm sheet metal screws by using a long Phillips #2 screwdriver to rotate the screws counterclockwise.

      댓글 쓰기

    2. Hover-1 H1 Shell Replacement: 2 단계, 이미지 1개 중 1개
      • Puncture the two black stickers by using the tip of a screwdriver.

      • Remove the two 9mm machine screws by using a long Phillips #2 screwdriver to rotate the screws counterclockwise.

      댓글 쓰기

    3. Hover-1 H1 Shell Replacement: 3 단계, 이미지 2개 중 1개 Hover-1 H1 Shell Replacement: 3 단계, 이미지 2개 중 2개
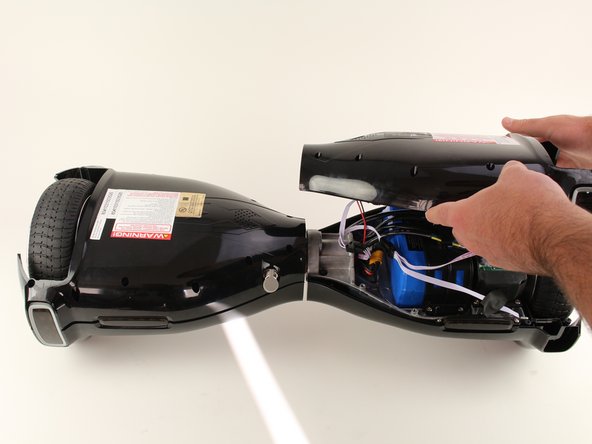
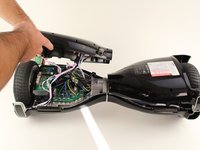
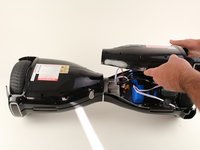
      • Lift each side of the bottom shell by pulling up.

      • When lifting the shell, take care to not tear any cables from their connectors.

      댓글 쓰기

    4. Hover-1 H1 Shell Replacement: 4 단계, 이미지 1개 중 1개
      • Unplug the battery by pulling gently on both sides of the orange connector.

      댓글 쓰기

    1. Hover-1 H1 Shell Replacement, LED Headlights: 5 단계, 이미지 1개 중 1개
      • Unplug the lights from the battery by pulling gently on both sides of the black connector attached to the white wires.

      댓글 쓰기

    2. Hover-1 H1 Shell Replacement: 6 단계, 이미지 1개 중 1개
      • Remove the vertical light from the shell by using your hands to pull it free from the surrounding shell.

      댓글 쓰기

    3. Hover-1 H1 Shell Replacement: 7 단계, 이미지 1개 중 1개
      • Remove two 8mm screws using a Phillips #0 screwdriver to rotate the screws counterclockwise.

      • Remove the horizontal light by using your fingers to pull the light up out of the shell.

      댓글 쓰기

    1. Hover-1 H1 Shell Replacement, Charging Port: 8 단계, 이미지 2개 중 1개 Hover-1 H1 Shell Replacement, Charging Port: 8 단계, 이미지 2개 중 2개
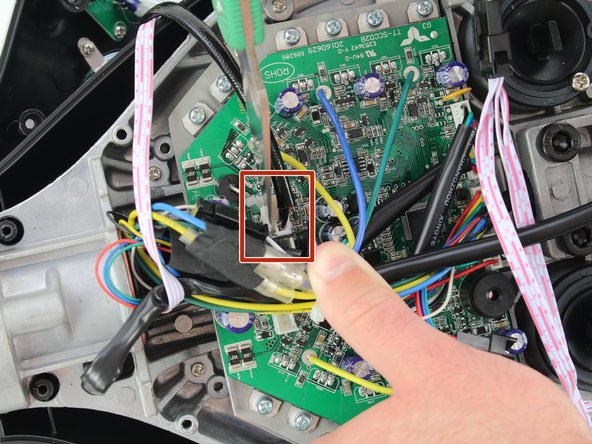
      • Using a utility knife, scratch off the hot glue from the connector attaching the red and black wires to the motherboard.

      • Be careful to not damage the wires or connector when removing the glue.

      댓글 쓰기

    2. Hover-1 H1 Shell Replacement: 9 단계, 이미지 1개 중 1개
      • Remove the charging port connector from the motherboard by squeezing the connector and pulling the connector up.

      댓글 쓰기

    3. Hover-1 H1 Shell Replacement: 10 단계, 이미지 2개 중 1개 Hover-1 H1 Shell Replacement: 10 단계, 이미지 2개 중 2개
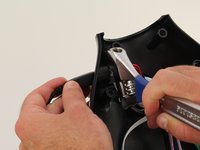
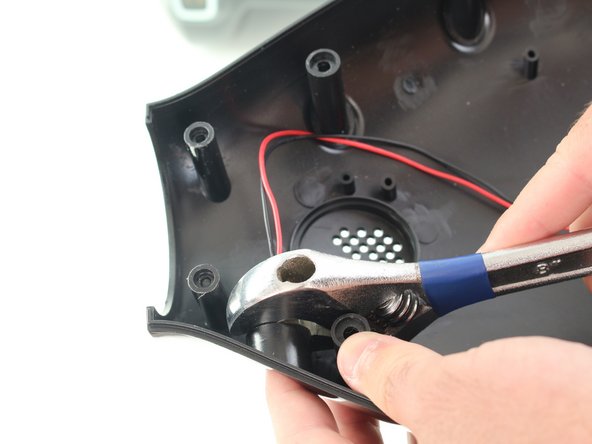
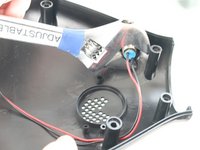
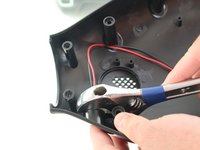
      • Using an adjustable wrench, unscrew the nut that is attaching the charging port to the bottom shell.

      • It might be helpful to put the charger in the charging port while unscrewing the nut to ensure that the port is not spinning.

      댓글 쓰기

    4. Hover-1 H1 Shell Replacement: 11 단계, 이미지 2개 중 1개 Hover-1 H1 Shell Replacement: 11 단계, 이미지 2개 중 2개
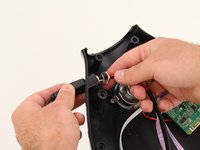
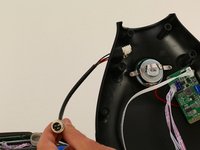
      • Pull the charging port to the left through the shell.

      댓글 쓰기

    1. Hover-1 H1 Shell Replacement, Power Button: 12 단계, 이미지 1개 중 1개
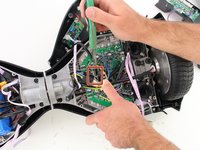
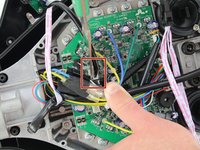
      • Unplug the power button connector by pinching the tab on the front and pulling directly upwards.

      • Pull the cable through the center section of the hoverboard.

      • For reassembly, you will have to feed the cable back through the center section. This can be done using a rigid wire or cable.

      댓글 쓰기

    2. Hover-1 H1 Shell Replacement: 13 단계, 이미지 2개 중 1개 Hover-1 H1 Shell Replacement: 13 단계, 이미지 2개 중 2개
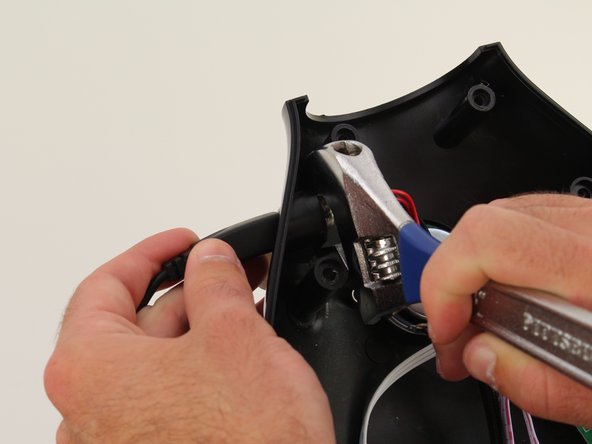
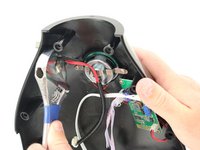
      • Using an adjustable wrench, remove the nut on the back of the power button by rotating the nut counterclockwise.

      댓글 쓰기

    3. Hover-1 H1 Shell Replacement: 14 단계, 이미지 1개 중 1개
      • Pull the power button through the hole in the shell.

      댓글 쓰기

    1. Hover-1 H1 Shell Replacement, Shell: 15 단계, 이미지 3개 중 1개 Hover-1 H1 Shell Replacement, Shell: 15 단계, 이미지 3개 중 2개 Hover-1 H1 Shell Replacement, Shell: 15 단계, 이미지 3개 중 3개
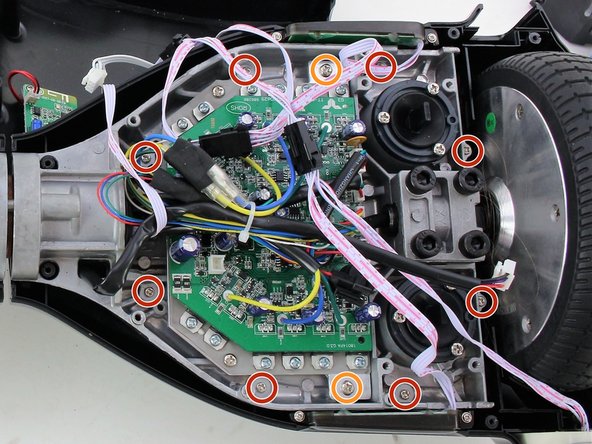
      • Remove the sixteen 10mm Phillips #2 machine screws by using a screwdriver to rotate the screws counterclockwise.

      • Remove the two 12mm Phillips #2 machine screws by using a screwdriver to rotate the screws counterclockwise.

      댓글 쓰기

    2. Hover-1 H1 Shell Replacement: 16 단계, 이미지 1개 중 1개
      • Lift both the left and right sides of the top half of the shell from the hoverboard's chassis.

      댓글 쓰기

    3. Hover-1 H1 Shell Replacement: 17 단계, 이미지 1개 중 1개
      • Remove the two 8mm Phillips #0 screws on the right half of the shell by using a screwdriver to rotate the screws counterclockwise.

      • Repeat for the left side of the shell.

      댓글 쓰기

    4. Hover-1 H1 Shell Replacement: 18 단계, 이미지 1개 중 1개
      • Lift the shell to remove it from the chassis.

      댓글 쓰기

결론

To reassemble your device, follow these instructions in reverse order.

취소: 해당 안내서를 완성하지 않았습니다.

다른 한 분이 해당 안내서를 완성하였습니다.

작성자

2다른 기여자 명과 함께

Sara Passantino

회원 가입일: 10/08/18

347 평판

안내서 2개를 작성함

Cal Poly, Team S17-G6, White Fall 2018 Cal Poly, Team S17-G6, White Fall 2018 회원

CPSU-WHITE-F18S17G6

4 회원들

안내서 9개를 작성함

0가이드 댓글

댓글 쓰기

조회 통계:

지난 24시간: 0

지난 7일: 7

지난 30일: 32

전체 시간: 1,763