소개
Follow this guide to learn how to use digital calipers to take measurements.
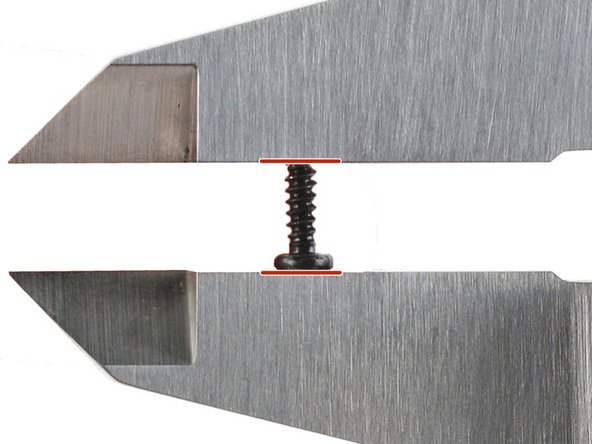
Screw and part dimensions are vital for organizing your electronics repairs, ensuring each screw is put back in its correct place during reassembly—saving you time and frustration!
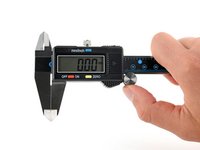
Calipers precisely measure lengths, thicknesses, and diameters using two sets of jaws. The small inside jaws measure internal diameters, while the large outside jaws measure external diameters, lengths, and widths. A probe on the opposite end measures depth. Digital calipers have the ability to zero and often support more than one unit of measurement.
Dead battery? Follow this guide.
필요한 것
-
-
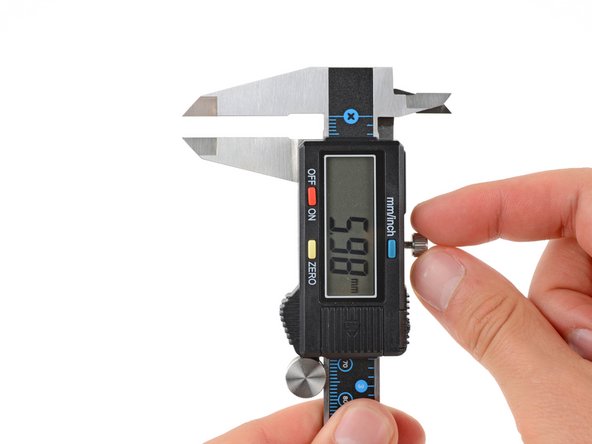
An on/off button
-
A zero button that sets the current reading to zero
-
A units button that switches between imperial and metric measurements, commonly written as mm/inch
-
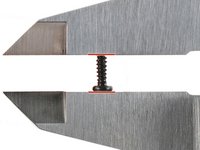
A thumb screw that opens and closes the jaws
-
A locking screw that holds the jaws in place to keep the current measurement
 FixBot에 문의하기
-
-
-
Before using your calipers, clean the inside of the jaws with a fresh cloth or rag to make sure there's no dirt or grime that could affect measurements.
-
-
-
To open or close the jaws, press down on the thumb screw and gently roll it in the direction you want the jaw to move.
-
-
-
-
Gently close the jaws.
-
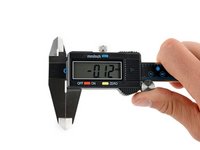
Press the zero button to set the current measurement to zero.
-
-
-
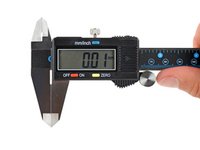
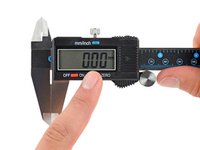
Open and close the jaws, making sure the calipers measure zero each time the jaws reach their fully closed position. If the reading isn’t exactly 0.00, repeat the previous step.
-
-
-
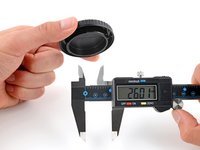
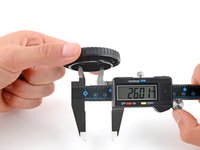
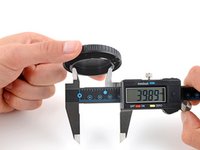
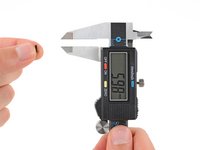
Open the jaws wide enough for the object being measured to comfortably fit between them.
-
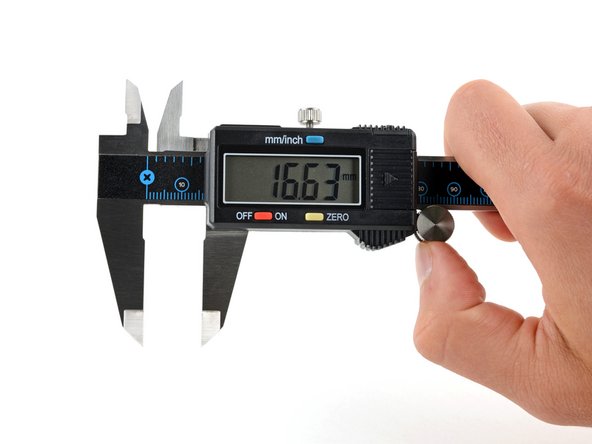
Gradually close the jaws until both sides touch the object. Don’t push too hard, yet firm enough to make sure both jaws sit flat against the object.
-
Check that your object isn’t crooked when you take your measurement.
-
Read the measurement.
-
Take the measurement a few times and make sure it's the same—or very close—each time. If you get inconsistent readings, zero the calipers and try again.
-
Zero the calipers before making another measurement.
-
-
-
Close the jaws until you can comfortably fit them inside the object.
-
Gradually open the jaws until both sides touch the object. Don’t pull too hard, yet firm enough to make sure both jaws sit flat against the object’s inside edges.
-
Read the measurement.
-
Take the measurement a few times and make sure it's the same—or very close—each time. If you get inconsistent readings, zero the calipers and try again.
-
Zero the calipers before making another measurement.
-
-
-
Gently remove the object from the jaws, being careful not to bump or shift the jaws.
-
Twist the locking screw clockwise to tighten it and lock the jaws in place.
-
-
-
When you're done using your digital calipers, clean the jaws with a cloth or rag, press the on/off button to turn the calipers off, and store it in its original case in a safe location.
-


Now you can use your digital calipers to keep track of all your fixing and tinkering dimensions—happy measuring!
If your caliper display stops working, it may need a new battery. Follow this guide to replace the battery.
Having trouble? Try some basic troubleshooting, or ask our answers community for help.
For other general electronics skills guides, click here.
다른 7명이 해당 안내서를 완성하였습니다.


2가이드 댓글
Très très bon tuto sur les pied à coulisse. Bien penser à le calibrer avant l'utilisation.
Yann VALLET - 답글 공유
When measuring with calipers, apply light pressure to close on the object being measured. Do not squeeze the object being measured. Once the calipers are closed on the object being measured, lift your thumb from the wheel to avoid the readout from changing with the micromovements from your thumb. Measuring anything with give or flexibility, please consider if the caliper is the correct measuring device first. e.g. - measuring the thickness of a gasket.
Michelle M - 답글 공유